ASSEMBLY INSTRUCTIONS
— CONTINUED
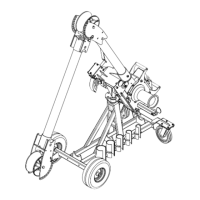
Boom Assembly
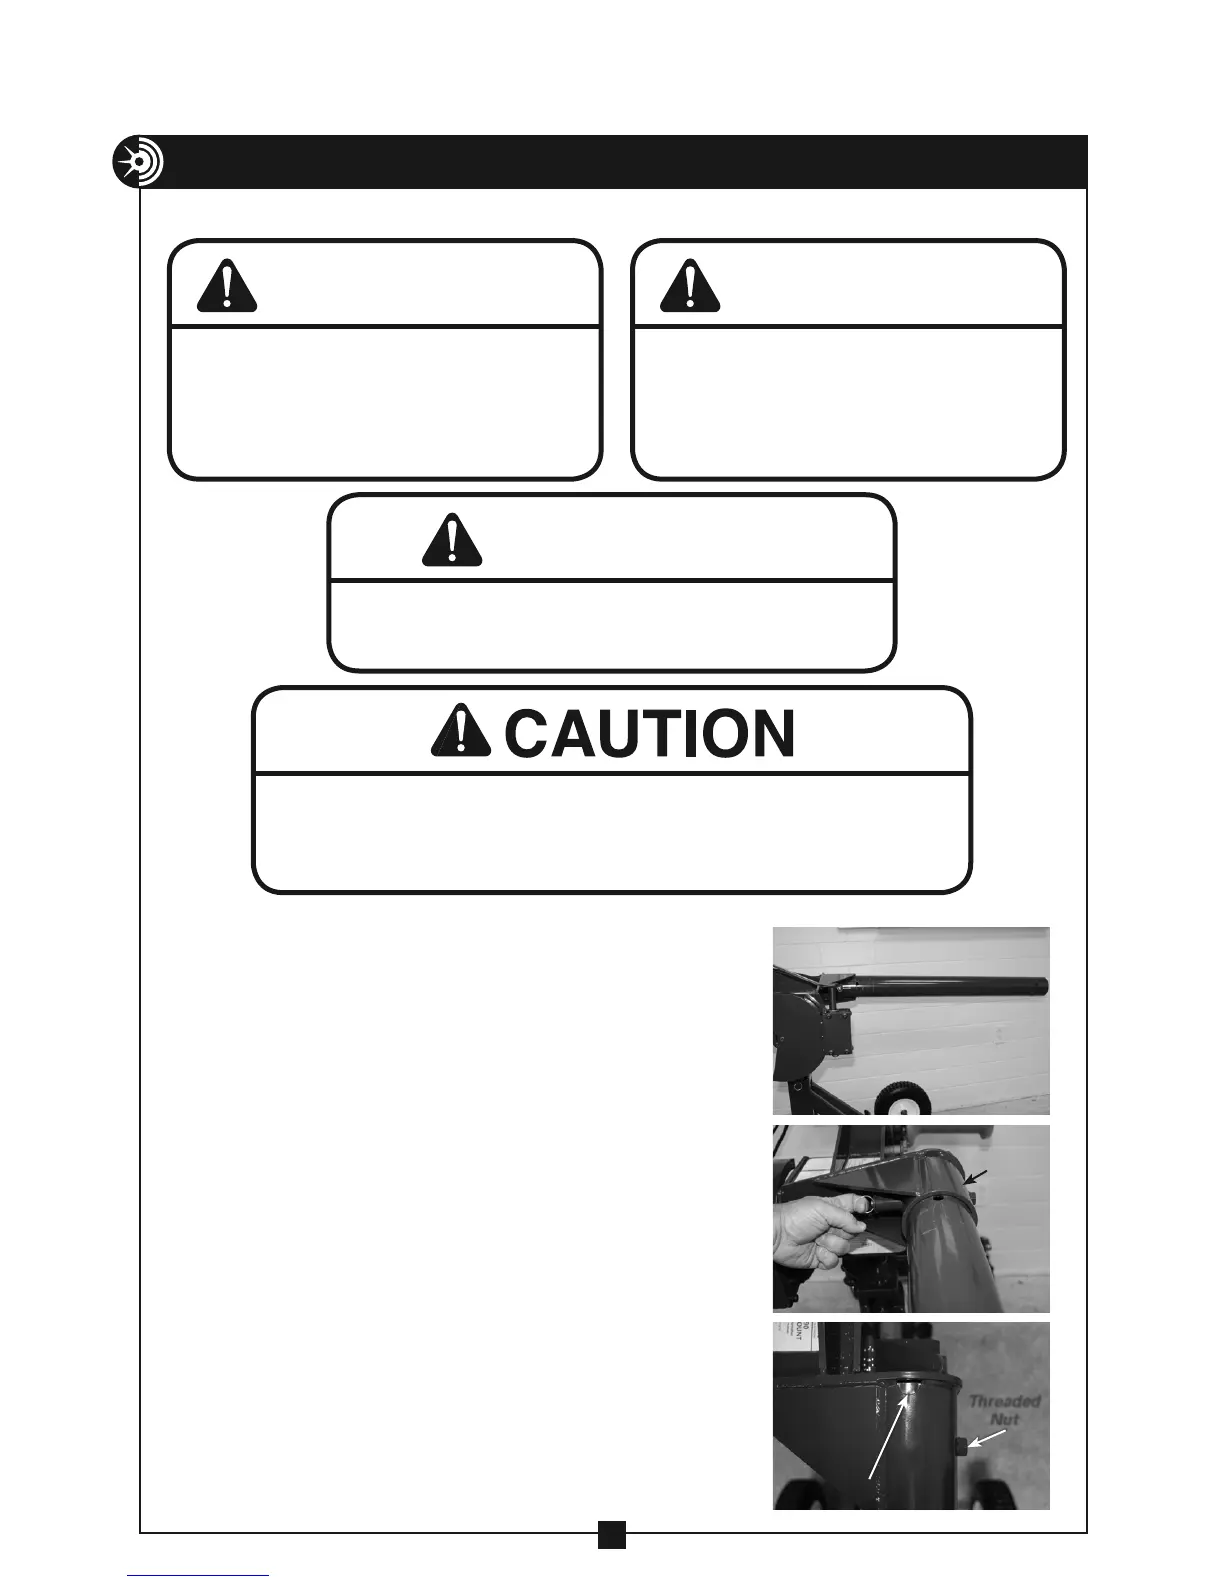
WARNING
ALWAYS inspect pins to be sure they are
fully inserted through holes and have spring
clips properly attached. DO NOT substitute
any other object for factory supplied pins.
WARNING
ALWAYS check sight holes to ensure boom
tubes are fully inserted into receiver tubes.
Ensure all spring loaded boom pins snap
into place to securely hold the boom tubes.
WARNING
Some components weigh more than 50 lbs. and will require
more than one person to lift, transport and assemble.
Be careful during assembly and disassembly of the boom components. Keep
pins in place to avoid uncontrolled movement of boom components. Have
control of boom components before removing any pins.
Procedure:
1. Lock the two swivel casters on the carriage.
Using the boom height adjustment handle,
position the puller mount with the receiver
tube parallel to the ground. Insert the supplied
3' or 4' boom tube into the reciever tube. (See
Photo 13a). Pull the spring-loaded boom pin
located on the receiver tube and fully insert
boom tube until it completely fills the sight
hole in the back of the receiver tube. (See
Photo 13b & 13c). Rotate the boom tube until
one of the pre-drilled holes in the boom tube
locks into place with the spring-loaded boom
pin. Ensure the spring-loaded boom pin is
fully engaged in the boom tube hole before
proceeding to the next step.
NOTE: When using pipe other than the boom
tubes supplied by Current Tools, fully insert
the pipe or conduit and install a 1/2-13 × 2"
bolt (user provided) into the threaded nut
on the side of the receiver tube and tighten
against the boom tube. (See photo 13C).
13
13a
13b
13c
Sight Hole
Threaded
Nut
Receiver
Tube