Cybex 425T Treadmill Owner’s Manual
Assembly
and Setup
2-8
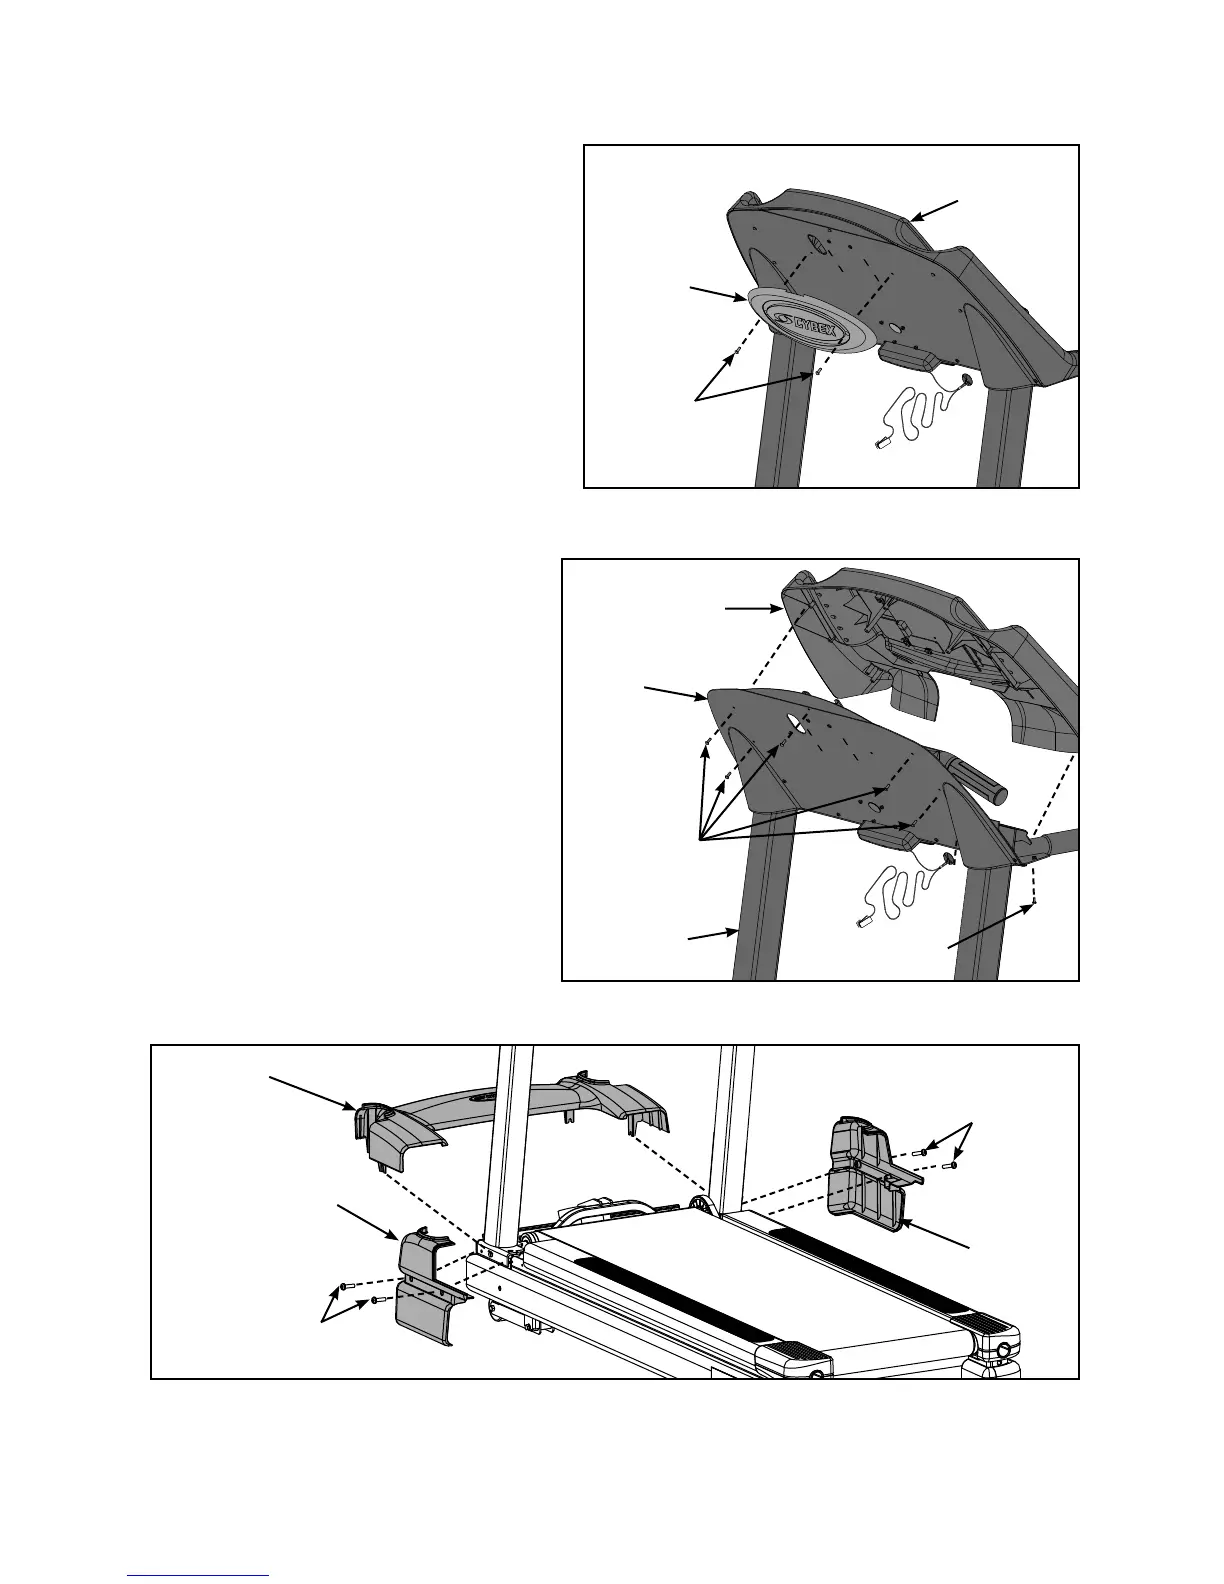
D. Check to see that all of the cables are
connected fi rmly in their proper place.
See Figure 8.
E. While being sure not to pinch any cables,
use a Philips head screwdriver to secure
the seven screws 8-16 x .50” (#14) that
hold the console assembly (#2) to the
console back (#4). See Figure 9.
F. Using a Philips head screwdriver secure
the two screws (#13) securing the
console assembly (#2) to the upright
assembly (#3). See Figure 9.
G. Using a Philips head screwdriver secure
the two screws (#14) securing the
console back cover (#5) to the console
front (#4). See Figure 10.
9. Attach the motor cover (three pieces).
A. Using a Phillips screwdriver, partially
tighten each motor cover side (left and
right) with four screws, 10-32 x .75”
(#16). See Figure 10.
B. Place the motor cover center (#6) into
position. See Figure 11.
C. Using a Phillips screwdriver, fi nish
tightening all four screws. Be sure the
screws are securing the motor cover’s
tabs.
#16
#6
#8
#16
#7
Figure 9
Console
Assembly
Back
Cover
Screws
Figure 10
Screws
Machine Screw
Console
Assembly
Upright
Assembly
Console
Back
Figure 11

 Loading...


