User’s Manual
94
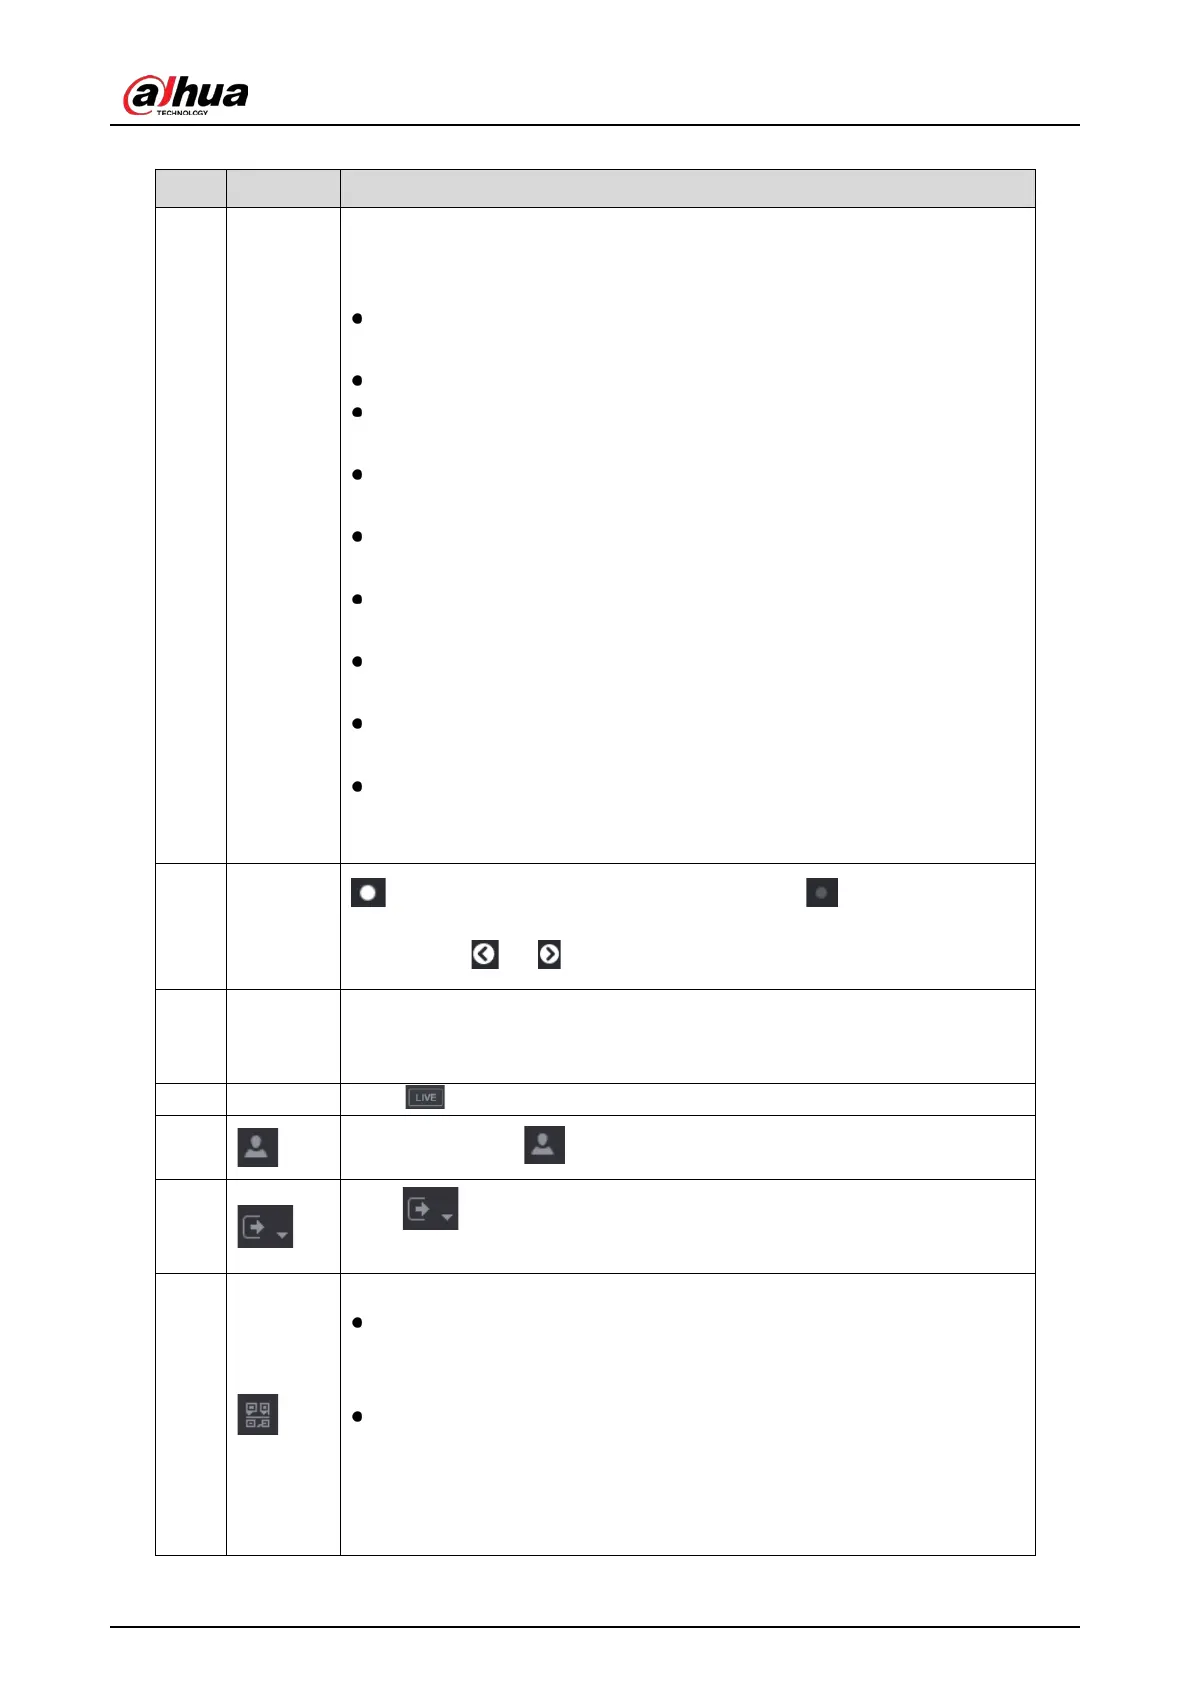
Table 5-16 Main menu description
1
Function
tiles
Includes nine function tiles:
,
,
,
,
,
,
and
AUDIO. Click each tile to open the
configuration interface of the tile.
: Search for and play back the recorded video saved on the
Device.
: Search for alarm information and configure alarm event actions.
: Search SMD, face detection, and IVS information,
and configure related settings.
: You can connect the Device to the POS (Point of Sale) machine and
receive the information from it.
IoT live video preview, search, export reports, and configure function
settings.
: You can view log and system information, test network and
do other maintenance work.
: Search and back up the video files to the external storage
device such as USB storage device.
: Configure the display effect such as displaying content, image
transparency, and resolution, and enable the zero-channel function.
: Manage audio files and configure the playing schedule. The
audio file can be played in response to an alarm event if the voice
prompts function is enabled.
2
Switch
icon
indicates the current page of main menu. Click to switch to the next
page or click or to turn page.
3
Setting
menu
Includes six configurations through which you can configure camera settings,
network settings, storage settings, system settings, account settings, and view
information.
4 Live
to go to the live view screen.
5
When you point to , the current user account is displayed.
6
Click , select
,
, or
according to your actual
situation.
7
Displays
and
QR Code.
Cell Phone Client: Use your mobile phone to scan the QR code to add the
device into the Cell Phone Client, and then you can start accessing the
Device from your cell phone.
Device SN: Obtain the Device SN by scanning the QR code. Go to the P2P
management platform and add the Device SN into the platform. Then you
can access and manage the device in the WAN. For details, refer to the P2P
operation manual. You can also configure P2P function
configurations. See "5.1.4.5 Configuring P2P Settings."
 Loading...
