User's Manual
25
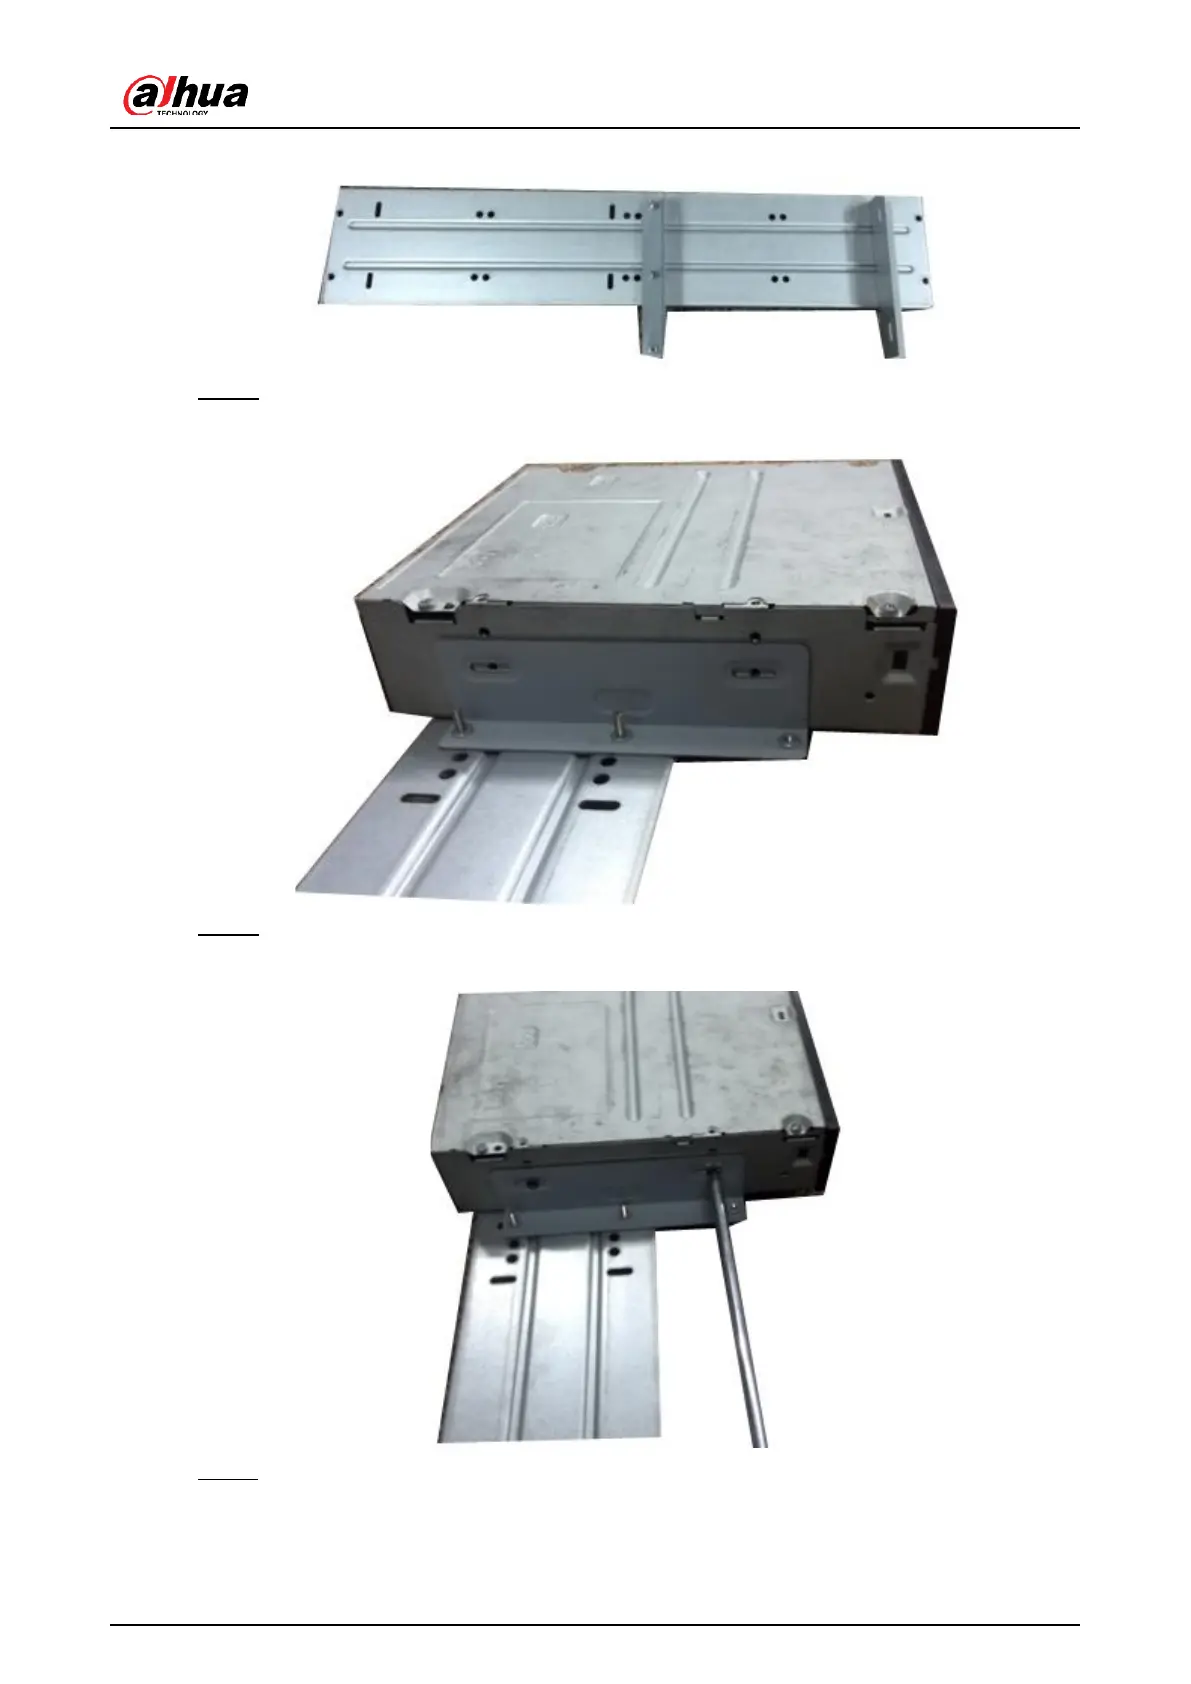
Figure 3-42 Install bracket (reverse side)
Step 5 Install SATA burner. Line up the SATA burner to the hole positions.
Figure 3-43 Install SATA burner
Step 6 Use screw driver to fix the screws.
Figure 3-44 Fasten screws
Step 7 Put the bracket back. Please adjust the CD-ROM to the proper position so that the
button of the front panel is directly facing the pop-up button of the CD-ROM.
 Loading...