7 Installation
Installer reference guide
37
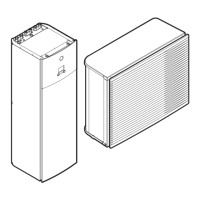
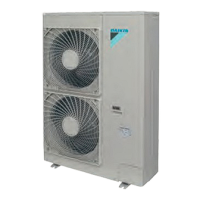
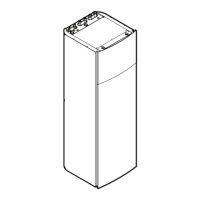
ERLQ004~008CAV3 + EHBH/X04+08CA
Daikin Altherma - Low Temperature Split
4P313774-1C – 2012.11
7.6.3 To connect the electrical wiring on the
indoor unit
1 To open the indoor unit, see "7.1.2 To open the indoor unit" on
page 27.
2 Wiring should enter the unit from the bottom.
3 Routing of the wiring inside the unit should be as follows:
INFORMATION
When installing field supply or option cables, foresee
sufficient cable length. This will make it possible to remove/
reposition the switch box and gain acces to other
components during service.
Routing Possible cables (depending on unit type and installed options)
a
Low voltage
▪ User interface
▪ Domestic hot water tank thermistor (option)
▪ Power consumption digital inputs (field supply)
▪ Outdoor ambient temperature sensor (option)
▪ Indoor ambient temperature sensor (option)
▪ Electrical meters (field supply)
b
High voltage power supply
▪ Interconnection cable
▪ Normal kWh rate power supply
▪ Preferential kWh rate power supply
▪ Power supply for backup heater
▪ Power supply for bottom plate heater (option)
▪ Power supply for booster heater (to indoor unit)
▪ Power supply for booster heater and thermal protection (from indoor unit)
c
High voltage control signal
▪ Preferential power supply contact
▪ Heat pump convector (option)
▪ Room thermostat (option)
▪ 3-way valve
▪ Shut-off valve (field supply)
▪ Domestic hot water pump (field supply)
▪ Alarm output
▪ Changeover to external heat source control
▪ Space heat/cool operation control
4 Fix the cable with cable ties to the cable tie mountings to
ensure strain relief and to make sure that it does NOT come in
contact with the piping and sharp edges.
CAUTION
Do NOT push or place redundant cable length in the unit.
7.6.4 To connect the main power supply

 Loading...