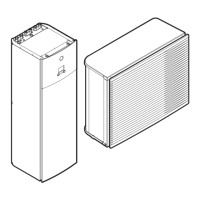
a Gas pipe
b Gas pipe insulation
c Interconnection cable
d Liquid pipe
e Liquid pipe insulation
f Finishing tape
2 Install the service cover.
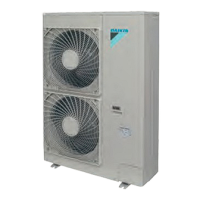
7.7.2 To close the outdoor unit
1 Close the switch box cover.
2 Close the service cover.
NOTICE
When closing the outdoor unit cover, make sure that the
tightening torque does NOT exceed 4.1 N•m.
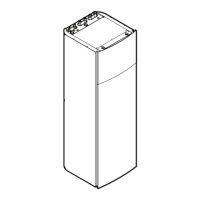
7.8 Finishing the indoor unit installation
7.8.1 To fix the user interface cover to the
indoor unit
1 Make sure that the front panel is removed from the indoor unit.
See "7.1.2 To open the indoor unit" on page 27.
2 Plug the user interface cover into the hinges.
3
Mount the front panel to the indoor unit.
7.8.2 To close the indoor unit
1 Close the switch box cover.
2 Reinstall the front panel.
NOTICE
When closing the indoor unit cover, make sure that the
tightening torque does NOT exceed 4.1 N•m.
8 Configuration
8.1 Overview: Configuration
If you do NOT configure the system correctly, it might NOT work as
expected. You can configure the system with the user interface.
When you turn ON the user interface for the first time (via the indoor
unit), a quick wizard starts to help you configure the system. If
necessary, you can also make changes to the configuration
afterwards.
The installer can prepare the configuration off-site on PC and
afterwards upload the configuration to the system with the PC
configurator. See "8.1.1 To connect the PC cable to the switch box"
on page 43 for more information about the connection.
The configuration influences the following:
▪ The calculations of the software
▪ What you can see on and do with the user interface
Legend for the settings tables:
▪ #: Breadcrumb in the menu structure
▪ Code: Code in the overview settings
When the installer settings are changed, the system will request to
confirm. When confirmation is complete, the screen will shortly turn
OFF and "busy" will be displayed for several seconds.
The most commonly used installation settings are accessible
through the menu structure. Their location is mentioned by the
breadcrumb indication (#). Additionally, all installer settings can also
be found in "8.5 Menu structure: Overview installer settings" on
page 67.
For access to the setting codes, see "To access the installer
settings" on page 43.

 Loading...