PRODUCT REFERENCE GUIDE
5
CHAPTER 2
SETUP
UNPACKING
Check carefully to ensure the scanner and any cables or accessories ordered are present
and undamaged. If any damage occurred during shipment, contact
"Technical Support"
on page xiii.
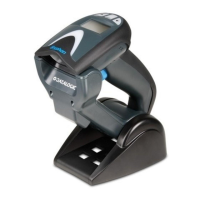
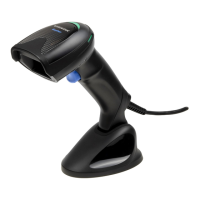
SETTING UP THE GRYPHON™ GD4200 READER
Follow the steps provided in this section to connect and get your reader up and commu-
nicating with its host:
1. Connect the Interface Cable to the reader as shown in Figure 2. To disconnect the
cable, insert a paper clip or similar object into the opening shown.
2. Connect the other end to the Host (see the next section, "Connect Host Interface"
on page 5 and Figure 3).
3. Modify "Customizing Configuration Settings" on page 28 (only if modifications are
needed from factory settings).
CONNECT HOST INTERFACE
The scanner kit you ordered to match your interface should provide a compatible cable
for your installation. If this is not so, contact
"Technical Support" on page xiii.
The scanner can communicate using the interfaces illustrated below.
For corded versions, connect the reader cable by inserting the cable into the handle as
shown in the following Figure.
To remove the interface cable from the reader, first locate the hole on the back of the
handle. Next, take a paper clip and modify it as shown in the figure below. Insert the
end of the paper clip into the hole and press it to push on the clip that holds the connec
-
tor. As you apply pressure, pull out the cable.
When reinserting the cable, make sure the connector clip is on the same side as the
reader release hole. Insert the cable, it should click when it is fully inserted.
NOTE: We recommend the use of a perfectly straight new paper clip to
make the operation easier (see the figure below).

 Loading...
