118 M-Class
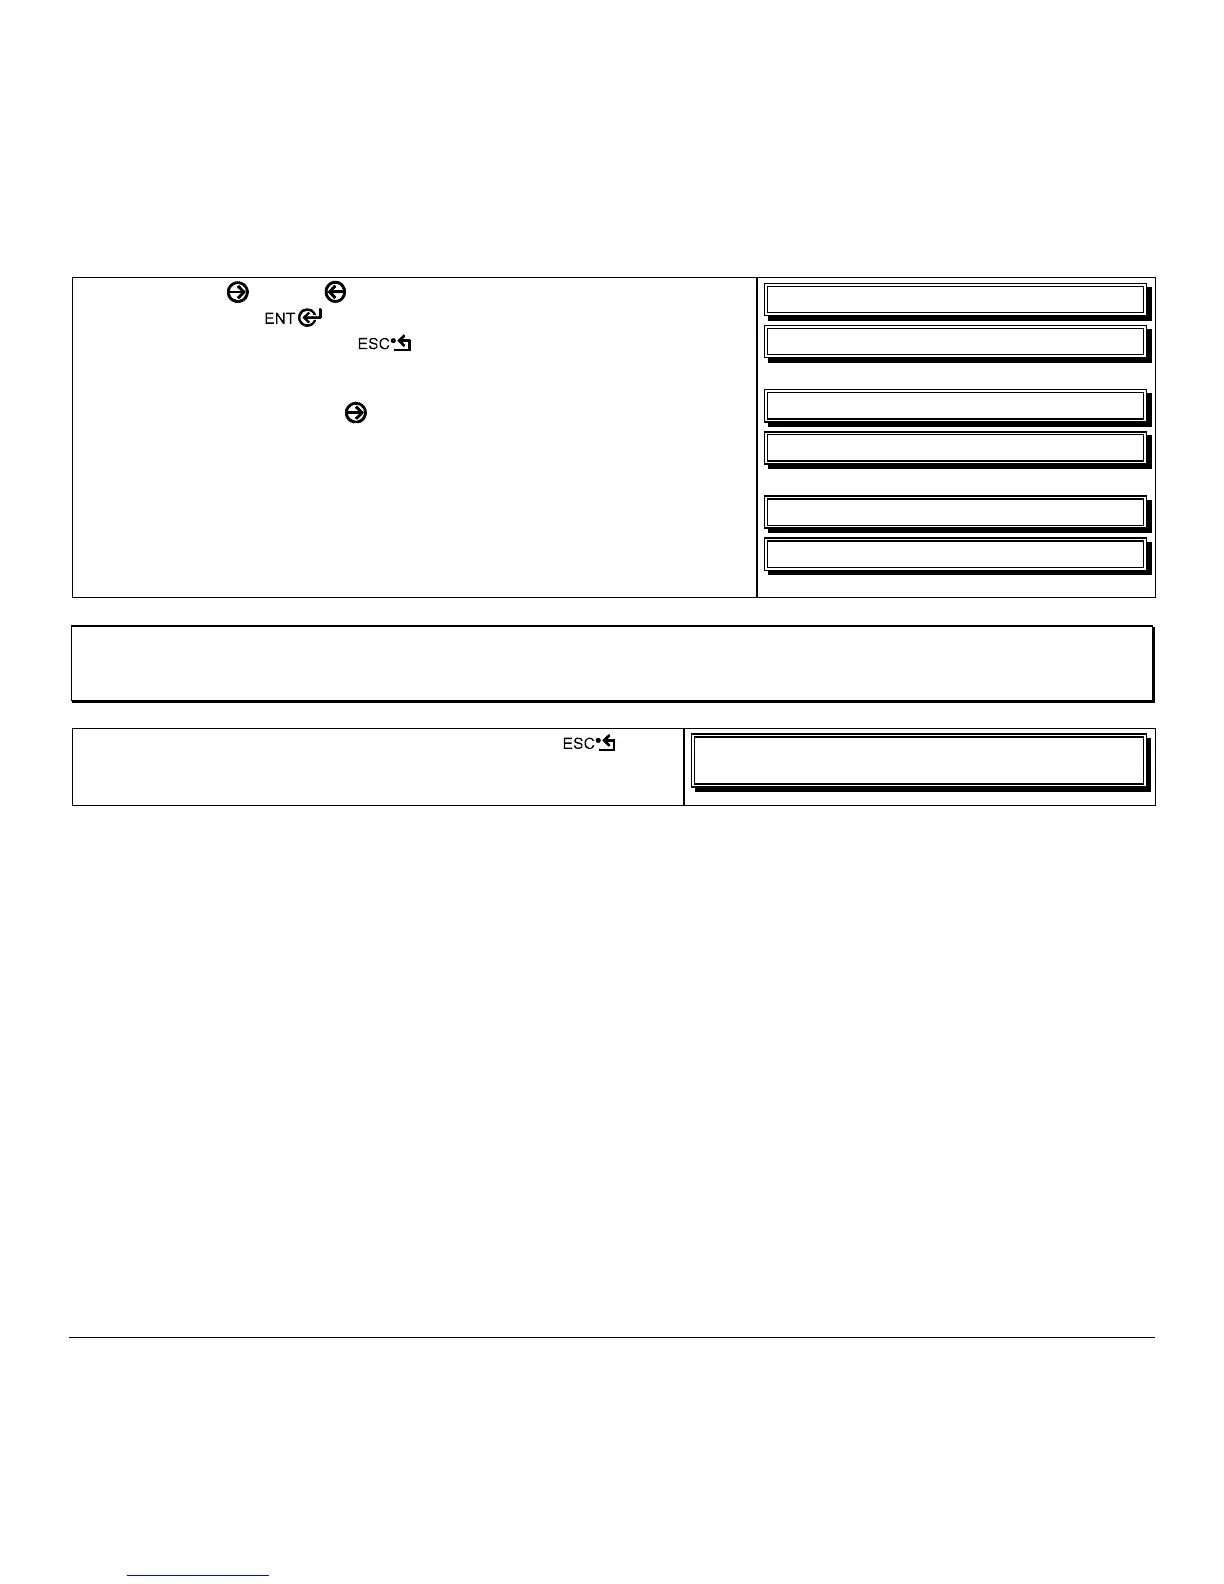
8. Use the
FWD
and
REV
buttons to increment/decremnt the flashing
value. Press the
button to move to the next field. Once all
fields are correct press the
button once. The value will
automatically be saved.
You can then use the
FWD
to scroll to the ‘SUBNET MASK and
‘GATEWAY’ menu items and set those values in the same manner as
the
‘IP ADDRESS’ was set.
JQ!BEESFTT!
+2:3/111/111/2:3!
TVCOFU!NBTL!
+111/111/111/111!
HBUFXBZ!
+111/111/111/111!
Note: When the menu item ‘IP DISCOVERY’ is set to enabled you will not be able to change the values for the “IP
ADDRESS’, ‘SUBNET MASK’, or ‘GATEWAY’ menu items. The values displayed are for reference only and
will become active once ‘IP DISCOVERY’ set to disabled.
9. Once you have the proper addresses set, press the
button repeatily until you have exited the printer’s menu.
Turn OFF the printer and then back ON.
XFE!21;27B!13KVM3114!
SFBEZ!
Once you have entered your IP settings into the printer you can then install the port and printer driver using the
Windows
‘Add a Printer Wizard’. See section, Installing the Printer Driver and Port in this document.
 Loading...

