70 M-Class
Standard Calibration (continued)
Step Operator Action Displayed Message Comment
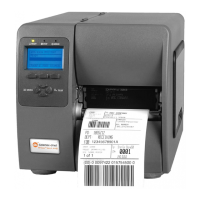
7
Proceed according to your
media type:
Die-cut stock: strip the media
from the backing and then
reinsert it into the sensor;
adjust the Sensor Eye Mark
over the center of the backing.
Notched stock: adjust the
Sensor Eye Mark over the
center of the notch.
Reflective stock: Adjust the
Sensor Eye Mark over the
center of the facedown black
mark.
Continuous stock: go to Step
8.
Press the key to
continue.
TDBO!CBDLJOH!
QSFTT!FTD!LFZ!!!=zzz?!
!
Or, for reflective media:
!
TDBO!NBSL!
QSFTT!FTD!LFZ!!!=zzz?!
This sets the parameter for the ‘gap’ or ‘mark’
value.
Where ‘yyy’ is a numerical value representing the
current sensor reading: useful in locating the best
sensor position.
Note: Never position the sensor over a perforation
when recording a sensor reading.
Note: Do NOT move the position of the Media Sensor after it has been adjusted.
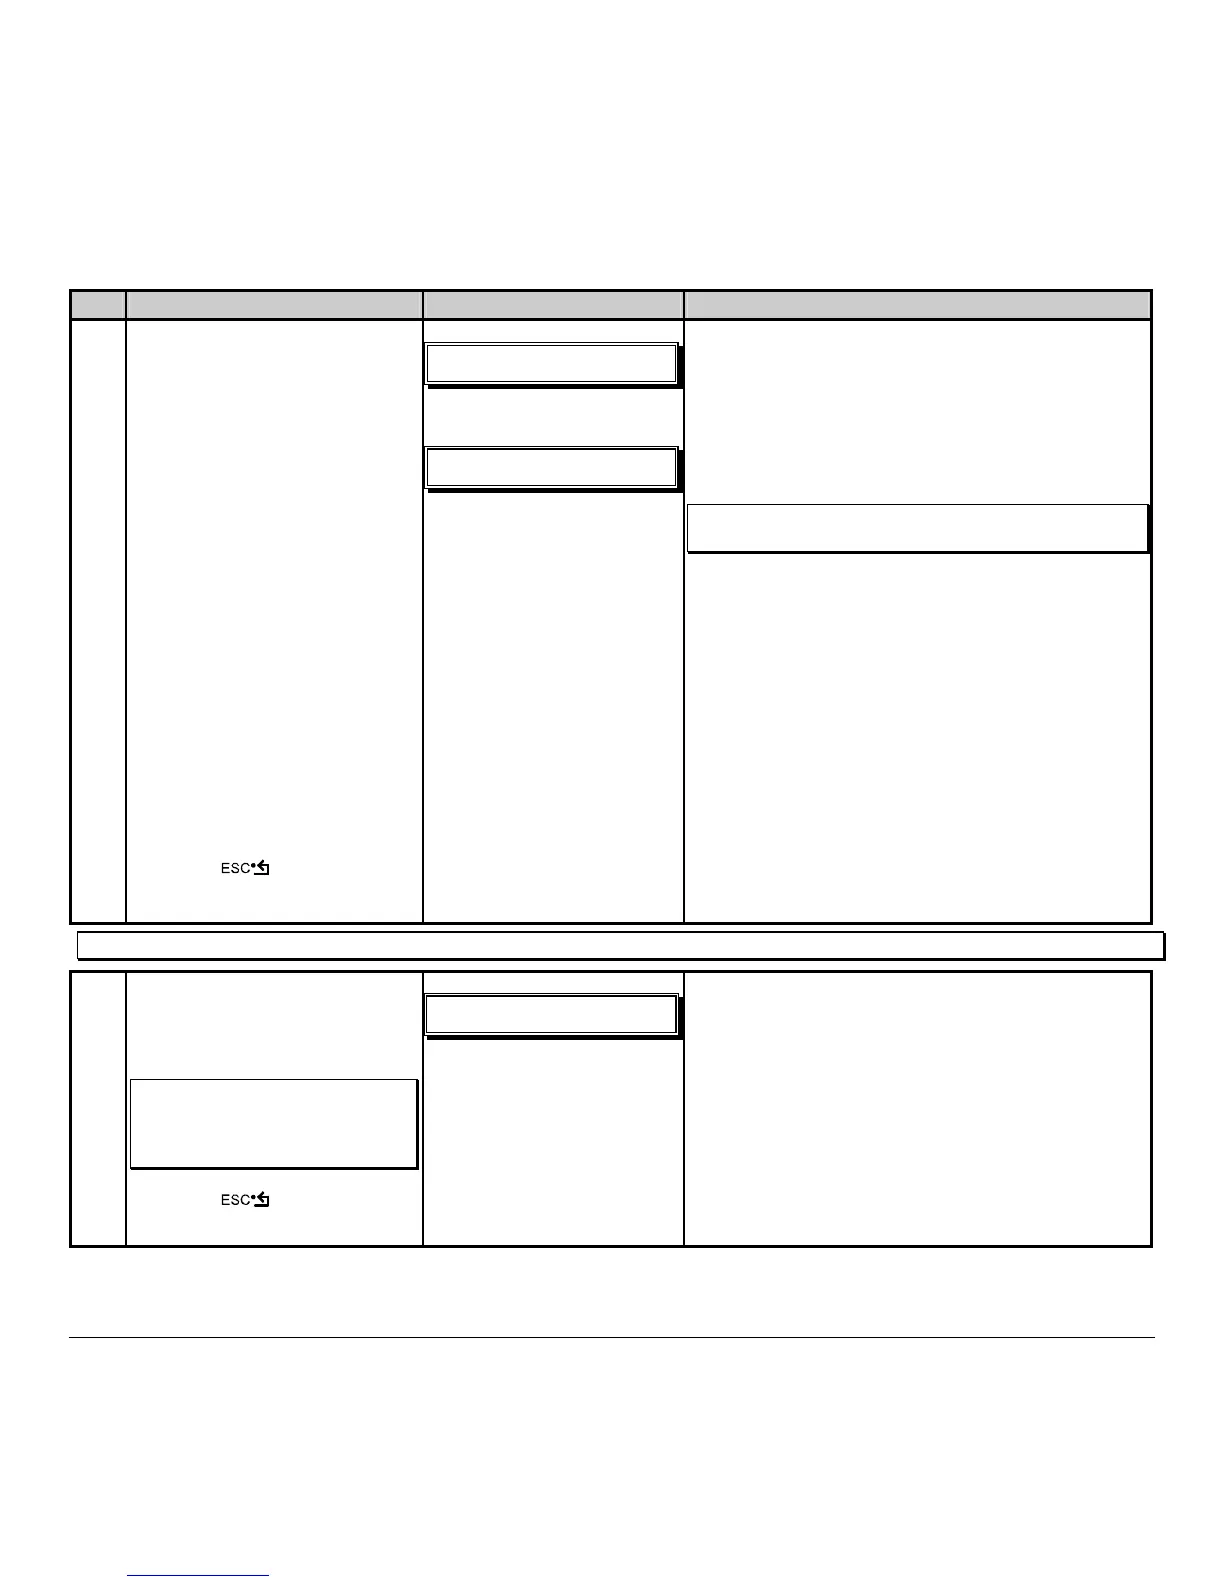
8
Position the label (and backing,
if any) under the Sensor Eye
Mark.
Note: If using preprinted media,
ensure the label area under the
sensor is free of preprinted text,
graphics or borders.
Press the key to continue.
!
TDBO!QBQFS!
QSFTT!FTD!LFZ!!=zzz?!
!
!
This sets the parameter for the ‘paper’ value.
Where ‘yyy’ is a numerical value representing the
current sensor reading.
 Loading...

