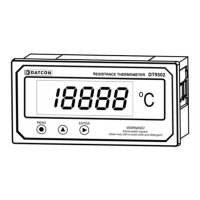
DT9502
20171205-V3
39
7.6. 4-wire / 3-wire operating
modes (04 menu item)
Function In this menu item you should select either 4 wires or 3 wires
for connecting the probe Pt100 to the apparatus.
(Factory default setting: 4 wires)
Sequence of operations 1. Enter the menu with the supervisor code.
Read chapter 7.1. Writing the code in to see how the code
should be written in. On the display you see this:
.
2. Keep stepping with the ▲ button as long as you see this
menu item:
.
3. With the ENTER button, enter this menu item.
4. The text
is visible on the display. The digit 4 is
blinking.
5. You can use the ▲ button to select the 4-wire or the 3-
wire operating mode.
• = measuring with 4 wires [default setting]
• = measuring with 3 wires (it results in less
accurate measurement, therefore it is strongly
recommended to use 4 wires for connecting the probe
Pt100 to the apparatus and use the 4-wire measuring
mode).
Exit from the menu item 1. After you have completed the setting, press the MENU
button. With this you leave the menu item, and you see this:
.
(2. If you want to change the setting you have just
completed, or if you just want to check what you have
written in, go on with the operations from point 3 of the
Sequence of operations.)
(3. If you do not want to exit the menu as you want to do
other settings too, you may use the ▲ button to select the
desired menu items.)
Exit from the menu
Press the MENU button. First you see the script
(Save) and then the script
(Exit). With this the
saving of the settings is ready. The apparatus has left the
menu and goes on with the measurement.