42
Make sure to turn it off before disassembly. Risk of electric shock.
PART NAME DESCRIPTION FIGURE
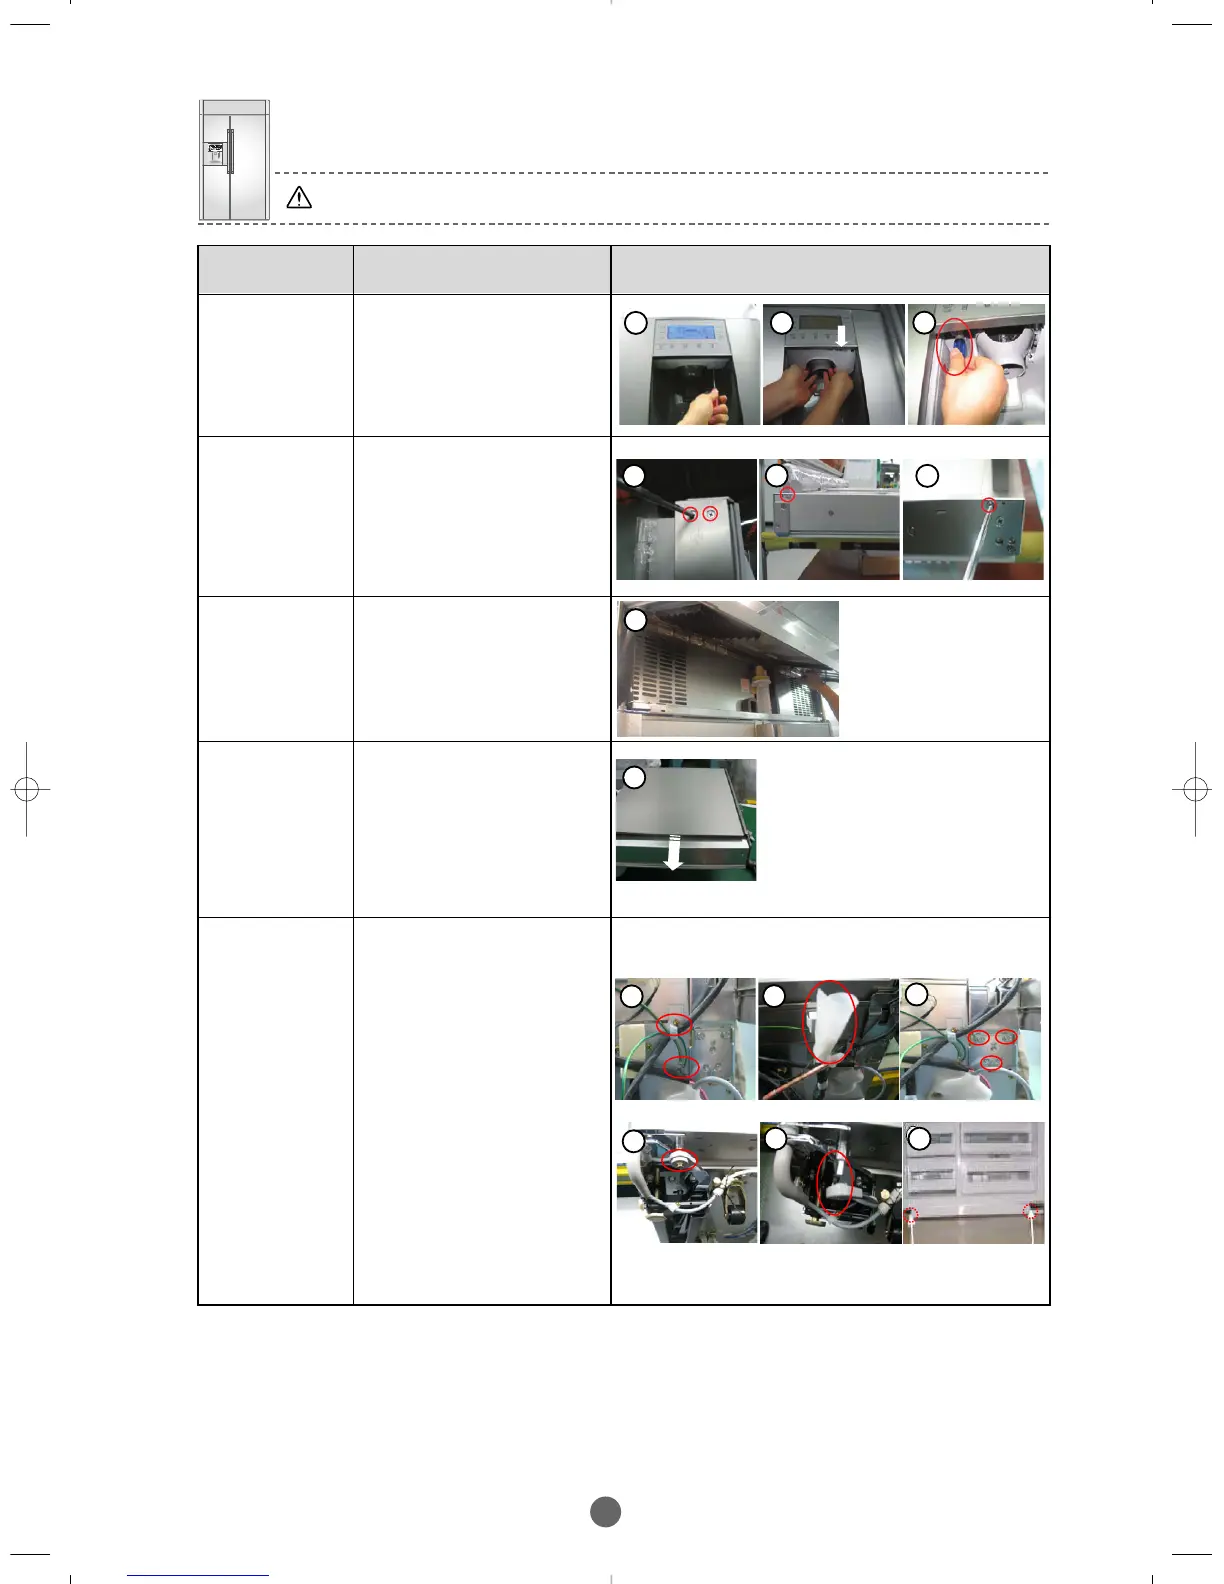
DISPENSER–
BULB
① Disassemble Turning
the two screw
counter-clockwise,
Lamp Cover like figure,
② now it is
possible to
change Bulb.
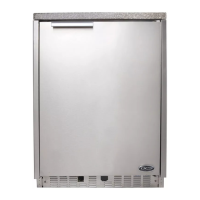
HANDLE
① Disassemble the
7screws at the side.
②
Disassemble circled 1
screw at the upper section.
③ Disassemble the circled
1 screw at the bottom
section.
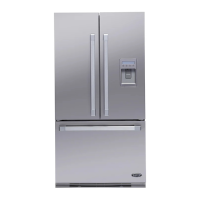
ASSY-COVER
COMP
① After opening the Assy
Grill, disassemble 6
screws and pull out the
Cover.
DECOR-
ATION PANEL :
FREEZER
UPPER PART
① Disassemble the
Handle.
② Pull the panel out to the
Handle side like figure 2.
※ Refer to the this method
to disassemble the
Freezer lower part and
Fridge part.
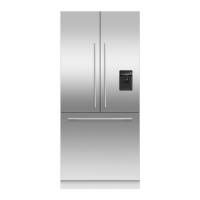
FREEZER
DOOR
① Disassemble grill cover,
disassemble the fixing
Clamp and Earthing
wire.
② Untie the plastic packing
for protecting water and
then disassemble the 2
housings of wire.
③ Disassemble the circled
3 blots(
Ø 10mm).
④ Pull out Cap Link B after
disassembling a bolt
using open wrench(
Ø
8mm)
⑤ Pull out Cap Link A from
the Hinge.
⑥ Disassemble the circled
2 screws to disassemble
Leg Front.
1 1
2
1 3
2
1
1
1
3
2
4
65
BRANDSOURCE-SM(EN) 2007.1.23 10:31 AM 페이지42