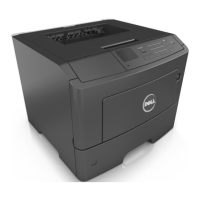
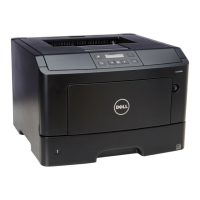
• The appropriate Ethernet cable with the Ethernet port
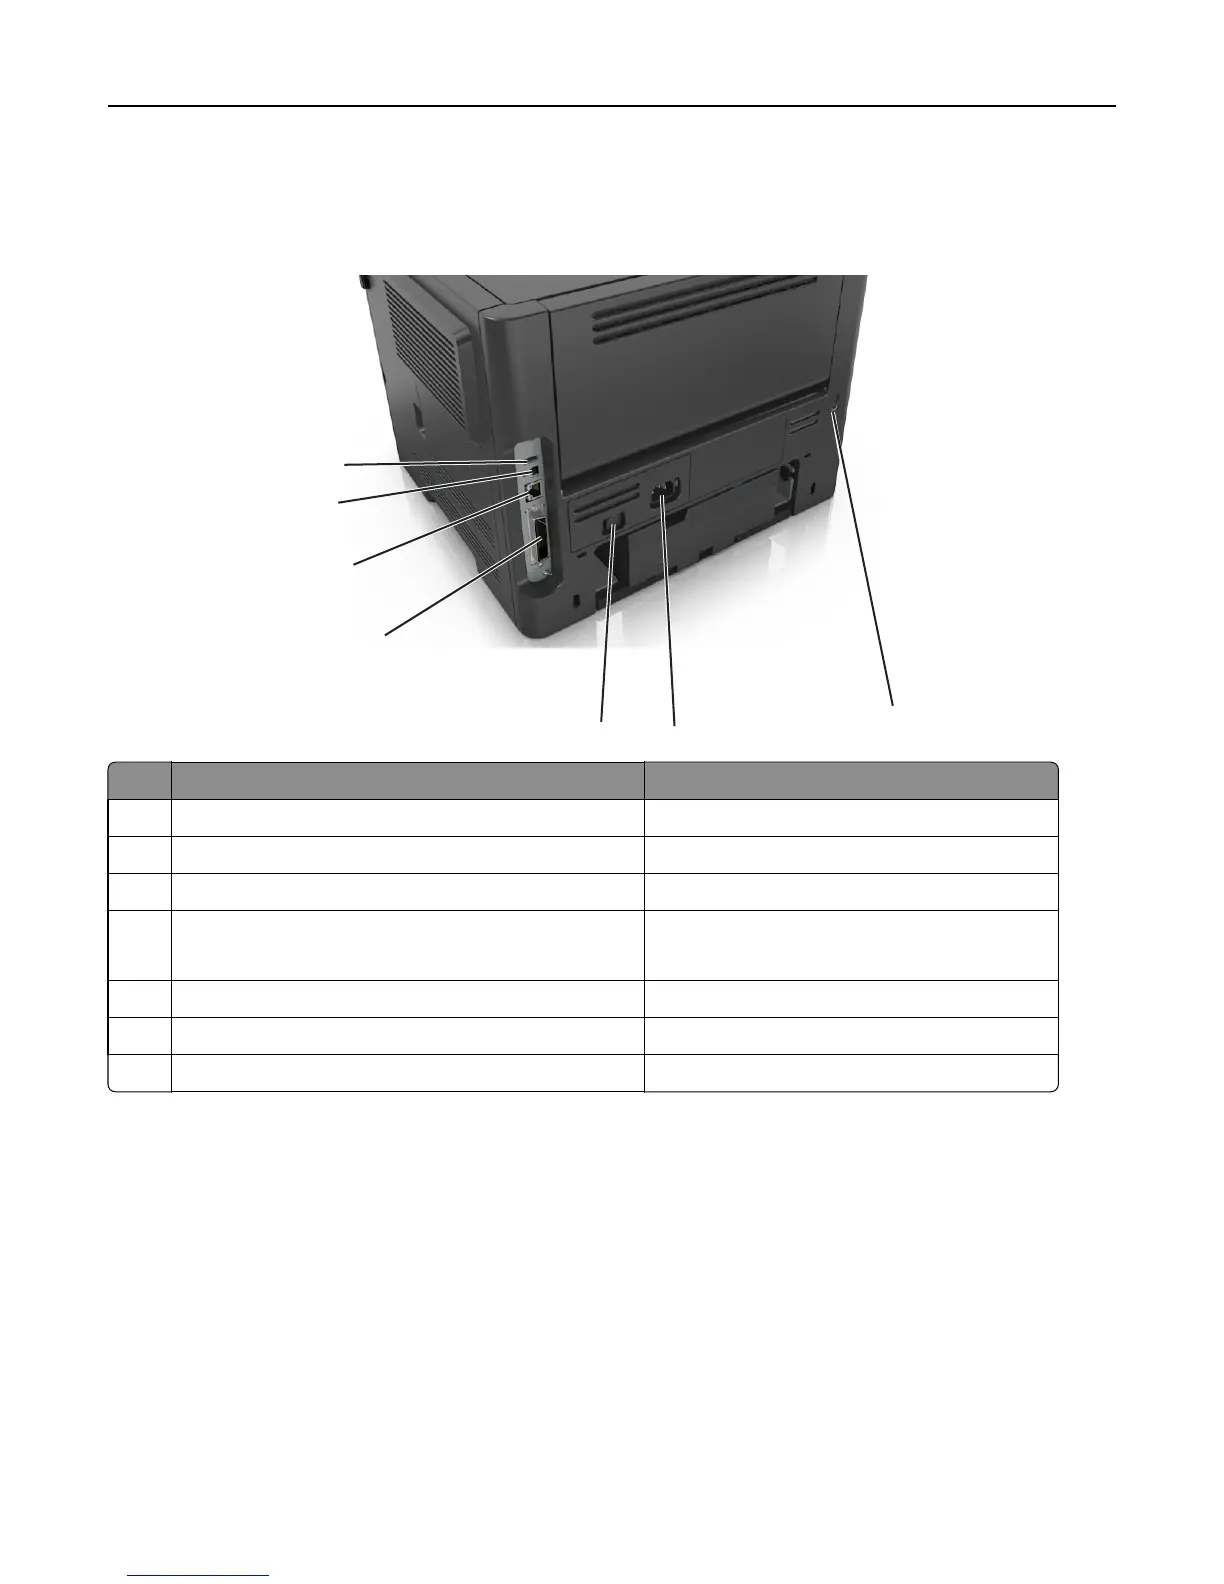
Warning—Potential Damage: Do not touch the USB cable, any network adapter, or the printer in the area shown
while actively printing. Loss of data or a malfunction can occur.
1
2
3
4
5
6
7
Use the To
1 USB port Attach an optional wireless network adapter.
2 USB printer port Connect the printer to a computer.
3 Ethernet port Connect the printer to an Ethernet network.
4 Parallel port
Note: This port is available only in select printer models.
Connect the printer to a computer.
5 Power switch Turn on or turn off the printer.
6 Printer power cord socket Connect the printer to an electrical outlet.
7 Security slot Attach a lock that will secure the printer in place.
Setting up the printer software
Installing the printer
1 Obtain a copy of the software installer package.
2 Run the installer, and then follow the instructions on the computer screen.
3 For Macintosh users, add the printer.
Note: Obtain the printer IP address from the TCP/IP section in the Network/Ports menu.
Additional printer setup 20