a. Disconnect the hard drive assembly cables from the connectors on the hard drive [1, 2].
b. Open the front panel door.
c. Press the blue tabs on both sides [3] and pull the hard drive assembly out of the chassis [4].
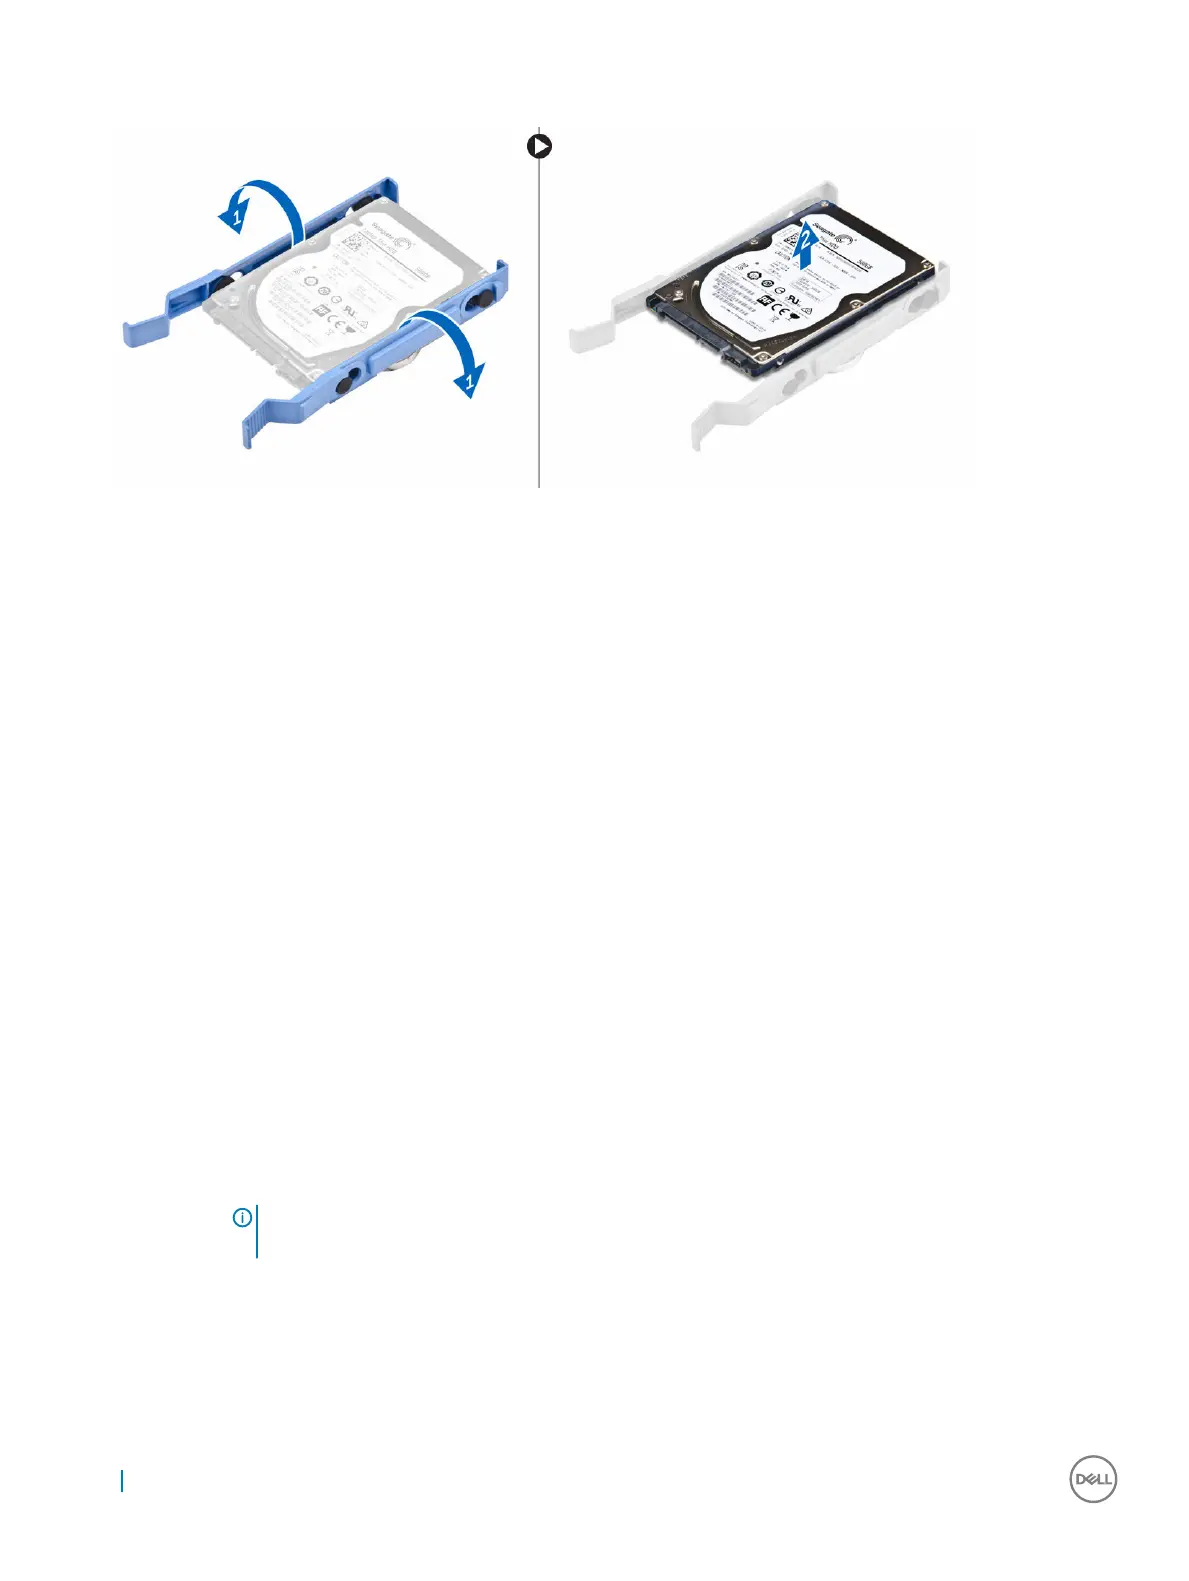
4. To remove the hard drive from the hard drive bracket:
a. Pull one side of the hard drive bracket to disengage the pins on the bracket from the slots on the hard drive [1].
b. Lift the hard drive out of the hard drive bracket [2].
Installing the 2.5 inch hard drive assembly
1. Align and insert the pins on the hard drive bracket with the slots on one side of the hard drive.
2. Flex the other side of the hard drive bracket, and align and insert the pins on the bracket into the hard drive.
3. Slide the hard drive assembly into the slot on the computer until it clicks into place.
4. Close the front panel door.
5. Connect the SATA cable and the power cable to the connectors on the hard drive.
6. Install the:
a. bezel
b. cover
7. Follow the procedure in After working inside your computer.
Optical drive
Removing the optical drive assembly
1. Follow the procedure in Before working inside your computer.
12
Disassembly and reassembly