2. Remove the:
a. cover
b. bezel
3. Open the front panel door.
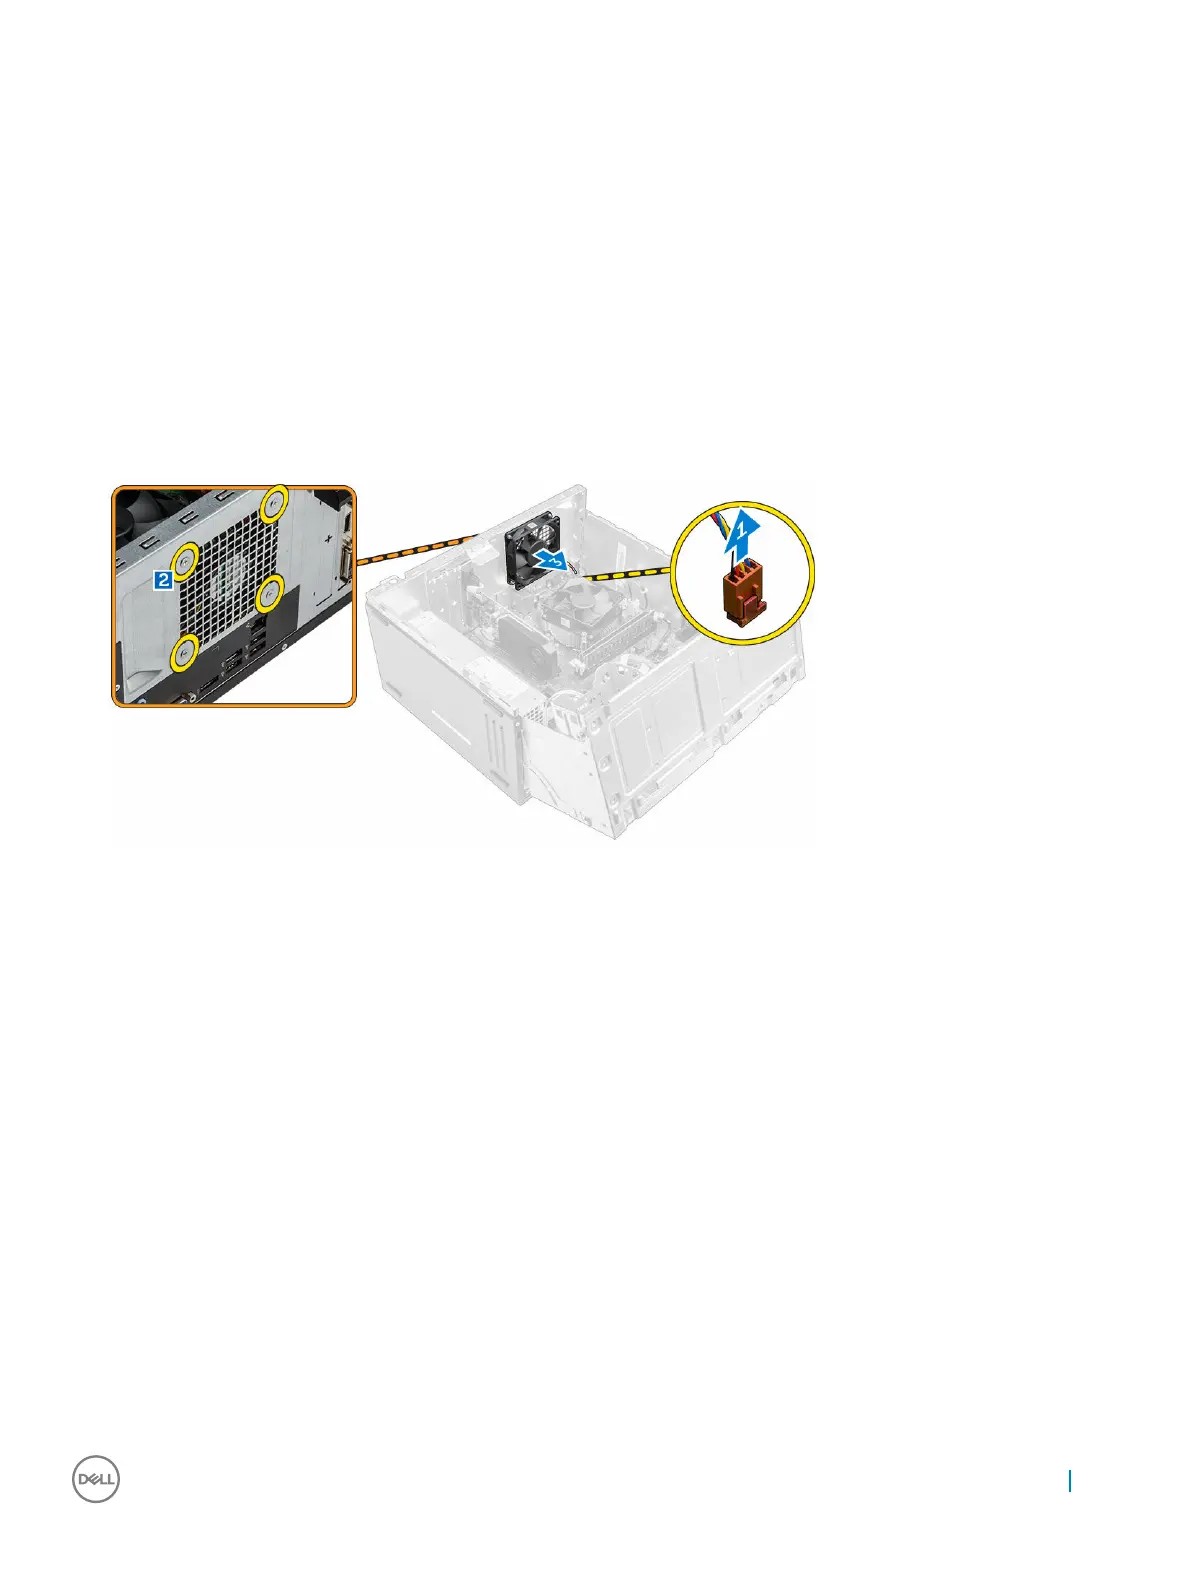
4. To remove the system fan:
a. Disconnect the system fan cable from the connector on the system board [1].
b. Remove the screws that secure the system fan to the computer [2].
c. Slide the system fan out of the computer [3].
Installing the system fan
1. Hold the system fan with the cable facing the bottom of the computer.
2. Align the system fan to the screws holders on the chassis wall.
3. Tighten the screws to secure the system fan to the computer.
4. Connect the system fan cable to the connector on the system board.
5. Close the front panel door.
6. Install the:
a. bezel
b. cover
7. Follow the procedure in After working inside your computer.
System board
Removing the system board
1. Follow the procedure in Before working inside your computer.
2. Remove the:
a. cover
b. bezel
3. Open the front panel door.
4. Remove the:
a. heat sink assembly
b. processor
c. PCIe expansion card
d. memory module
e. WLAN card
f. system fan
Disassembly and reassembly
21