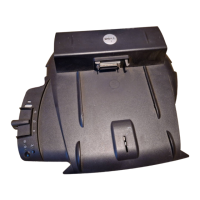
Steps
1. Slide the back I/O-ports on the system board into the front I/O-slots on the chassis and align the screw holes on the system
board with the screw holes on the chassis.
2. Replace the nine screws (#6-32) that secure the system board to the chassis.
3. Route and connect all the cables that you disconnected from the system board.
4. Place and align the front I/O-bracket with I/O slot on the chassis.
5. Replace the screw (#6-32) that secures the front I/O-bracket to the chassis.
Next steps
1. Install the processor.
Removing and installing components
61