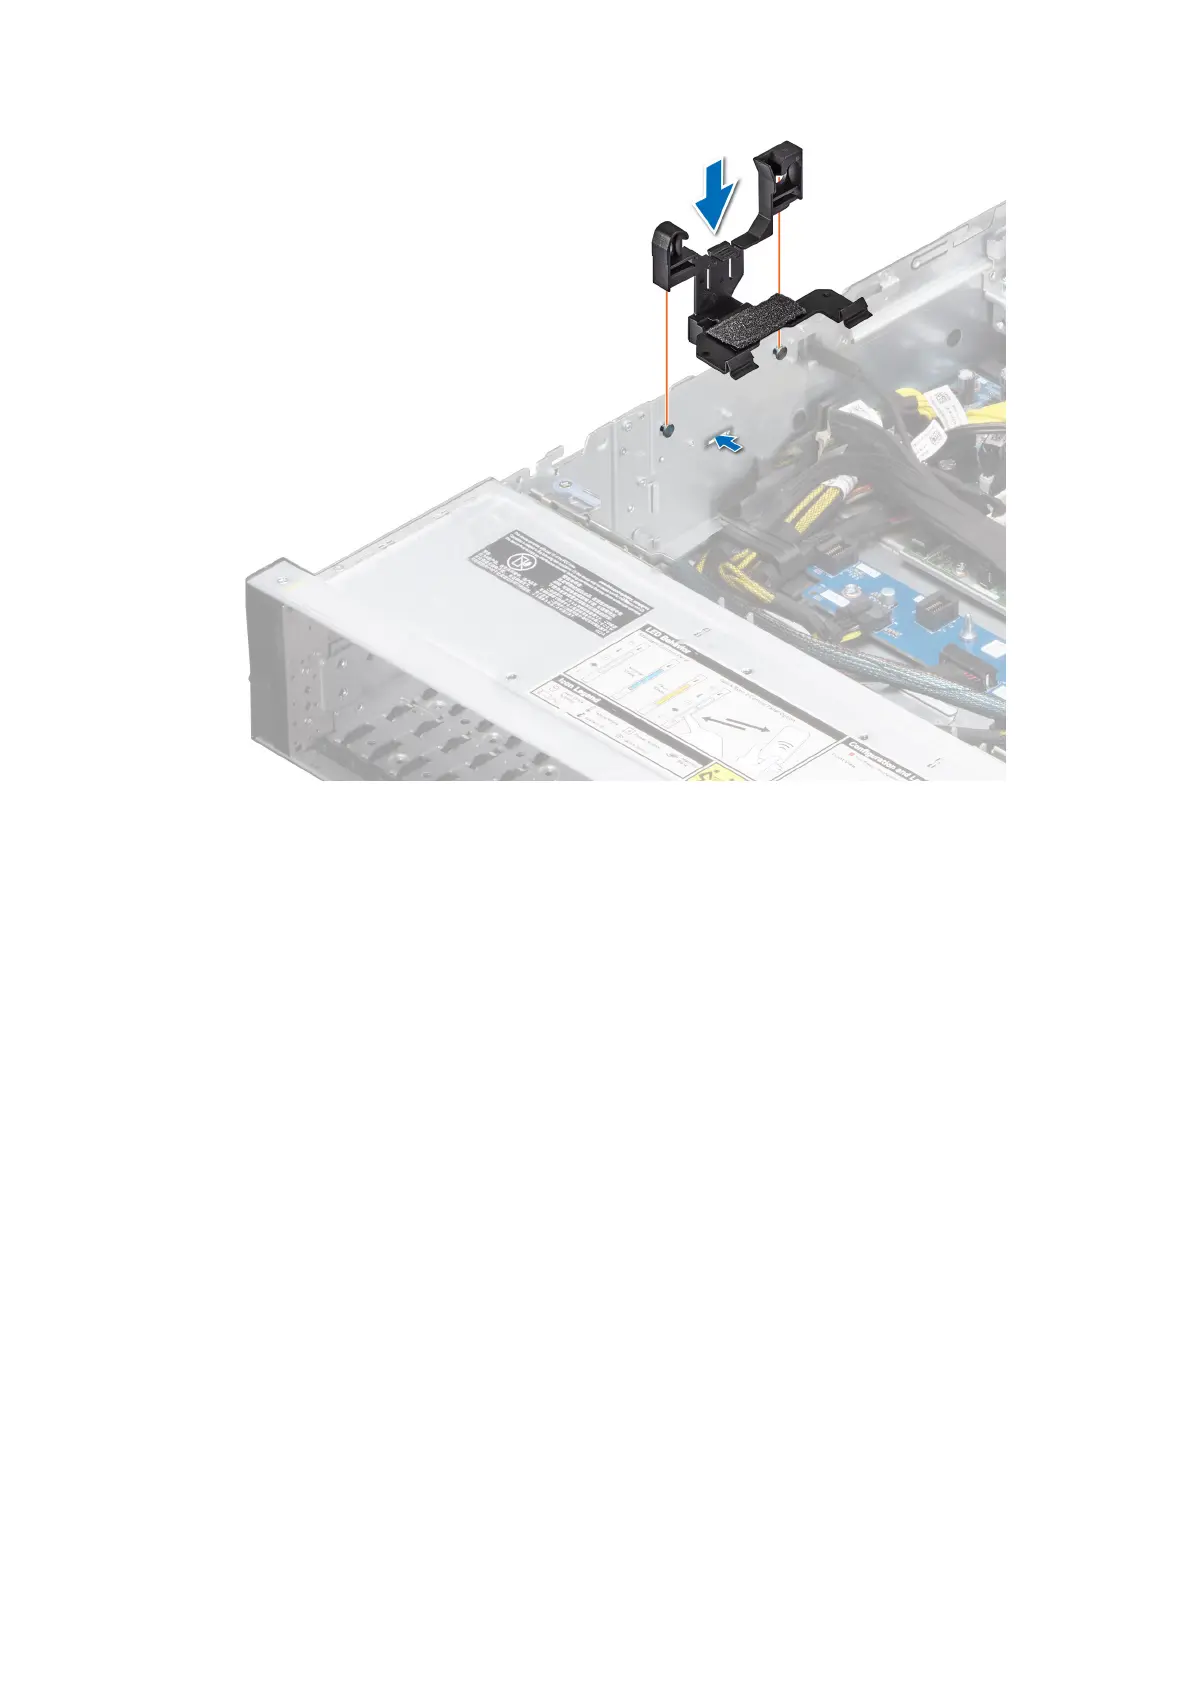
Figure 34. Installing the side wall bracket
Next steps
1. Install the air shroud.
2. Install the backplane cover.
3. Follow the procedure listed in the After working inside your system.
Intrusion switch module
This is a service technician replaceable part only.
Removing the intrusion switch module
Prerequisites
1. Follow the safety guidelines listed in the Safety instructions.
2. Follow the procedure listed in the Before working inside your system.
3. Remove the air shroud.
Steps
1. Remove the power cable from the power interposer board and the system board and then disconnect and remove the
intrusion switch cable from the connector on the system board.
Observe the routing of the cable as you remove it from the system.
2. Using the Phillips #1 screwdriver, remove the screw securing the intrusion switch module.
3. Lift the intrusion switch module out of the system.
Installing and removing system components
45