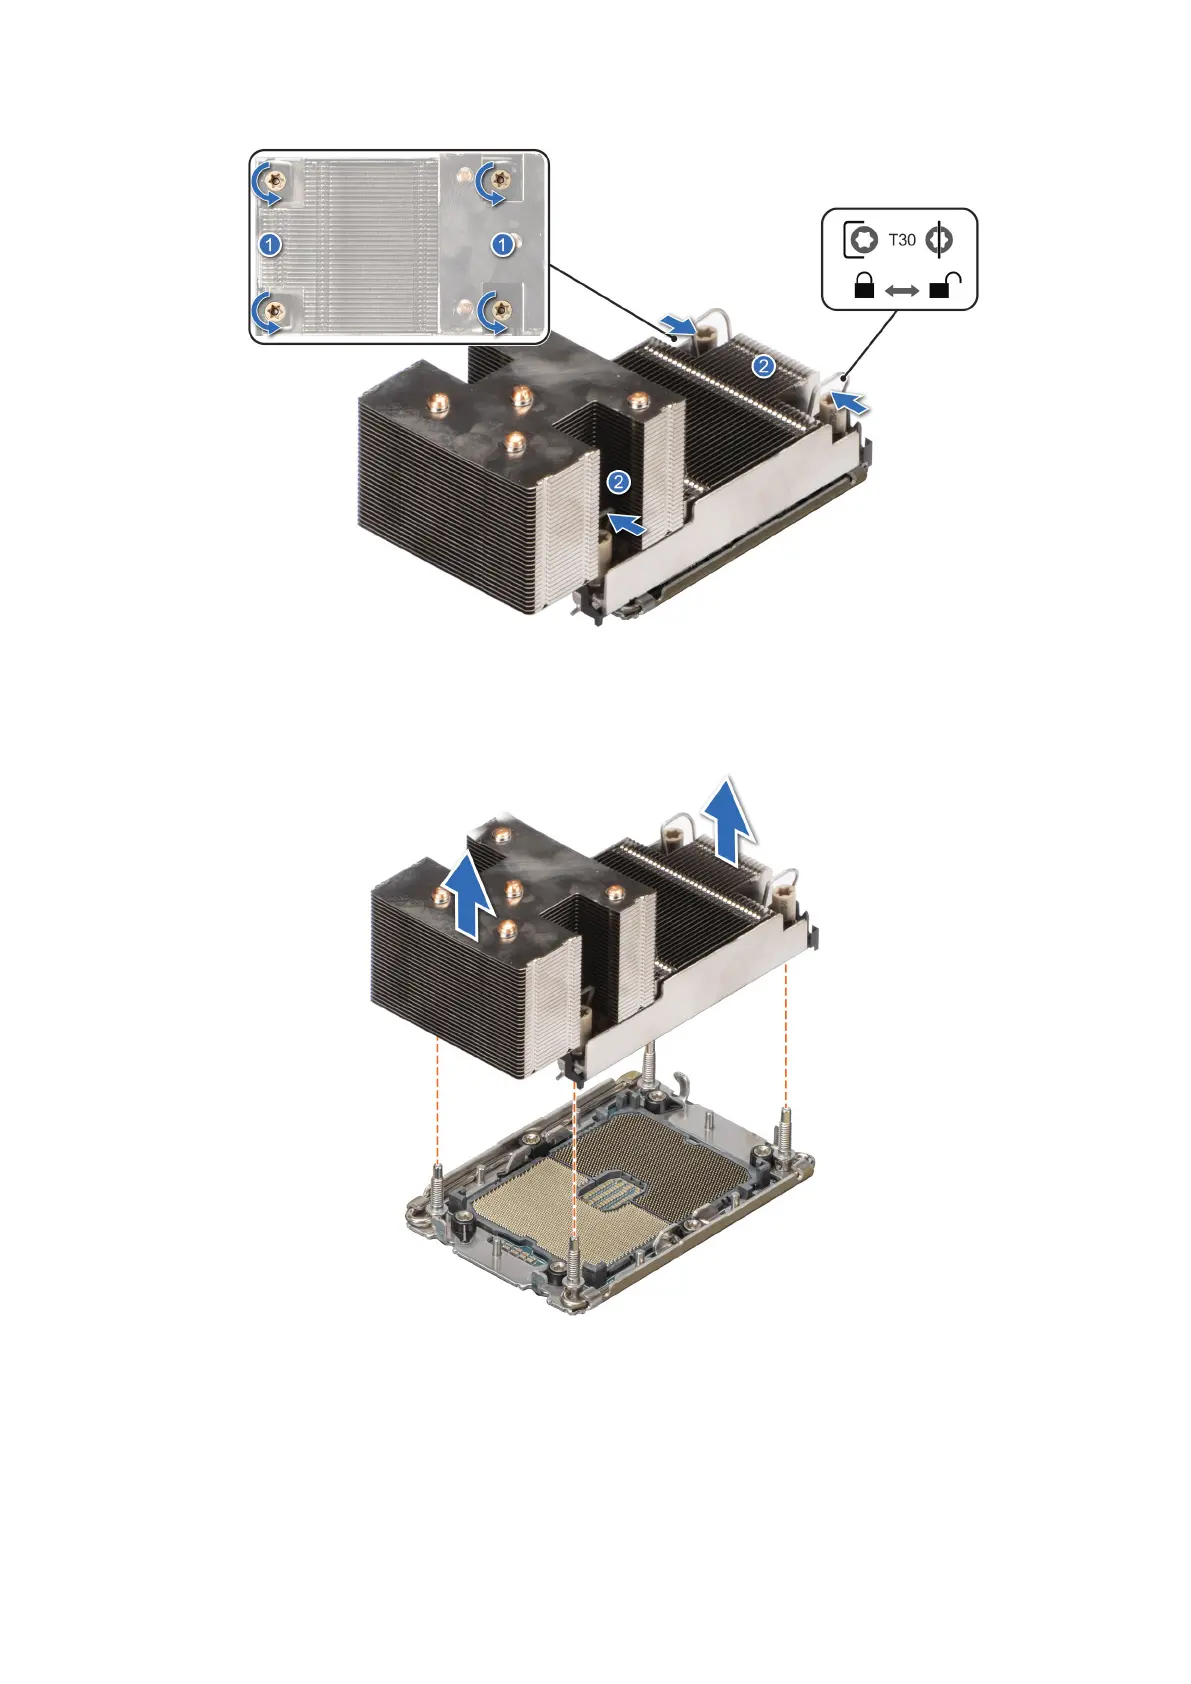
Figure 65. Loosening the screws and set the anti-tilt wires to the unlocked position
3. Lift the processor and heat sink module (PHM) from the system and set the PHM aside with the processor side facing up.
Figure 66. Removing a processor and heat sink module
Next steps
If you are removing a faulty heat sink, replace the heat sink, if not, remove the processor.
Installing and removing system components
73