Control panel assembly
Removing the control panel assembly
Prerequisites
1 Follow the safety guidelines listed in Safety instructions.
2 Follow the procedure listed in Before working inside your system.
3 If applicable, remove the cooling fan assembly.
Steps
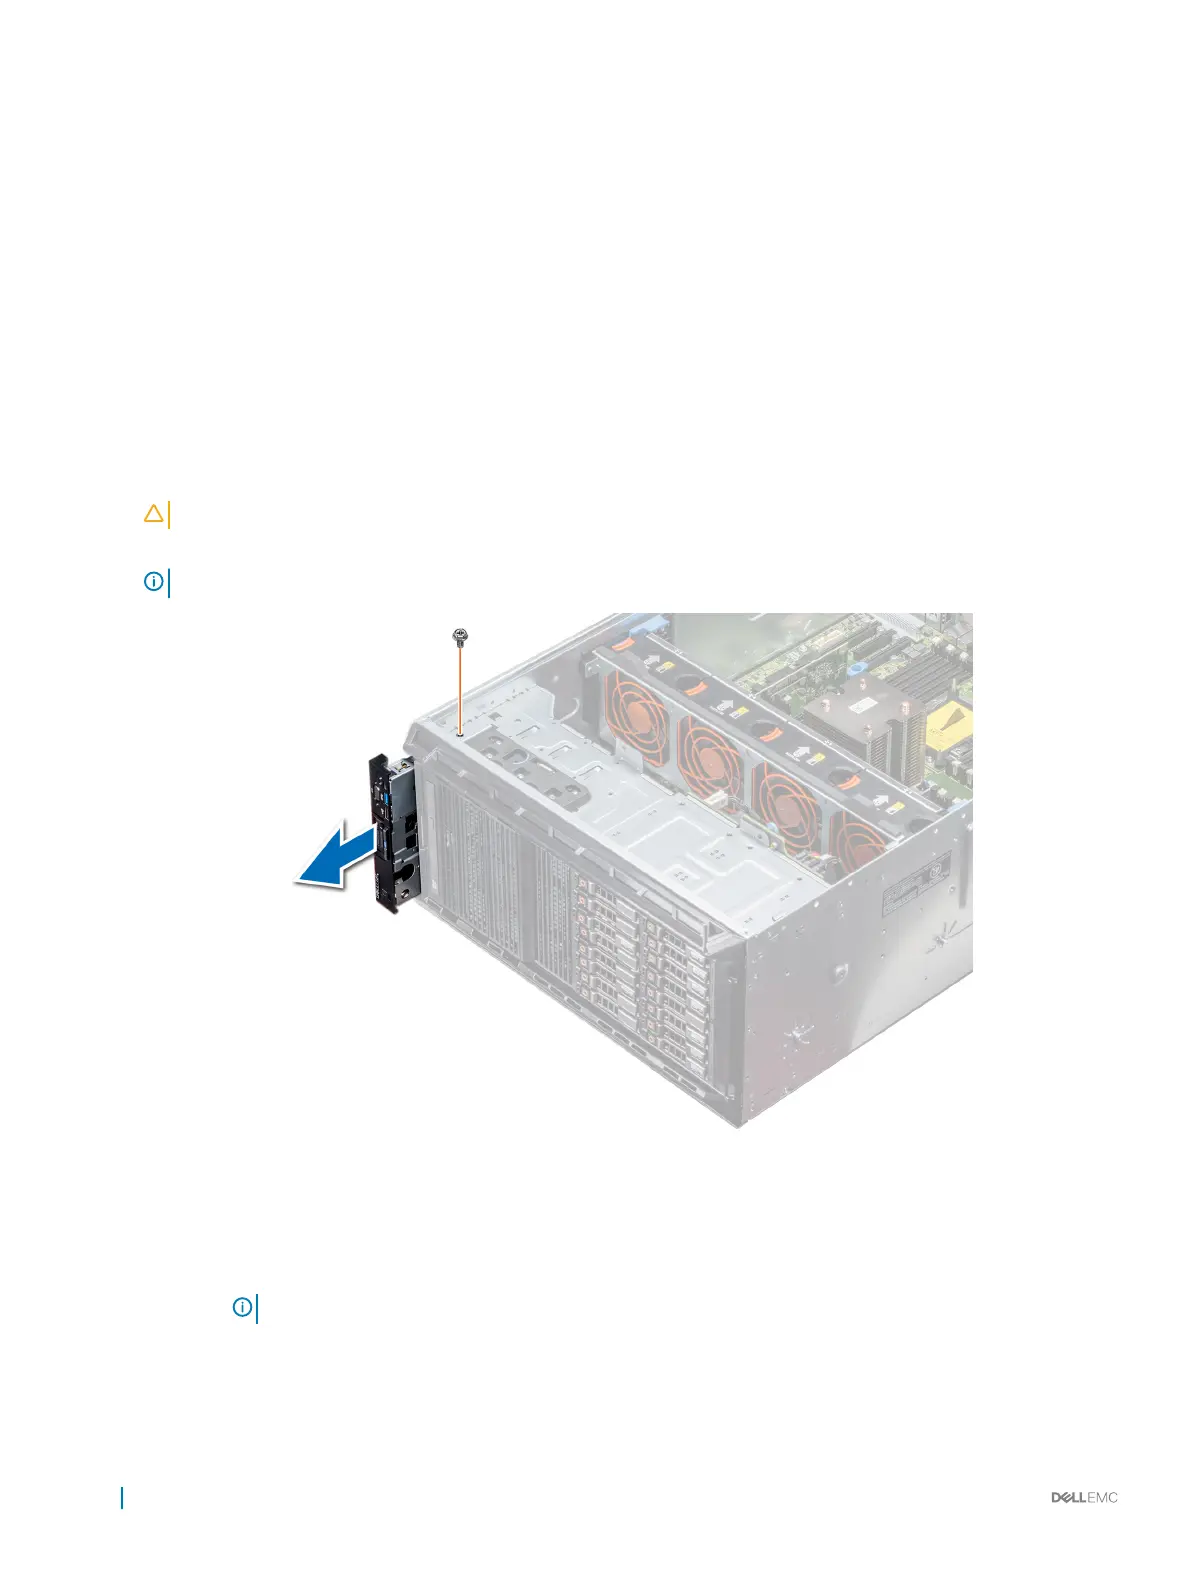
1 Using the Phillips #2 screwdriver, remove the screw that secures control panel to the chassis.
2 Disconnect the control panel cable and the control panel USB cable from the system board.
CAUTION: Do not use excessive force when removing the control panel cables as it can damage the connectors.
3 Slide the control panel out of the chassis.
NOTE: Follow the same steps to remove the control panel in the rack-mode conguration.
Figure 101. Removing the control panel assembly
4 To remove the information tag, perform the following steps:
a Locate and press the tabs on the information tag.
b Push the information tag out of the slot to remove it from the control panel.
NOTE
: Retain the information tag to replace it in the new control panel.
154 Installing and removing system components

 Loading...


