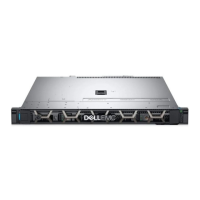
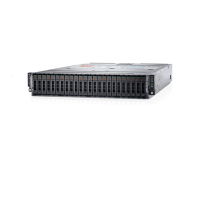
Removing the front bezel
Prerequisite
Follow the safety guidelines listed in Safety instructions.
Steps
1 Unlock the bezel.
2 Press the release latch at the top of the bezel.
3 Pull the top end of the bezel away from the system.
4 Unhook the bezel tabs from the slots at the bottom of the system, and lift the bezel away.
Figure 15. Removing the front bezel
Installing the front bezel
Prerequisite
Follow the safety guidelines listed in Safety instructions.
Steps
1 Locate and remove the bezel key.
NOTE
: There are two bezel keys attached to the back of the bezel.
2 Insert the bezel tabs into the slots in the chassis.
3 Press the release latch, and push the bezel toward the system until the bezel locks into place.
4 Using the key lock the bezel.
Installing and removing system components
67

 Loading...


