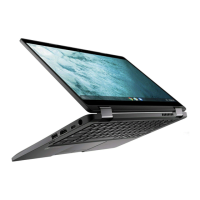
Installing the touchpad
1 Place the touchpad into the slot on the system.
2 Align and place touchpad bracket over the plastic hold down and replace the six M2x2 and one M2x3 screw to secure it to the system.
3 Ax the adhesive tapes to secure the touchpad bracket
4 Connect the touchpad cable to the connector and ax the adhesive—backed cable to secure it to the touchpad.
5 Install the:
a battery
b base cover
6 Follow the procedure in After working inside your computer.
Power connector port
Removing power connector port
1 Follow the procedure in Before working inside your computer.
2 Remove the:
a base cover
b battery
3 To remove the power connector port:
a Disconnect the power connector cable from the connector on the system board [1].
b Remove the two M2x3 screws that secure the power connector port on the computer [2].
c Slide and lift the power connector port from the computer [3].
Disassembly and reassembly
23
 Loading...
