NOTE: The processor and heat sink can become extremely hot. Be sure the processor has had sucient time to cool before
handling.
NOTE: The memory modules are hot to touch for some time after the system has been powered down. Allow time for the
memory modules to cool before handling them. Handle the memory modules by the card edges and avoid touching the
components.
CAUTION: Do not lift the system board by holding a memory module, processor, or other components.
CAUTION: Temporarily label the drive before removal so that you can replace them in their original locations.
NOTE: Ensure that the I/O connector cover is still in place on the I/O connector at the back of the system board.
Steps
1 Using the Hex nut driver-5 mm and Phillips #2 screwdrivers, remove the screws that secure the system board to the system.
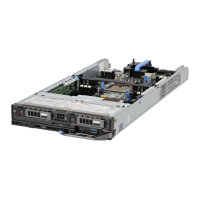
Figure 47. Locations of the screws on the system board
2 Holding the system board holder, slide the system board to the back of the system until the USB connectors disengage from the slots
on the front wall of the system.
3 Lift the system board by holding the system board holder and the I/O connector cover.
Installing and removing system components
93
 Loading...
