11
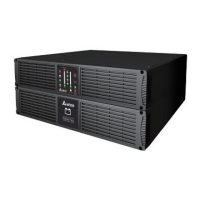
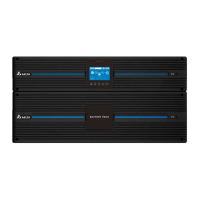
Amplon MX Series
To allow for unattended UPS shutdown/start-up and status monitoring, connect
one end of communication cable to the USB/RS-232 port and the other to the
communication port of your PC. With the monitoring software installed, you can
schedule UPS shutdown/start-up and monitor UPS status through PC.
The UPS is equipped with mini slot perfect for either mini SNMP, mini relay I/O card
and mini modbus card. When installing either mini SNMP, mini relay I/O card or mini
modbus card in the UPS, it will provide advanced communication and monitoring
options.
Step 4: Network connection
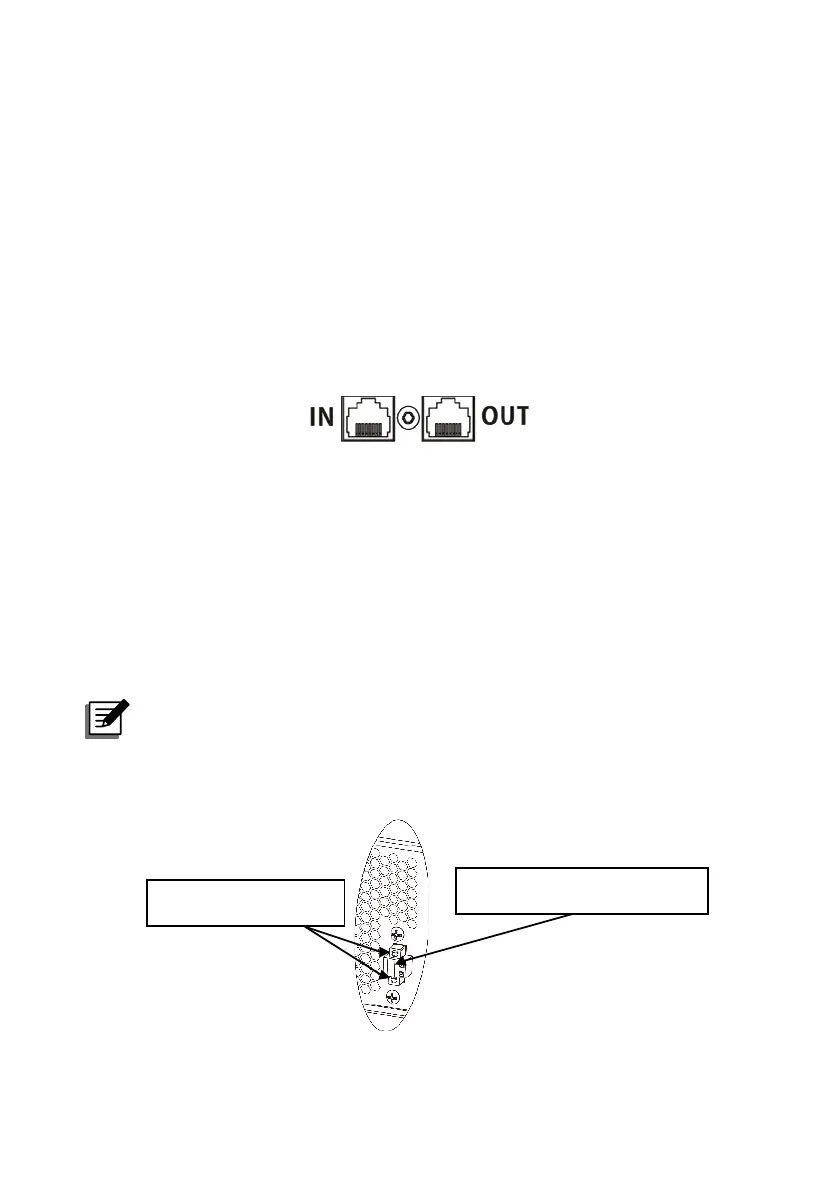
Network/Fax/Phone surge Protection port
Connect a single modem/phone/fax line into surge-protected “IN” outlet on the back
panel of the UPS unit. Connect from “OUT” outlet to the equipment with another
modem/fax/phone line cable.
Step 5: Disable and enable REPO function
This UPS is equipped with REPO function. By default, the UPS is delivered from
factory with Pin 1 and Pin 2 closed (a metal plate is connected to Pin 1 and Pin 2)
for UPS normal operation. To activate REPO function, remove two screws on REPO
port and green connector will be removed.
NOTE :
The REPO function logic can be set up via LCD setting. Please refer to
program 7 in UPS setting for the details.
To activate REPO function,
remove these two screws.
It’s in closed status for
UPS normal operation as default.
 Loading...