Assembly and Installation MATRIX control panel
18 PR-2011-0110-GB • Subject to modifications • R9-03-2016
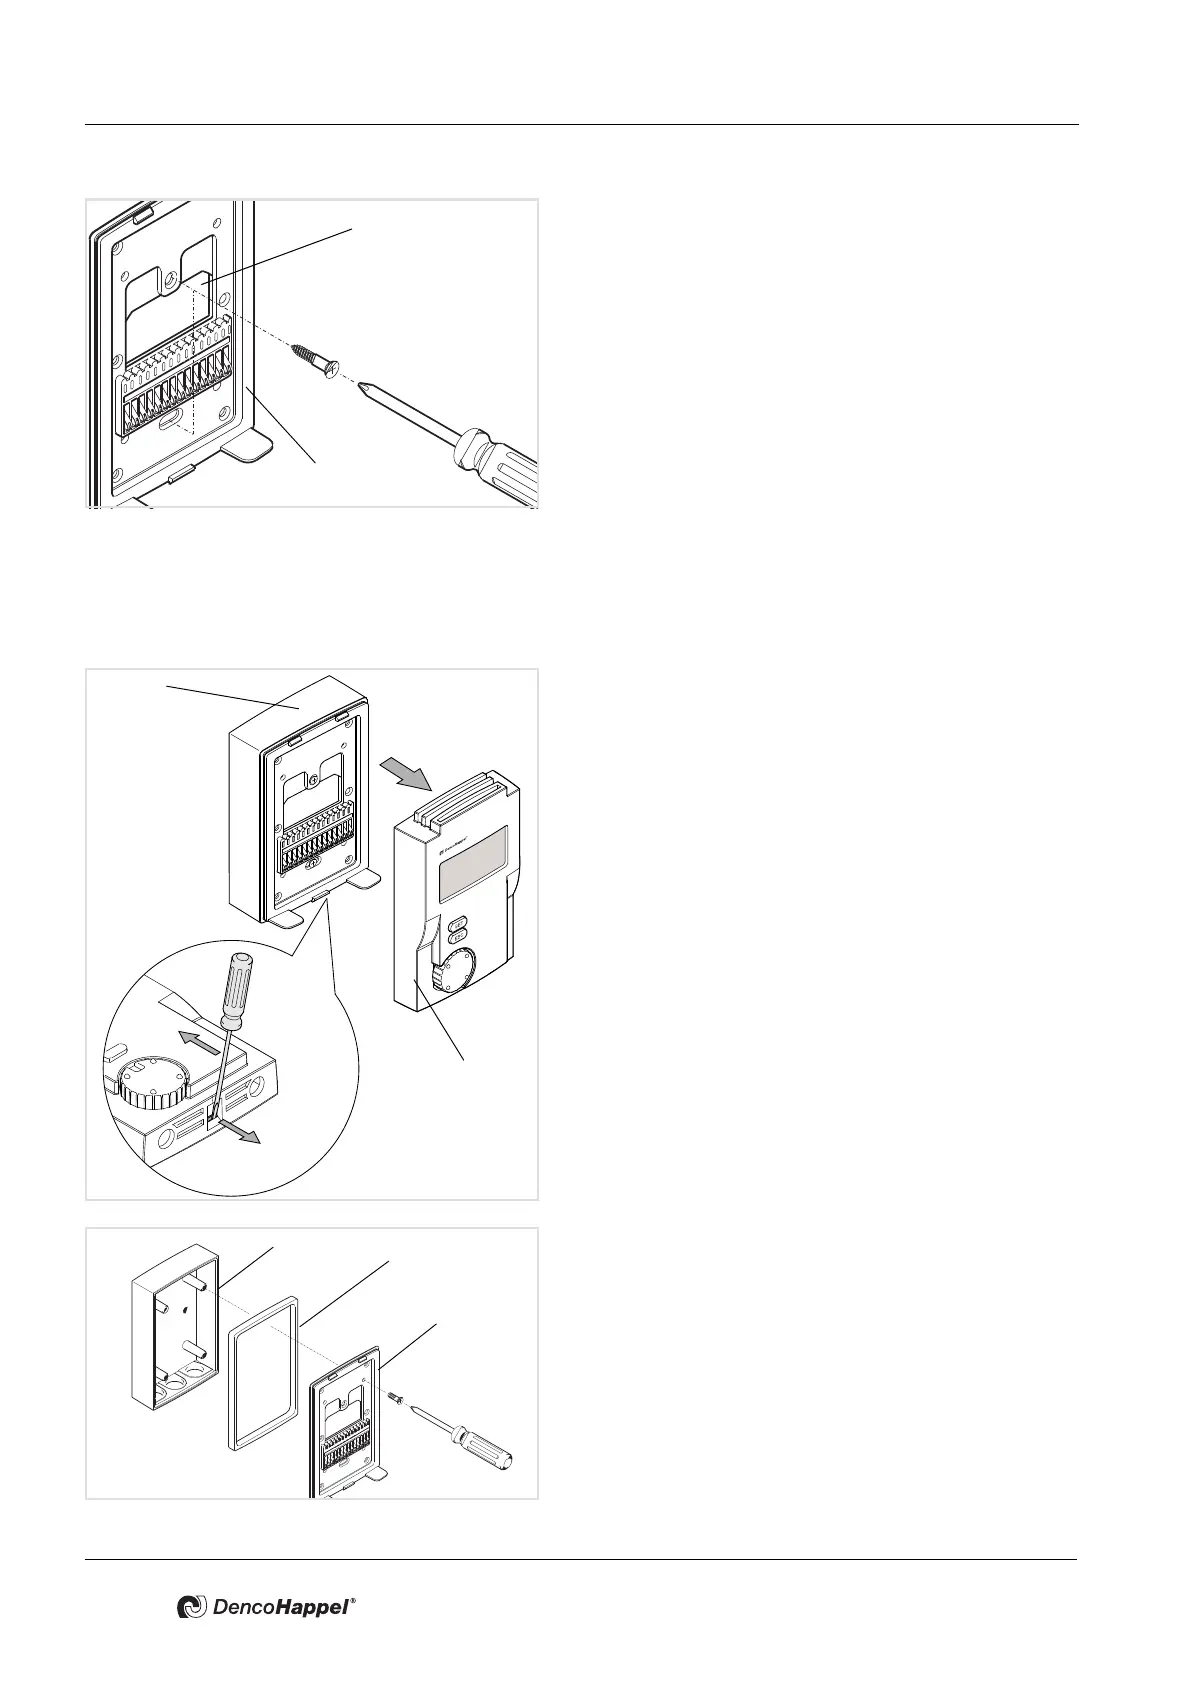
• Route the wires through the opening (1) in the mount-
ing plate (2) of the MATRIX control panel.
• Secure the mounting plate of the MATRIX control panel
on the wall or flush-mounted socket.
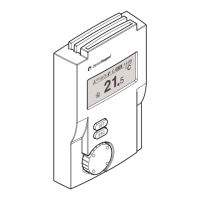
5.2.2 Mounting MATRIX OP5xl (IP54) control panel
The casing of the OP5xI is suitable for installation on the wall. The wires are
routed through three membrane grommets from below.
• Use a screwdriver to release the front panel (1) from the
mounting plate (2) on the bottom side of the MATRIX
control panel.
Ensure that the mounting plate is not deformed.
• If required, unscrew the mounting screws from the
mounting plate (3) on the surface-mounted socket (1).
• Lift the mounting plate (3) away from the surface-
mounted socket (1).
• Adhere a gasket (2) on the bottom part of the mounting
plate (3).