4
CONNECTIONS
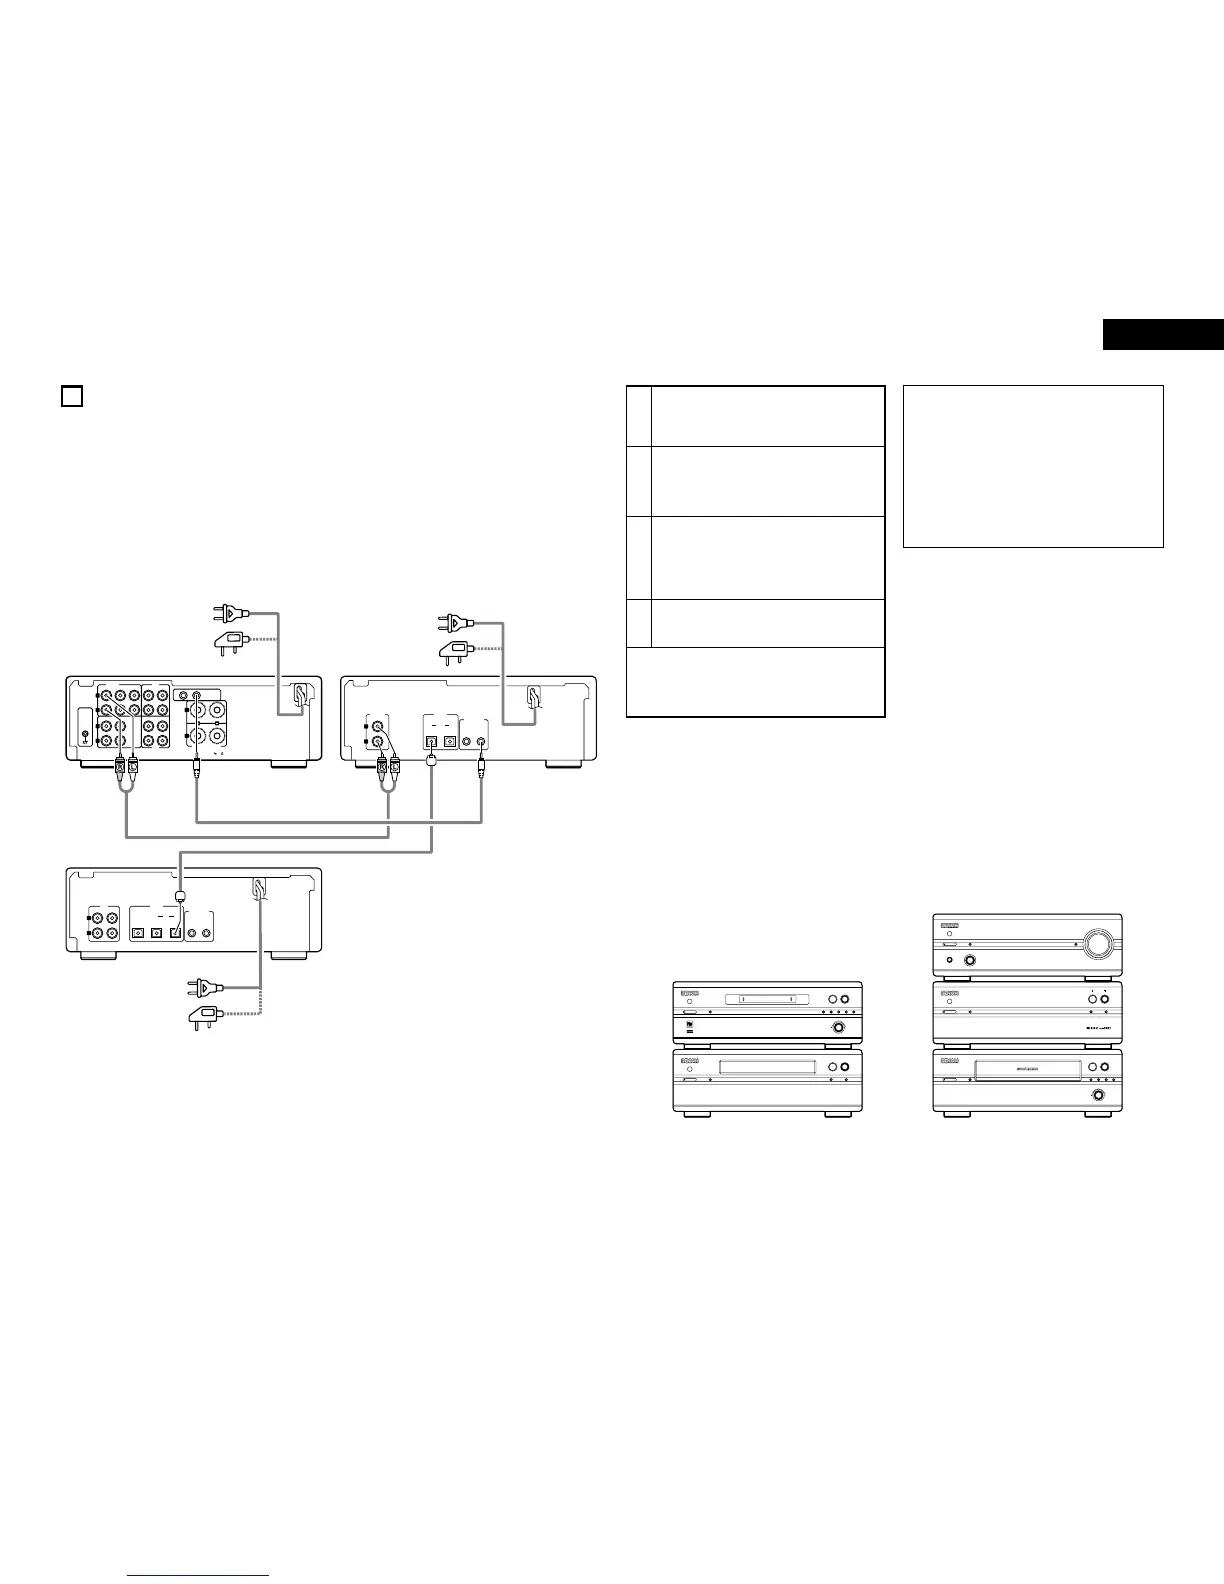
Connecting to the 201SA Series
2 When connecting to a pre-main amplifier other than the one in the 201SA series, there is no need to make
connection 2. Note that in this case none of the system functions (auto power on, etc.) will work.
• System operations such as the auto power on function can only be used if stereo audio cords and system cords are
connected between all the system components. Be sure to securely connect all the connection cords between all the
units.
• Disconnecting a system cord during system operation may result in malfunction. Be sure to unplug the power cords
before changing the connections.
• Install the components in such a way that the ventilation holes of the pre-main amplifier (PMA-201SA) are not
obstructed.
1
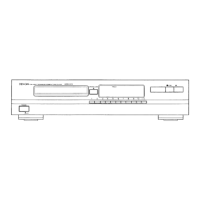
Connect the DCD-201SA’s LINE OUT jacks to
the pre-main amplifier’s CD input jacks using the
included stereo audio cord.
2
4
Connect the DCD-201SA’s SYSTEM
CONNECTOR jack (1 or 2) to the SYSTEM
CONNECTOR jack (1 or 2) of one of the other
components using the included system cord.
Plug the power cord into a power outlet.
✽ The DCD-201SA can also be used when connected
to a pre-main amplifier other than the one in the
201SA series. In this case, none of the system
functions (auto power on, etc.) will work.
• Do not place another component directly on top of the
pre-main amplifier (PMA-201SA).
• Do not stack a component that is larger in depth (PMA-
201SA or DCD-201SA) on top of a component that is
smaller in depth (TU/DRR-201SA).
• For stability, do not stack more than three components
on top of each other.
NOTES:
• Do not plug power cords into power outlets until all
connections have been completed.
• Check the left and right channels and be sure to
interconnect them correctly (R to R, L to L).
• Plug in the power cords securely. Incomplete
connections will result in noise.
• Clasping the power cords and connection cords
together may result in humming or noise.
• After unplugging the power cord, wait at least 5
seconds before plugging it back in.
Recommended System Installation
• To ensure performance and stability, install the 201SA
series as shown below.
3
Connect the DCD-201SA’s optical digital output
terminal (DIGITAL OPTICAL OUT 1 or 2) to the
digital input terminal (DIGITAL OPTICAL IN 1 or
2) of the MD recorder using optical connection
cords.

 Loading...