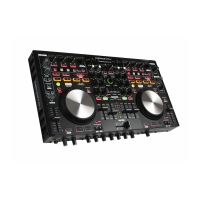
4
NOTE
•Do not plug in the power cord until all connections have been completed.
•When making connections, also refer to the operating instructions of the other components.
•Insert the plugs securely. Loose connections will result in the generation of noise.
•Be sure to connect the left and right channels properly (left with left, right with right).
•Be sure to connect the input and output channels of other devices correctly to this unit.
•Do not bundle power cords together with connection cables. Doing so can result in humming or noise.
Preparations
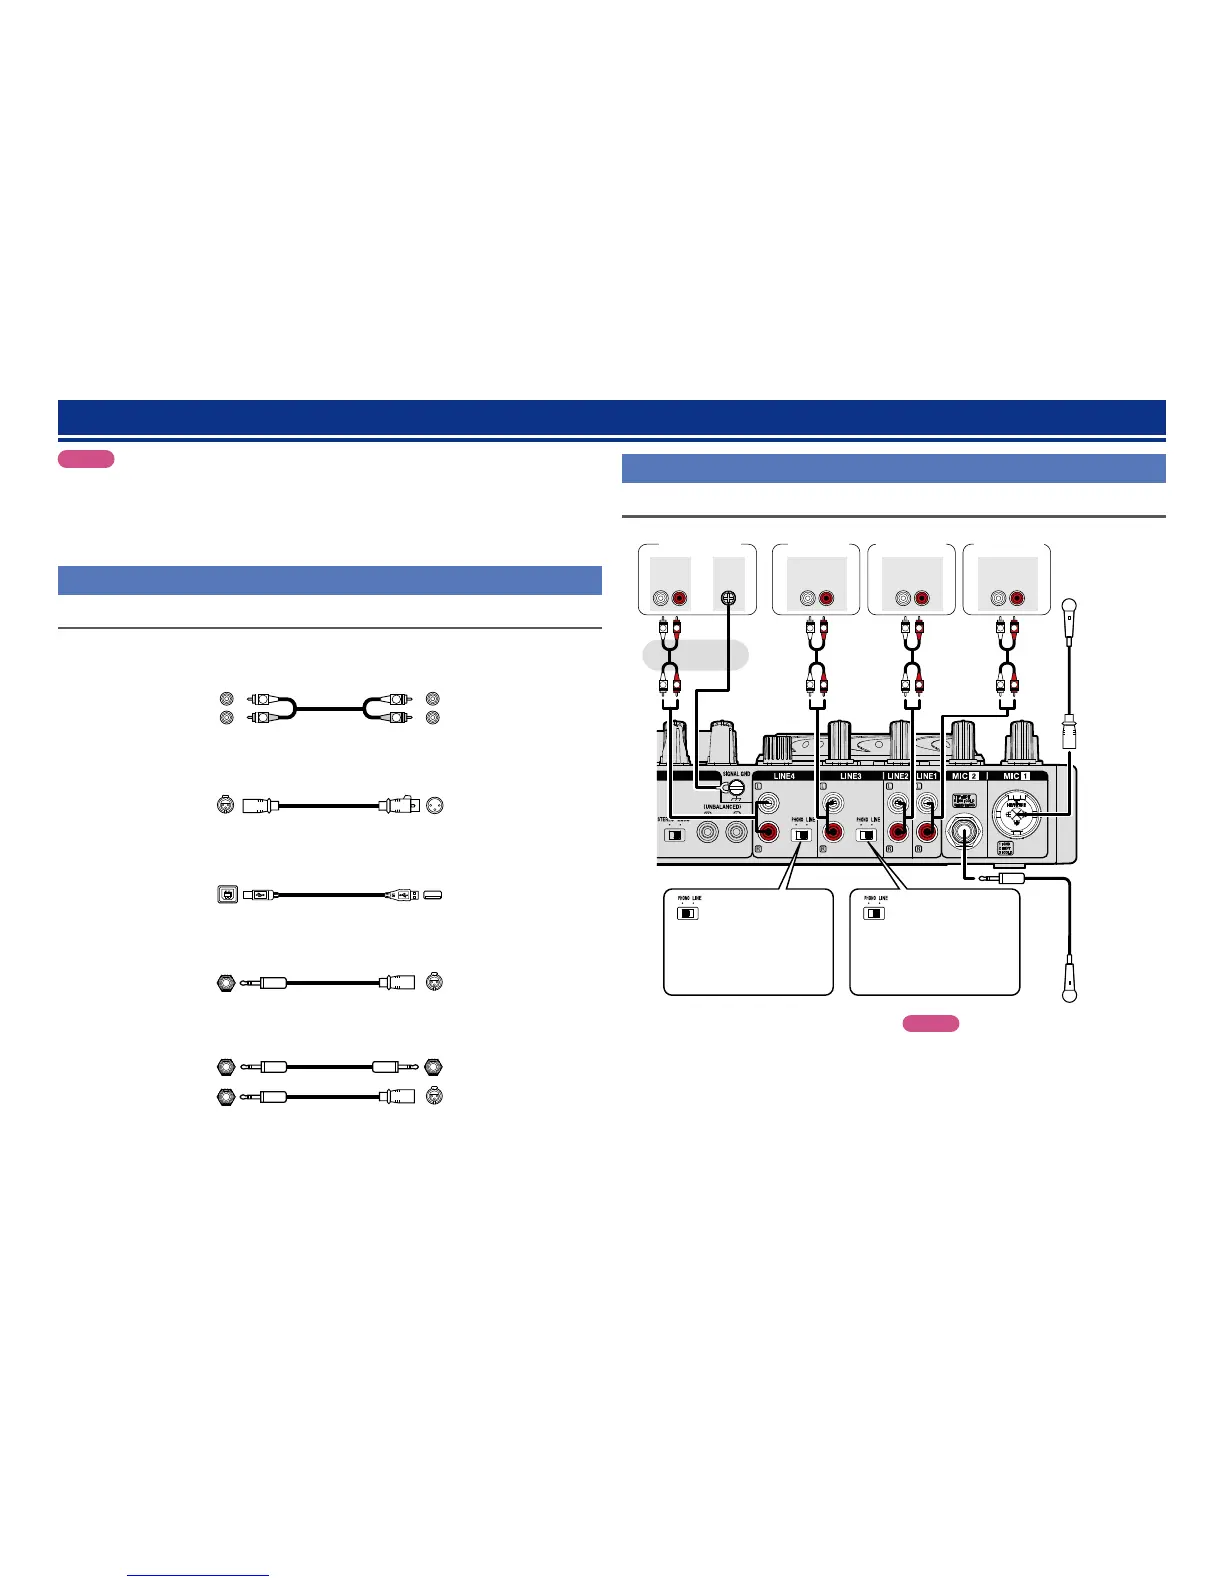
Cables used for connection
Select the cables according to the equipment being connected.
n For RCA input/output terminals
R
L
R
L
RCA pin plug cable (sold separately)
n For XLR input/output terminals and balanced MIC input
Balanced cable (sold separately)
n For USB terminal
USB cable (supplied)
n For coaxial MIC input
Coaxial cable for MIC (sold separately)
n For booth output terminals
Balanced phone plug cable (sold separately)
Connections
Input terminal connection
Connecting external devices and MIC
R
L
R
L
R
L
R
L
R
L
R
L
R
L
R
L
AUDIO
RL
OUT
AUDIO
RL
OUT
AUDIO
RL
OUT
SIGNAL
GND
AUDIO
RL
OUT
External
device 2
Turntable CD player
External
device 1
When connecting devices
other than a turntable, set
the input select switch to
“LINE”.
When connecting a turntable,
set the input select switch to
“PHONO”.
Balanced
MIC
Coaxial
MIC
XLR (TRS also possible)
n Balanced MIC connection
Connect a microphone to this balanced jack
using an XLR connector.
•Pin layout:
1. Ground (GND)
2. Hot (HOT)
3. Cold (COLD)
•Suitable connector:
Cannon XLR-3-12C or equivalent.
NOTE
The ground line (SIGNAL GND) on this unit is
not a safety ground. Note that depending on the
turntable, connecting the ground line may have the
reverse effect of increasing noise. In this case, it is
not necessary to connect the ground line.