Celeris User Manual
14770-A || ECN # 844 || ECN Date: 28 July 2017 Page 8 of 23
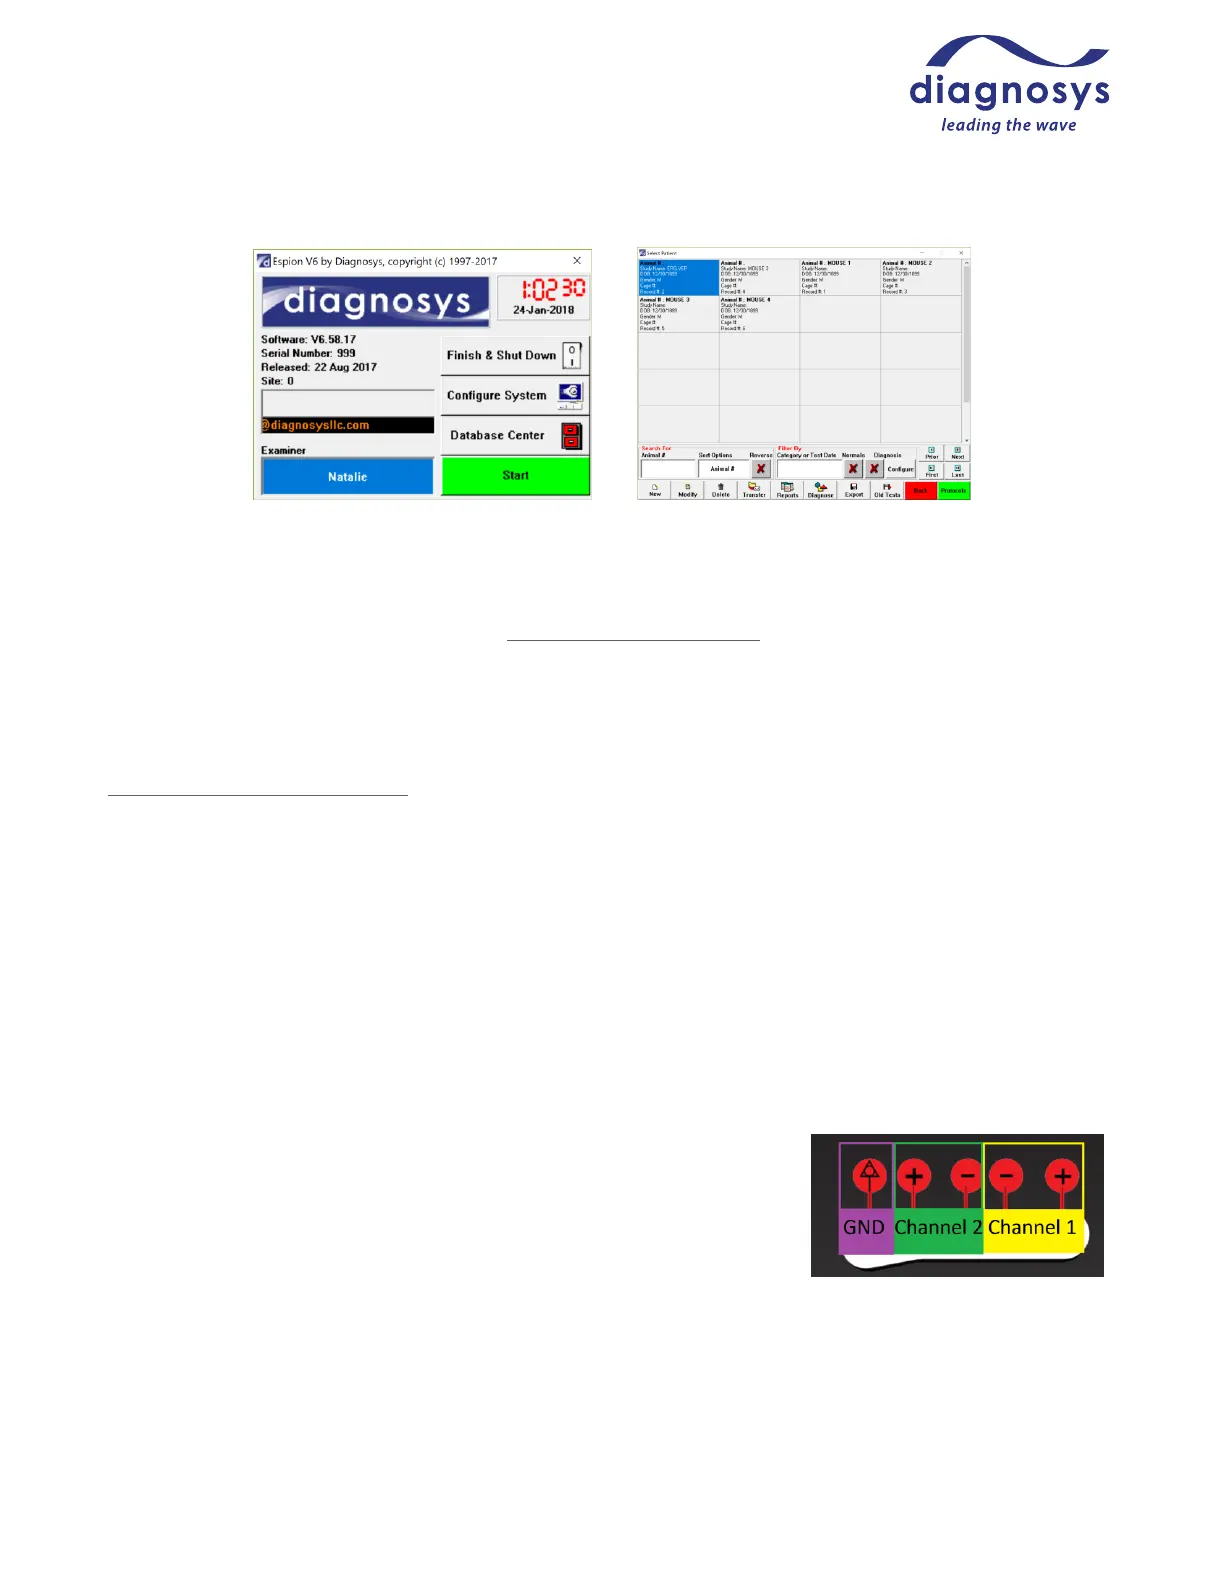
Figure 4 – Launch Page Figure 5 – Subject Selection Page
This will lead you to the subject selection page. By default, each ‘patient’ represents one animal. Default field
names for each animal subject are Animal Number, Study Name, DOB, Gender, and Cage Number. For further
information on customizing field names, see Local Configuration Settings.
Create a new subject by pressing ‘New’ and inputting identifying fields, or searching for and selecting an existing
subject. When the correct subject is selected, press Protocols to advance to the protocol selection page.
Select the test you wish to run from the list. For additional information on customizing test protocols, see
Creating and Modifying Protocols. When you have selected the test protocol, press Run to enter the runtime
menu.
Diagnosys-supplied protocols will display text prior to entering the runtime menu explaining how to set up the
animal.
Placing the Electrodes
Protocols labelled TOUCH/TOUCH ™
TOUCH/TOUCH protocols are protocols that take advantage of the patent-pending stimulator/electrode combo
unique to the Celeris. TOUCH/TOUCH protocols stimulate one eye at a time and use the fellow, unstimulated eye
as the reference.
To set up an animal for a TOUCH/TOUCH protocol, place a small amount of
hypromellose solution on the cup of each electrode, then place an electrode
on each cornea. If you will be using gas anesthetic, make sure that the
animal is positioned securely in the nose cone prior to placing the electrodes
on the cornea. Figures 7 and 8 on the following page show mice with a
TOUCH/TOUCH electrode setup. Note that the nose cone for gas anesthetics is
an optional component. Note also that a third ground electrode is optional in
this setup. See figure 6 at right for Channel labeling guide.