Celeris User Manual
14770-A || ECN # 844 || ECN Date: 28 July 2017 Page 21 of 23
for the pattern stimulator) in a specified location. The autobackup can be toggled and the location set under
Configure System > Program > Global with the parameters Autobackup Enabled and Autobackup Directory.
Diagnosys strongly recommends leaving the autobackup enabled and setting the directory to a location not on
the computer’s hard drive. External hard drives or USB keys are highly recommended.
Control Bar Buttons
The color of the Control Bar buttons can be customized under Configure System > TESTMETHOD > [Test
Method] > Display Control Button Colors. There should be three colors in the list; the first color indicates
available commands; the second indicates the active command; the third indicates unavailable commands. The
items in the list can all the be same color if desired. Note that this change may need to be made to both the ERG
Test testmethod and VEP and ERG testmethod.
Display New Result Color
The default result colors can be customized under Configure System > TESTMETHOD > [ Test Method] > Display
New Result Color. This list can be considered circular – if you were to take 50 results in one step, it would loop
through this list multiple times – and the item left selected is considered the start of the list, even if it is not the
first item on the dropdown.
Tips and Tricks
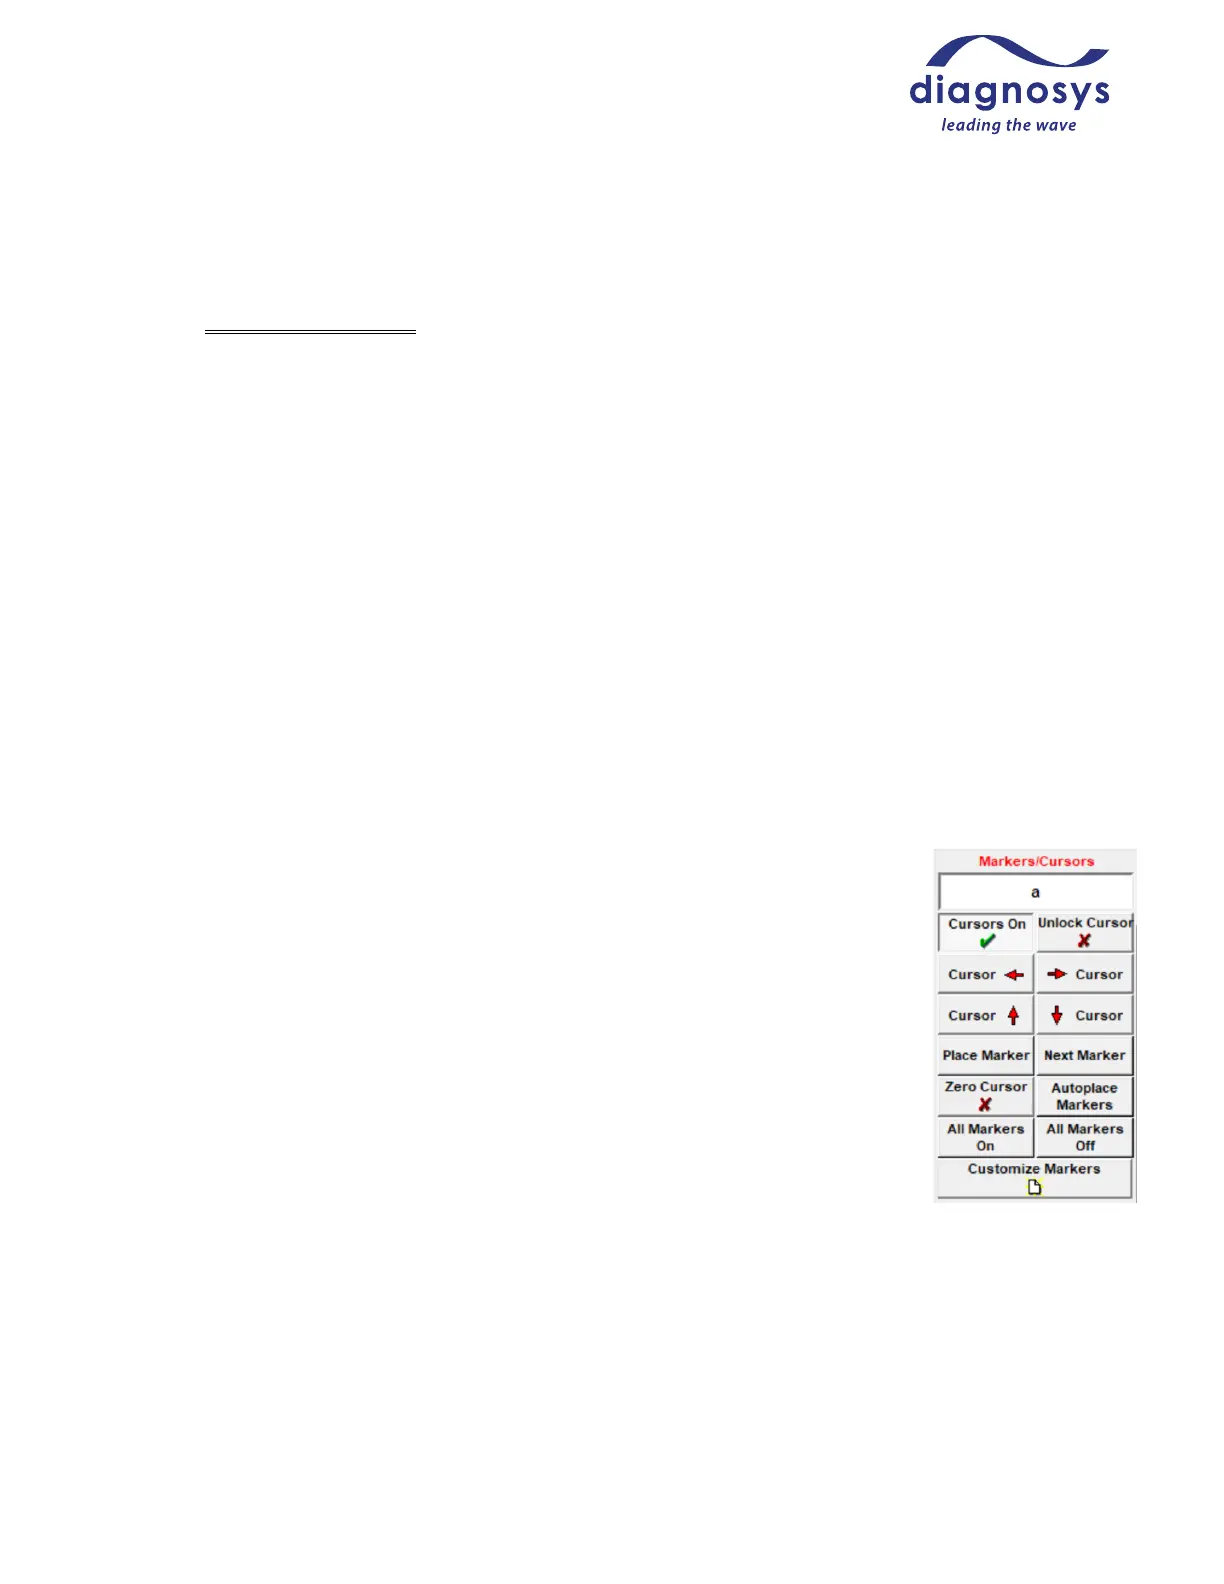
Marker Placement
Diagnosys-supplied protocols will place markers automatically, but in some cases the
marker placement may need to be corrected. To move a marker, click the Scaling and
Markers button from the navigation bar and turn on the Cursors On button to enable the
crosshairs. Ensure that you have the marker you’d like to move selected from the
dropdown, then doubleclick the spot on the waveform you would like to move the marker.
For more precise placement, you can use the Cursor → and Cursor buttons to move the
cursor one time-unit at a time, and the Place Marker button to manually place the
marker. Tip: Right-clicking with the mouse will automatically select the next marker in the
list! If your animal has an extinguished response and you would like to remove markers
from the waveform/marker table, the All Markers On / All Markers Off buttons will
toggle marker visibility.
All Channels
At the bottom of the popout menu is a checkbox labeled All Channels that is enabled by default. This checkbox
ensures that whatever change is made – deleting results, rejecting artifacts, or adjusting scaling – happens to all
channels. If you would like to e.g. reject an artifact from only one graph, de-selecting All Channels before
making the change will ensure that the change is only made to the selected channel.