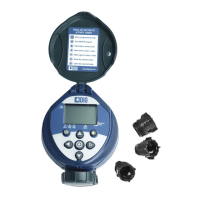
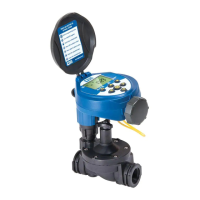
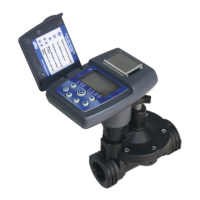
6. VALVE ADAPTER INSTALLATION 400A-000
The 400A-000 controller includes 3 adapters to retrofit Rainbird, Hunter and Toro
valves. Follow the instructions below to install.
1. Shut off the main water supply
2. Remove the existing solenoid if applicable.
NOTE: If adapting to an IRRITROL valve, remove the solenoid but leave the
existing solenoid adapter installed.
3. Select the appropriate solenoid adapter associated with the valve. (see chart A)
4. Screw the solenoid adapter into the valve bonnet by hand, tighten with pliers if
necessary – but do not over tighten.
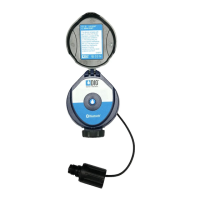
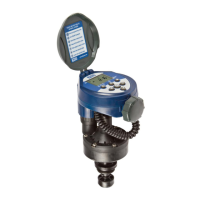
5. Thread the 400A Series solenoid into the valve adapter. Hand tighten only.
6. Turn the main water supply on and pressurize the valve; the valve may discharge
water momentarily but should then shut off.
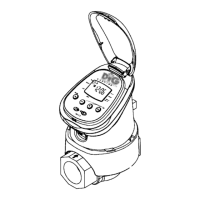
7. Test the controller and the installation by pressing the button or see
section 14 to perform a manual run. To turn the valve on via the solenoid,
lift the 400A Series controller from the solenoid and turn the solenoid counter
clockwise 1/2 to 3/4 of a turn, or until you hear or see water flowing through the
valve. To turn the water off, turn the solenoid clockwise 1/2 to 3/4 of a turn and
wait for the a few seconds for the valve to close.
8. Program the 400A Series controller (see section 8).
5