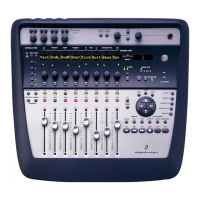
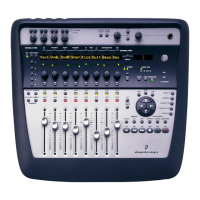
Chapter 4: Launching and Configuring Pro Tools LE 27
Recording a Digital Source
If you are recording from an optical or S/PDIF
device, you will need to select a Clock Source. In
most cases, you will synchronize the Pro Tools
clock to the external device.
To configure Pro Tools LE for a digital source:
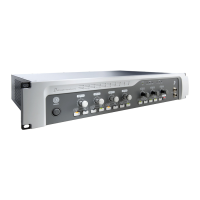
1 Connect an ADAT or Optical S/PDIF format
device to the Optical In connector, or an RCA
S/PDIF format device to the RCA S/PDIF In con-
nector on the back of the Digi 002.
2 Choose Setup > Hardware.
3 Make sure the correct digital input option is
selected for your setup. When you select RCA
S/PDIF, the Optical ports are available for stan-
dard ADAT Optical (or “Lightpipe”) input.
When you select Optical S/PDIF, the RCA digital
input connector is inactive.
4 From the Clock Source pop-up menu, select
Internal if you are synchronizing the external
device to Digi 002 or Digi 002 Rack. If you are
synchronizing the Pro Tools clock to the exter-
nal device, select ADAT, RCA (S/PDIF) or Optical
(S/PDIF), depending on where you connected
your digital device.
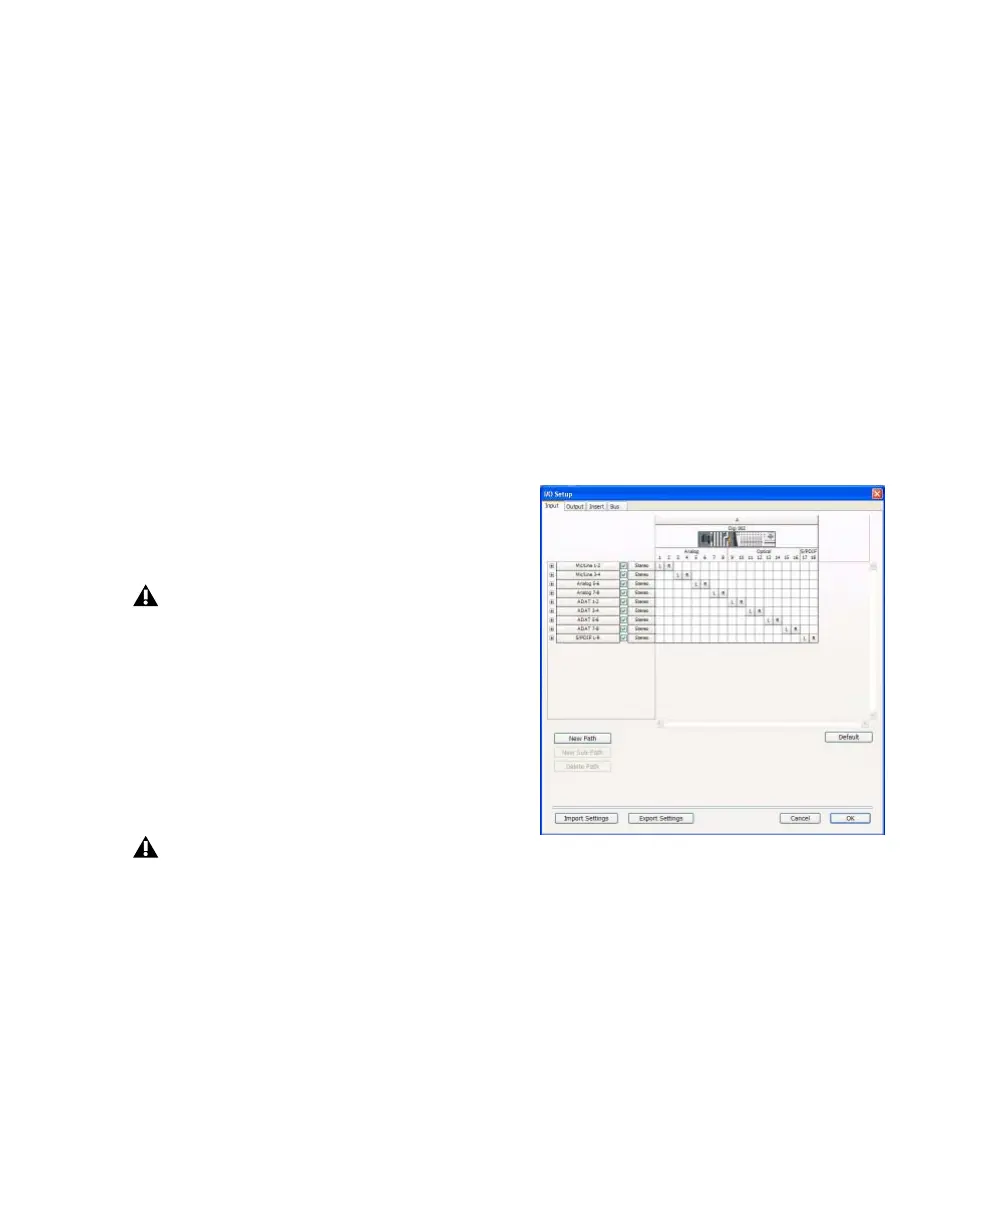
Configuring I/O Setup
Using the I/O Setup dialog, you can label
Pro Tools LE input, output, insert, and bus sig-
nal paths. The I/O Setup dialog provides a graph-
ical representation of the inputs, outputs, and
signal routing of the Digi 002 and
Digi 002 Rack.
Pro Tools LE has default I/O Setup settings that
will get you started. Use the I/O Setup dialog
only if you want to rename the default I/O
paths.
To rename I/O paths in I/O Setup:
1 Choose Setup > I/O.
2 Click the Input, Output, Insert, or Bus tab to
display the corresponding paths.
3 To change the name of a path or subpath,
double-click directly on the Path Name, type a
new name for the path, and press Enter (Win-
dows) or Return (Macintosh).
You can use only one pair of S/PDIF inputs
(either RCA or Optical) at a time.
Your digital input device must be connected
and powered on. If your input device is not
powered on, leave the Clock Source set to
Internal.
I/O Setup dialog, Input tab (Digi 002 shown)
 Loading...