Digi 002 & Digi 002 Rack Getting Started Guide88
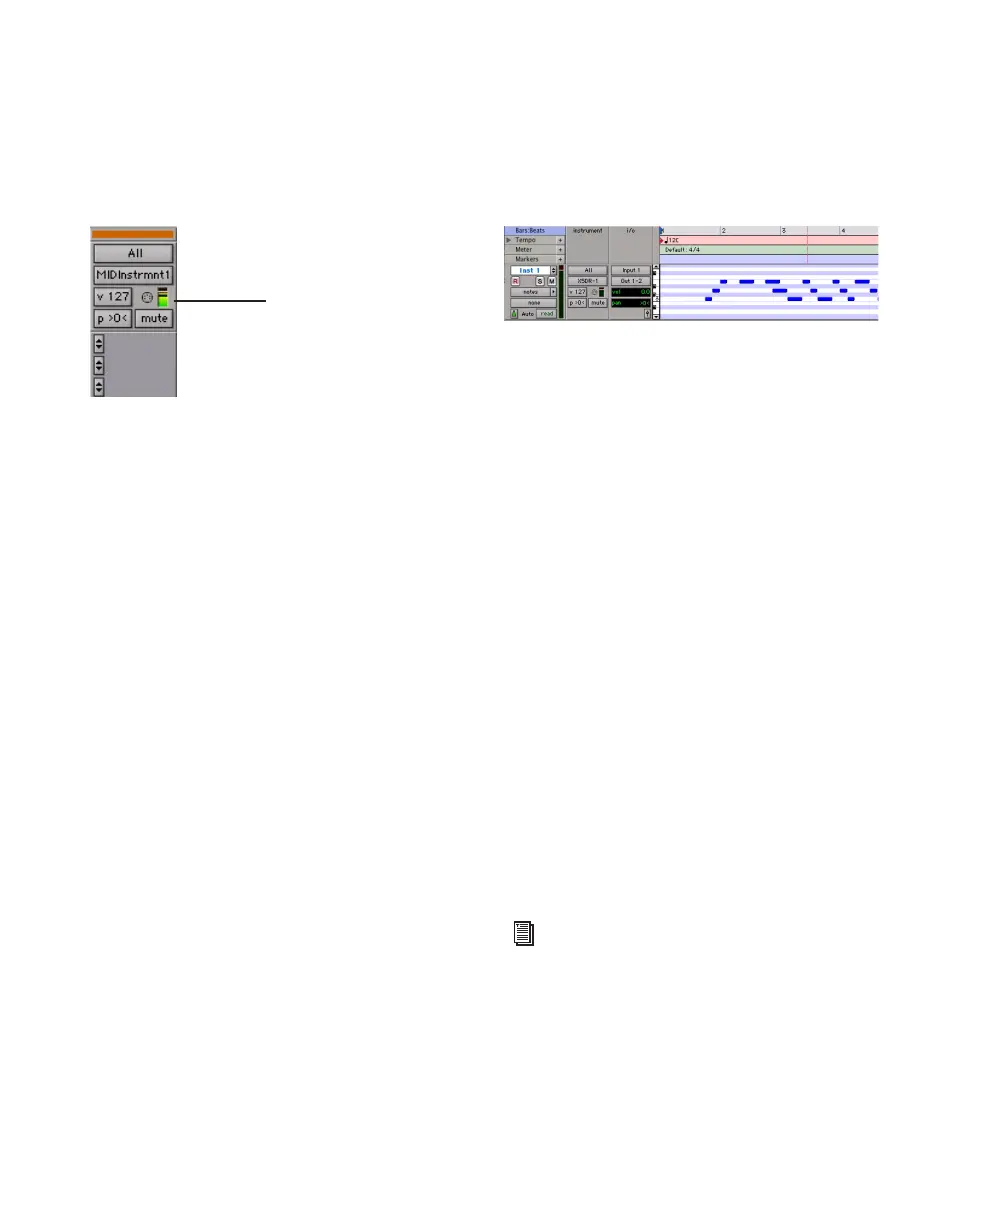
10 Play some notes on your MIDI controller and
look for the track’s MIDI Velocity meter to
move. Remember, MIDI is not audio, and the
MIDI meter is not registering sound output, but
MIDI activity.
11 Adjust the audio output level of the Instru-
ment track with its Volume fader.
To record MIDI on the Instrument track:
1 Verify that the Instrument track you want to
record to is record-enabled and receiving MIDI.
2 In the Transport window, click Return To Zero
to start recording from the beginning of the ses-
sion. You can also record to a selection in a
track, or from the cursor location in the Edit
window.
3 Click Record in the Transport window.
4 Do one of the following:
• Click Play in the Transport window or press
the Spacebar to begin recording.
• If you are using Wait for Note, the Play,
Record, and Wait for Note buttons flash.
Recording begins when the first MIDI
event is received.
• If you are using Countoff, click Play. The
Record and Play buttons flash during the
Countoff, then recording begins.
5 Play your MIDI controller or input device.
6 When you have finished recording, click Stop
in the Transport window, or press the Spacebar.
The newly recorded MIDI data appears as a MIDI
region on the track in the Edit window, as well
as in the Region List.
To play back recorded MIDI data:
1 Click the Record Enable button to take the In-
strument track out of Record mode.
2 In the Transport window, click Return To Zero
to play back from the beginning of the track.
3 Click Play in the Transport window to begin
playback. The recorded MIDI data plays back
through the track’s assigned instrument and
channel.
QuickPunch Recording
With QuickPunch recording you can punch in
and out of audio recording on armed tracks. Re-
cording can be triggered from the Transport
window, or using a standard footswitch. You can
use a standard footswitch (such as a keyboard
sustain pedal) with QuickPunch to punch in
when recording audio. You can also punch in
when recording MIDI, without enabling Quick-
Punch.
MIDI meter in Instrument track showing MIDI activity
MIDI Velocity meter
MIDI data in the Instrument track
For more information on QuickPunch and
punch recording, see the
Pro Tools Reference
Guide
.
 Loading...