3
Operation
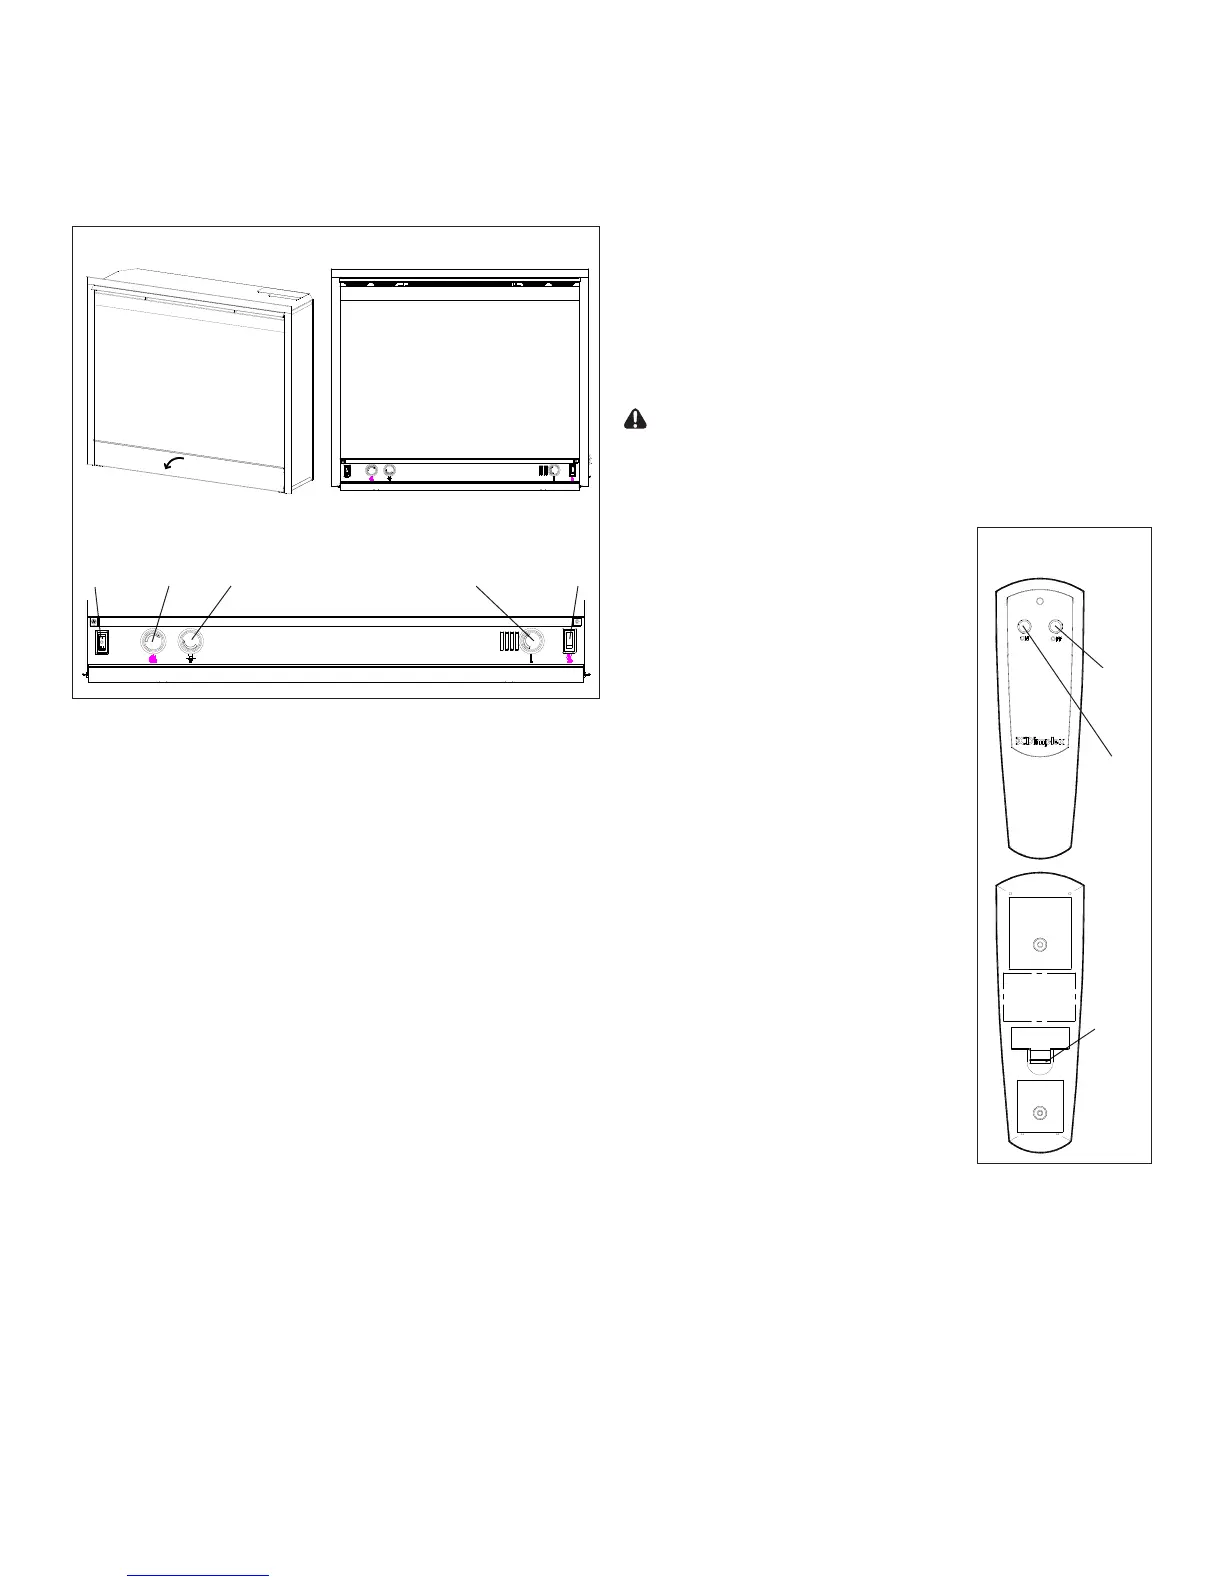
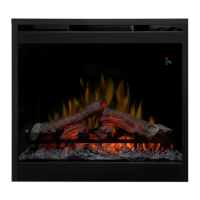
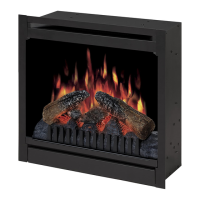
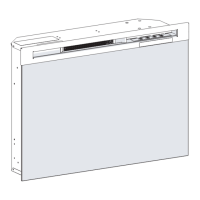
This section will explain the function of each convenient
control (Figure 2).
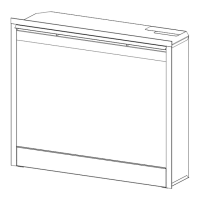
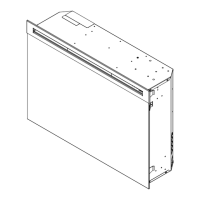
To access the controls, ip open the control panel cover
towards the bottom of the replace (Figure 1).
Figure 1
A. 3-Position Switch
The switch has two (2) On positions marked with “ I ” and
“ II ”. The “ I ” position is for manual operation. In this
position the built-in remote control is bypassed. The “ II ”
position is for operating the unit with the provided remote
control. When in “ II ” position the unit is operated with
the ON and OFF buttons of the remote control. When the
switch is in the center “ o ” position the unit is off.
B. Flame Speed Control
Turn the Flame Speed Control knob to adjust the ame
speed to the desired level.
C. Light Dimmer Control
Turn the Light Dimmer Control knob to increase or
decrease the brightness of the interior of the replace.
D. Heater Switch
The Heater Switch supplies power to the heating unit when
the 3-Position Switch (A) is on (“ I ” or “ II ” positions).
E. Thermostat Control
To adjust the temperature to your individual requirements,
turn the thermostat control clockwise all the way to
turn on the heater. When the room reaches the desired
temperature, turn the thermostat knob counter clockwise
until you hear a click. Leave in this position to maintain the
room temperature at its setting. For additional heat, turn
clockwise until you hear the click again and the heater will
turn on. To turn the heater off, rotate the knob fully counter
clockwise.
!
NOTE: The heater may emit a slight, harmless odor
A EC DB
when rst used. This odor is a normal condition caused
by initial heating of internal heater parts and will not
occur again.
Resetting The Temperature Cutoff Switch
This unit is equipped with a thermostat which controls the
temperature of the room. It does this by turning the heater
on and off. The heater is protected with a safety device
to prevent overheating. Should the heater overheat, an
automatic cut out will turn the heater off and it will not come
back on without being reset. It can be reset by switching
the 3-Position Switch to Off (“ o ”)and waiting ve (5)
minutes before switching the unit back on.
CAUTION: If you need to continuously reset the heater,
unplug the unit and call Technical Support at
1-888-346-7539. Please have your model and serial
number ready when calling.
Remote Control
The replace is supplied with an
integrated on/off remote control.
!
NOTE: Ensure that the 3-Position
Switch on the replace is set to
the remote control setting (“II”
position).
To operate, push the ON button to
turn the replace on, push the OFF
button to turn the replace off.
Battery Replacement (Figure 3)
To replace the battery:
• Slide battery cover open on the
hand held transmitter.
• Correctly install one (1) 12 Volt
(A23) battery in the battery holder.
• Close the battery cover.
Remote Initialization/Reprogram
Follow these steps for remote control
initialization and if required,
reinitialization:
1. Disconnect power to replace.
2. Set the 3-Position Switch to the Remote position (Figure
2A).
3. Wait a minimum of ve (5) seconds and then reacquire
power to replace.
4. Within 10 seconds of reacquiring power, press the ON
button located on the remote control.
!
NOTE: You will have only 10 seconds to perform this last
step. Failure to do so will result in these steps needing
to be followed again.
Figure 2
Battery
Cover
Figure 3
ON
Button
OFF
Button