Page 115
Installing a DishPro Receiver into an existing system with DishPro LNBFs
7. Press Cancel on the remote to exit the Point Dish/Signal screen.
8. An Attention screen will open.
This screen asks if the mounting and positioning of your dish is complete
with a “Locked” indication in the Point Dish/Signal screen. Since your
system is already installed and your dish is pointed for the strongest possi-
ble signal strength, you can select Yes.
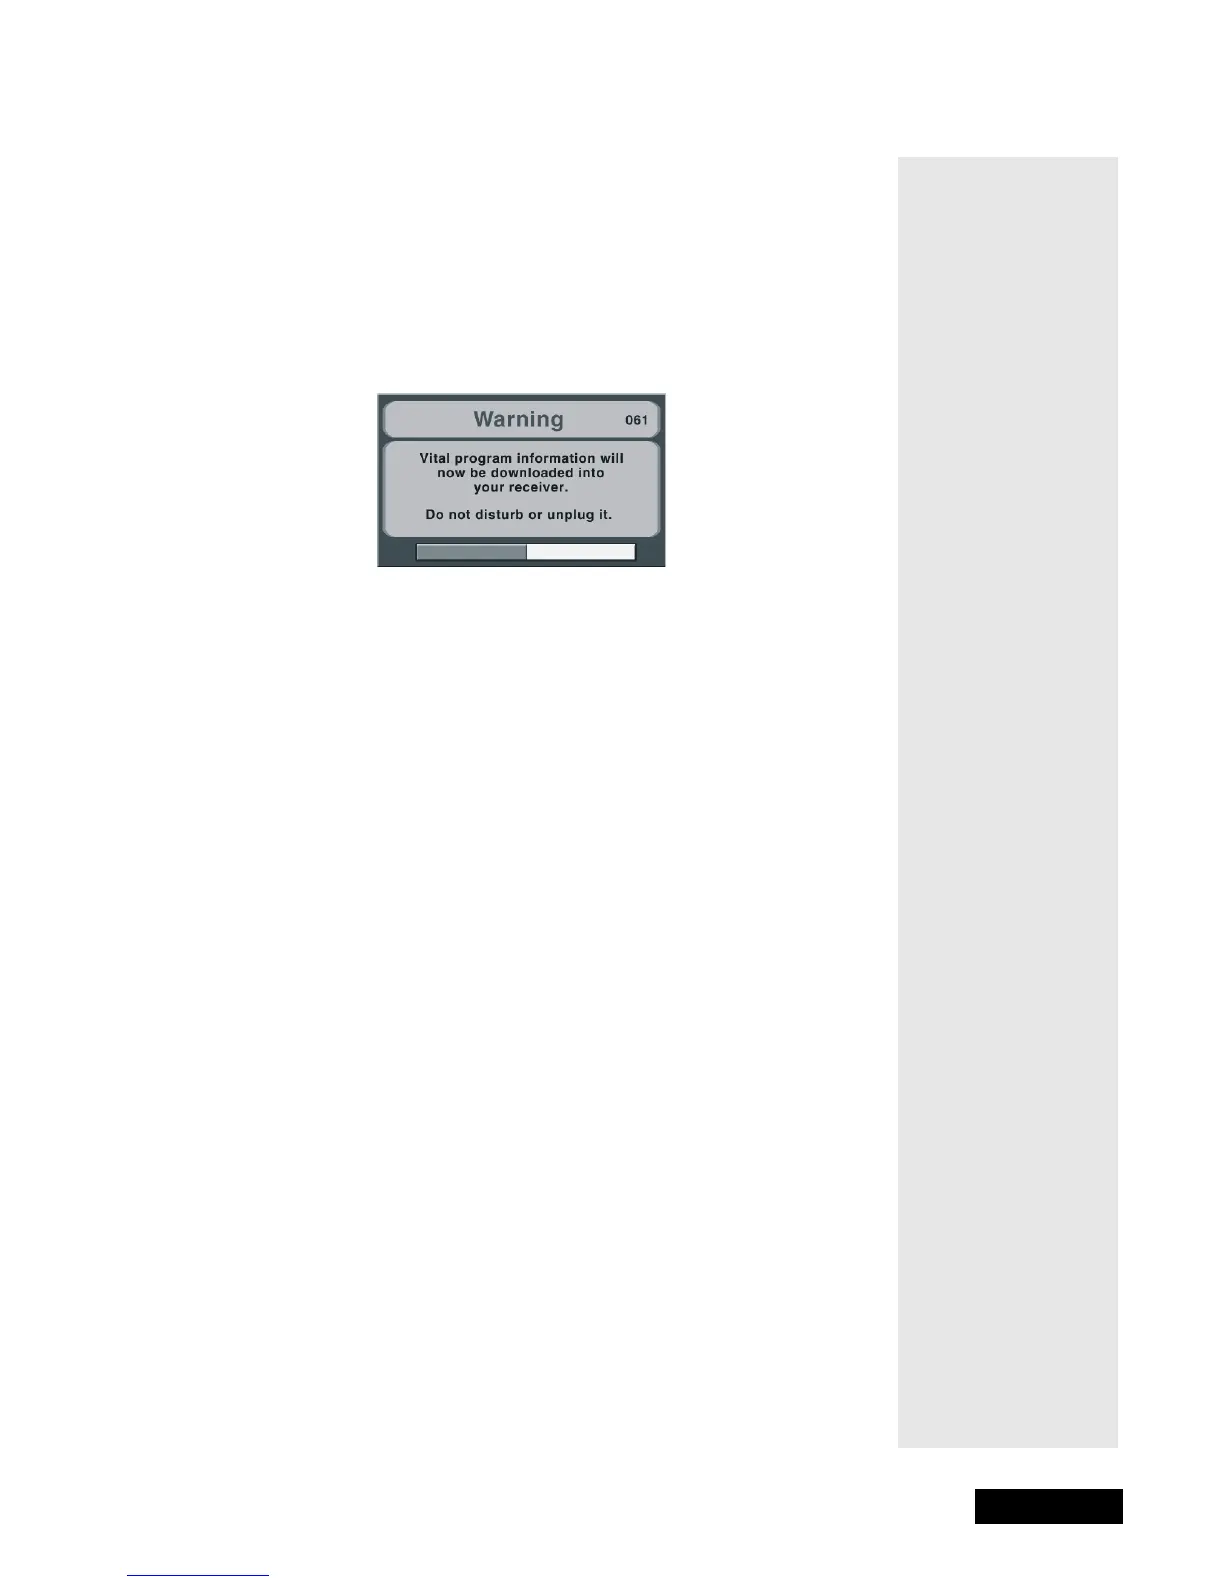
9. The receiver will begin taking a software upgrade. You will see the
message shown below.
A progress bar at the bottom of the screen will show how the software
upgrade is progressing. Once the software upgrade is complete, you will
see a second message that the receiver’s memory is now being pro-
grammed.
This message may disappear, your screen may go blank for a few minutes,
and the green light may continue to blink. This is normal and does not
indicate a problem with the receiver.
10. When the software upgrade is complete, you will need to go back to
the Point Dish/Signal screen. To do this, open the Main Menu and
press 6-1-1 on the remote.
11. If you removed any switches in step #6, reconnect them now.
12. Select Check Switch. An Attention screen will open. Select
Check to run Check Switch.
13. A second Attention screen will open asking you to please wait
while your switch installation is being checked.
14. When
Check Switch is complete, you will see this Installation
Summary
screen.
Note: Your summary screen may look different from the one shown here,
depending on what switches and LNBFs are in your system. However,
you must see that you have input from all the satellites in your system,