9
IP1854EN - 2013-03-01
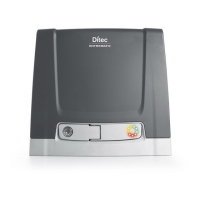
7. Starting
• Bridge the NC safety contacts with a jumper.
• Before starting up, check the application type selected. In the case of single door wing automation, set OM=OFF. For sliding
gate automation, set JR6=OFF.
• Any limit switches installed must be adjusted so that they are triggered near the mechanical opening and closing end stops.
Set TM=MAX.
NOTE: limit switches must be kept pressed until the operation has been completed.
• If no limit switches are installed, bridge terminals 0-11 and 0-12 with jumpers and set TM to half.
• Set RF=3 and R1 to half.
• Set TR>3 s in the case of automation with two overlapping door wings.
• Switch on power.
• Swap the motor polarity if the direction of motion of the door wings is incorrect.
NOTE: the first closing operation requested after a power outage is performed, if TR>MIN, with one door wing at a time (first the
door wing powered by motor M2, then the door wing powered by motor M1), whereas if TR=MIN, the door wings start simultaneously.
• Perform opening and closing commands and check that the automation functions correctly and that the limit switches (if
installed) are correctly set.
• Connect the safety devices (removing the relative jumpers) and check that they function correctly.
• If required, activate automatic closing and adjust with the TC trimmer.
• Set RF to a position that allows the automation to function correctly while ensuring the safety of the user in the event of col-
lision.
• Set obstacle thrust with R1.
NOTE: if the door wing closing second encounters an obstacle, both door wings are reopened. The subsequent closing operation
is performed one door wing at a time.
• Ensure that the forces exerted by the door wings are compliant with EN12453-EN12445 regulations.
• If required, set the partial aperture of motor 1 with RP.
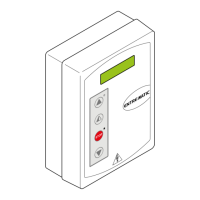
• If required, connect the radio receiver to the relative AUX connector, programme the transmitters as described in the relative
manual and check that all elements function correctly.
• Connect any other accessories and check operation.
• Once the start up and check procedures are completed, close the container.
ATTENTION: The following operations are performed with no safety devices
WARNING: the plug-in cards must be inserted and removed with the power supply disconnected.
NOTE: in the event of servicing or if the control panel is to be replaced, repeat the start-up procedure.
Intelligent Security & Fire Ltd.