42
Figure: Switch coloring coding
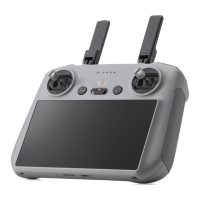
Press the R2 button on the remote controller to preview the model recorded. Tap to view the point
cloud model from above or in the direction of north, east, south, or west.
Figure: Model preview
When previewing a model, press the L1 button on the remote controller. The model recenters. Zoom
in or out to display the whole model.
When previewing a model, press the L2 button on the remote controller to view the point cloud
model beneath the aircraft.
Press the R2 button on the remote controller to exit the preview.
Note that recording while hovering is prohibited and re-calibration based on calibration status
reminders is required. Make sure there are no obstacles within a 30 m radius of the start and end
points.
Click the point cloud recording button again to finish recording. It is recommended to perform
another IMU calibration.
(Note: After photo shooting or point cloud recording, wait 60 seconds before you power off the
device or remove the microSD card. Otherwise, point cloud accuracy may be impaired or files may
be damaged.)
3.1.4.6. Point Cloud Playback
Tap the playback icon and select Point Cloud in the top bar.
 Loading...