9 mm 20 mm 30 mm 60 mm 90 mm
1.
2.
3
1
2
3
4
5
1
1
2
5
4
3
1
1
2
3
25 mm
12,5 mm
2,5 mm
1
5 mm
DIN L
DIN R
1
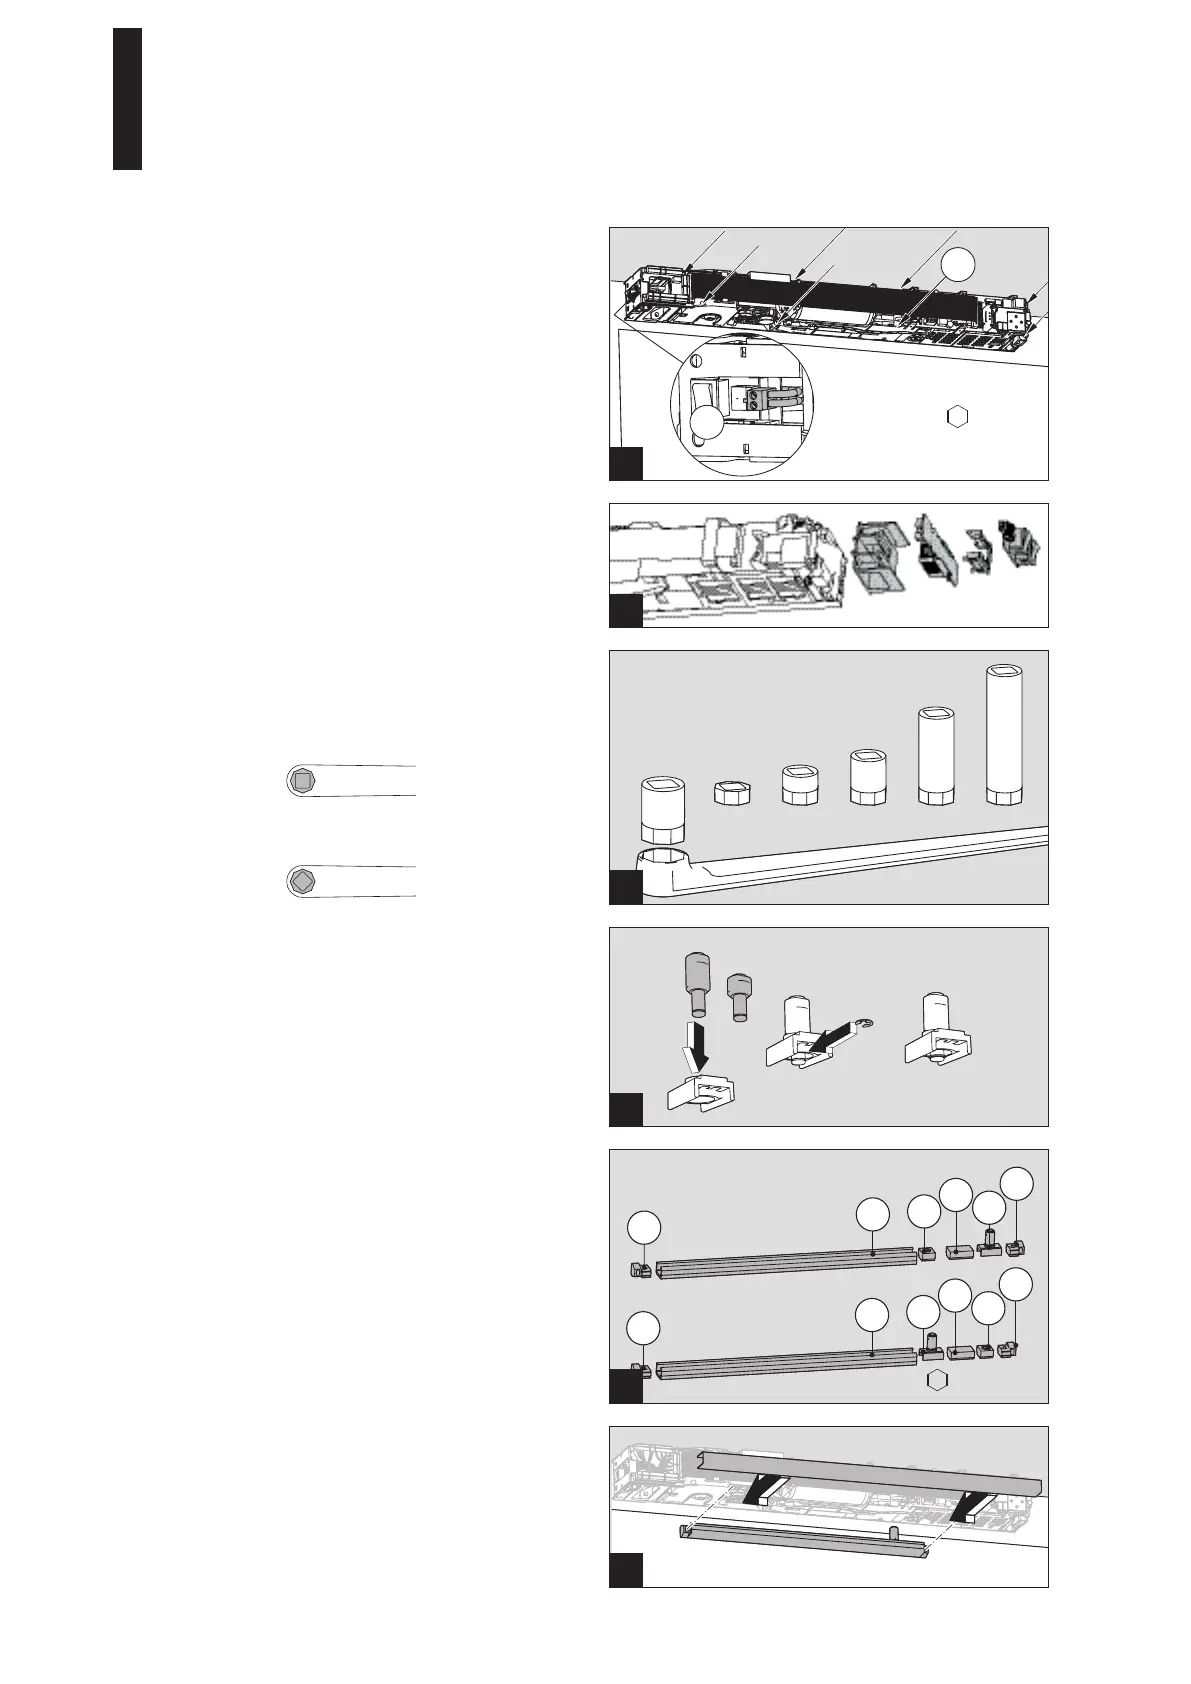
4. Tighten the 8 screws.
5. Plug in the mains connector.
5.7 Mounting the slide channel
1. Insert the lever pin (12.5 or 25 mm) into the sliding
piece and fasten it with the retaining washer.
The short pin is used for doors without rabbet.
2. Place the individual parts into the slide channel as
shown in the illustration and fasten the mounting part.
1 Slide channel
2 Latching action
3 Buffer
4 Sliding piece
5 Mounting piece
3. Screw the slide channel with 2 screws into the
prepared holes.
For the fastening, use dowels and screws that match
the background.
4. Insert the casing onto the slide channel.
5.6 Driving the axis extension into the lever
1. Drive the axis extension into the lever.
Mounting position on the hinge side in case of an
installation with slide channel and on the opposite
hinge side in case of a standard arm assembly.
Mounting position on the opposite hinge side in case of
an installation with slide channel. The square must be
turned by 45°.
5.5 Mounting the ED Cover Basic RM (optional)
1. Mount the integrated smoke detector on the operator.
Cf. mounting instruction ED Cover Basic RM, ED Cover
VARIO RM.
ED 100, ED 250
—
21

 Loading...