30 TOW-BEHIND DR
®
FIELD and BRUSH MOWER
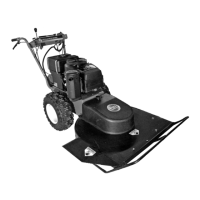
6. Using a 9/16" Wrench, remove the top Nut from the Belt
Tension Spring Mounting Stud (Figure 20).
7. Using a Hooked End Pulling Tool, remove the Belt
Tension Spring from the Mounting Stud by hooking the
Tool in the Spring End and pulling the Spring up and over
the Stud
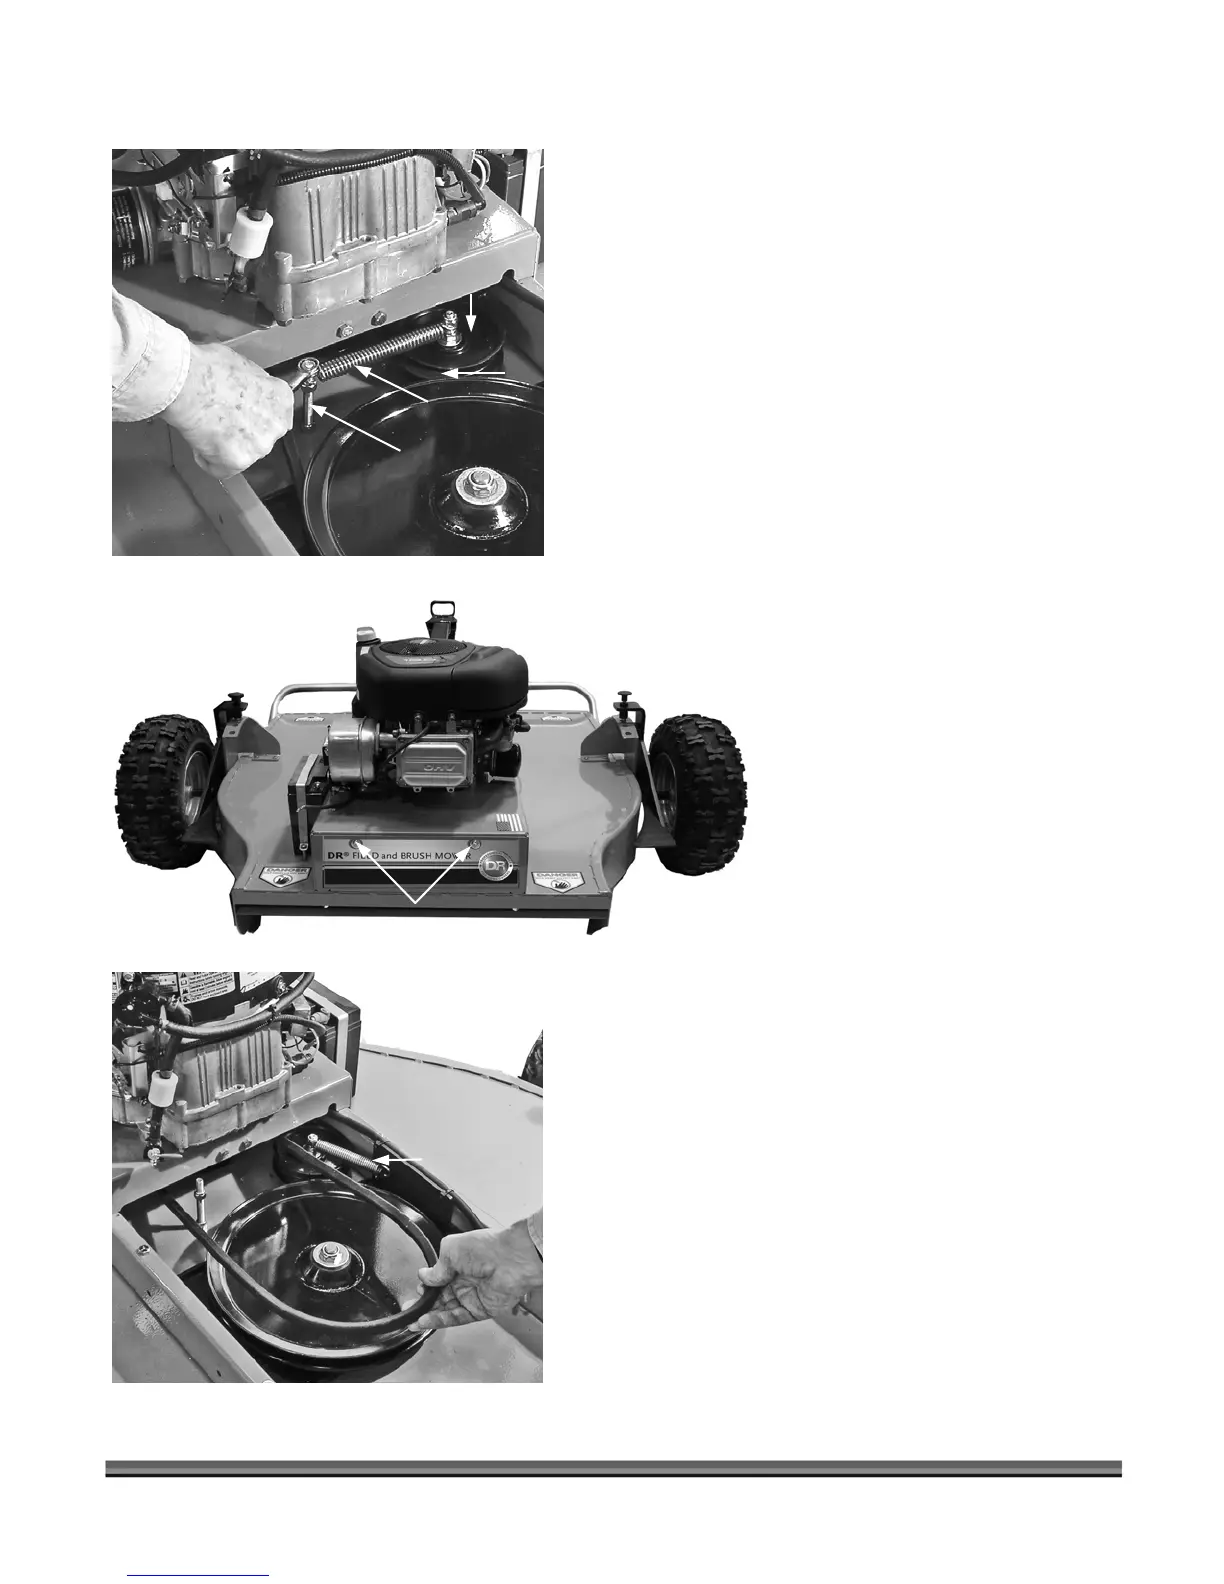
8. Using a 7/16" Wrench or Socket, remove the two (2)
Bolts and Lock Washers that retain the Rear Access Panel
on the Mower (Figure 21) and remove the Panel.
9. Slip the old Drive Belt from the Drive Pulley (Figure 22)
and from the Pulley beneath the Engine at the Rear of the
Mower.
10. To install the new Belt, follow the above procedure in the
reverse order making sure that the Belt is on the inside of
the Tension Pulley (Figure 20).
NOTE: Use one of the extra Cable Zip-Ties initially provided to
secure the Wire Cord (Figure 5 on page 16).
Tension Spring
Unhooked
Mounting Stud
Figure 20
Figure 21
Tension Spring
Tension Pulley
Belt
Figure 22
Drive Pulley
Rear Access Panel Bolts
 Loading...


