8
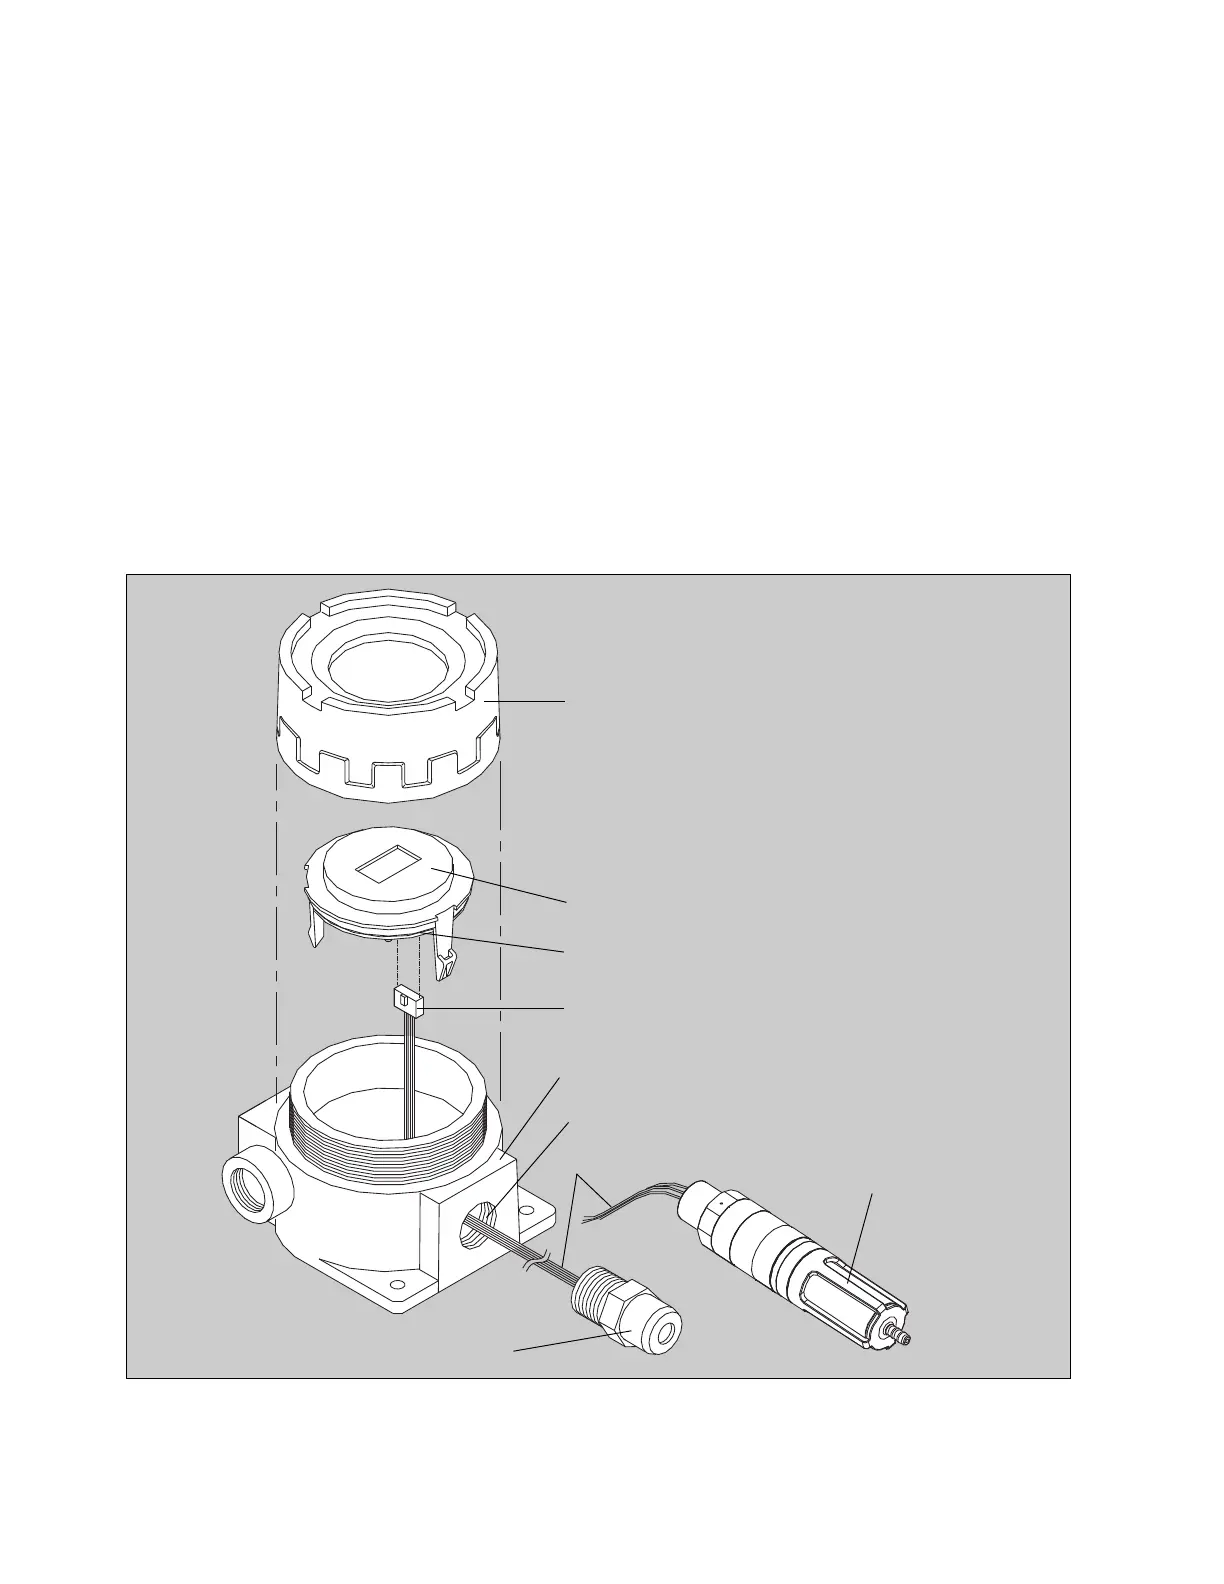
Replacing the Sensor
• Insert the sensor wires through the threaded port in the housing.
• Screw the Dräger Sensor into the port. Five threads must be engaged
to ensure explosion-proof status.
• Plug the wires into the socket on the main PCB.
• Re-install sensor electronics by pushing the bezel and main PCB back into
place.
• Screw housing cover back onto the unit, being careful not to damage the
threads. The cover must be screwed on tightly to compress the o-ring to
maintain explosion-proof status.
• Apply power to the unit.
• Calibrate instrument per section 4.1, Calibration.
• Always test a newly-installed sensor with target gas to verify proper operation.
2.3 Change Gas Category of Polytron FX IR
See manual 9023843. This has to be done at the DraegerSensor IR.
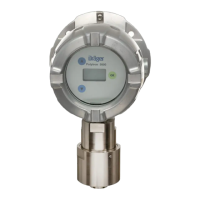
Figure 5: Replacing the sensor
Housing Cover
Bezel
Main PCB
Plug wires into socket
on Main PCB
Threaded Port
Sensor Wires
DraegerSensor
PR or LC
Housing
DraegerSensor IR