4 Installation
Warning: Always observe correct polarity when making electrical connections.
Reversed polarity or incorrect wiring may result in damage to your DragonLink or
third-party equipment.
4.1 DragonLink Transmitter
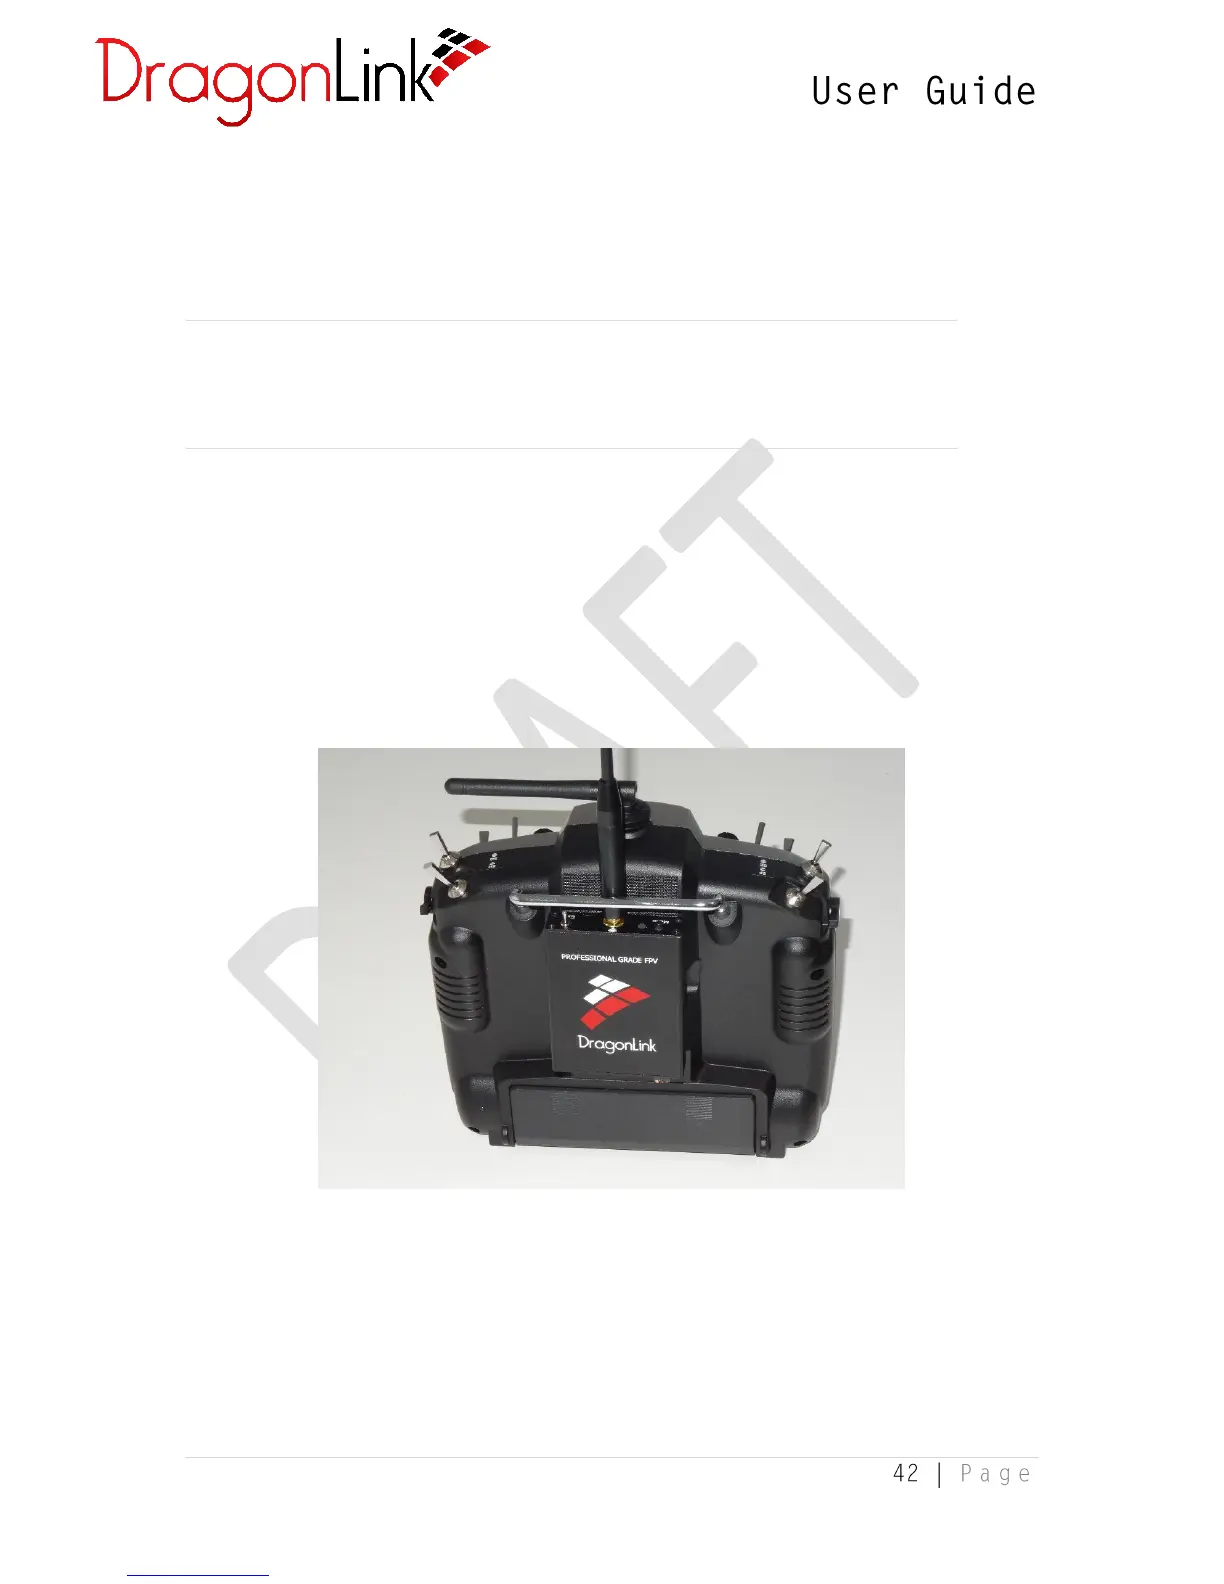
The DragonLink Slim transmitter includes quality hook-and-loop pads with self-adhesive
backing, which can be used to fix your transmitter to the back of your controller, as per the
below image. If this method is not suited to your controller, other mounting hardware may
be required (not included).
Connection to Trainer Port
The trainer port is the output on your controller which sends the positions of the channels
to the DragonLink Transmitter. On most controllers, this also provides power to the
DragonLink Transmitter.