07-01900G F413-230V AU BD2500 1 Legend Brands Holdings Ltd.
6
Owner’s Manual
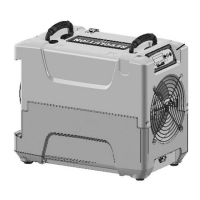
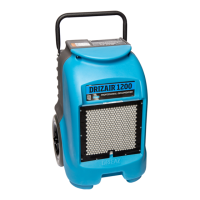
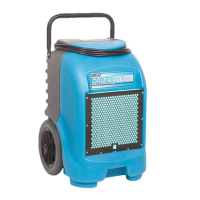
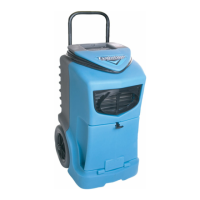
BD2500 LGR Dehumidifier
F413-230V AU
DRI-EAZ PRODUCTS, INC.
15180 Josh Wilson Road, Burlington, WA 98233, USA
Phone: +1 360-757-7776 Fax: +1 360-757-7950 international.legendbrands.net
The Dri-Eaz
®
BD2500 LGR Dehumidifier reduces humidity in enclosed environments by removing water
vapor from the air. The BD2500 is ideal for water damage restoration, structural drying, construction, and
many other applications requiring temporary, high-performance dehumidification.
Patents: http://www.LBpatents.com
ORIGINAL INSTRUCTIONS
WARNING! Do not alter or modify your dehumidifier
in any way. Use only replacement parts authorized
by Dri-Eaz Products, Inc. Modifications or use of
unapproved parts could create a hazard and will
void your warranty. Contact your authorized
distributor for assistance.
WARNING! Electric shock hazard, rotating fan haz-
ard and hot surface hazards.
• Inspect the power cord before use. If cord is dam-
aged, do not use. Always grasp the plug (not the
cord) to unplug.
• Must be earthed. Insert three-prong plug on power
cord into a matching electrically earthed outlet. Do
not use adapter. Never cut off third prong. Do not
use an extension cord.
• The unit must be operated on a 230V/50 Hz circuit
protected by a Residual Current Device (RCD) de-
vice.
• Keep motor and wiring dry.
• Always unplug unit before cleaning or servicing.
• Do not attempt to repair the unit. For service, contact
your local distributor.
FIRE HAZARD
• Keep away from open flames and heat sources.
• Do not use or store where vapors from gasoline, sol-
vents, thinners or other flammable materials may be
present.
BEFORE YOU BEGIN
Warranty registration
Warranty registration procedures vary by country/mar-
ket. Contact your local distributor for assistance. Regis-
tration allows us to better assist you with using, main-
taining or servicing your equipment and to contact you in
case we have important safety information concerning
your Dri-Eaz product. If you determine service is re-
quired, have your equipment model, serial number and
original proof of purchase available and ask for assis-
tance with obtaining a return material authorization
(RMA).
GROUNDING INSTRUCTIONS
This unit’s plug must be inserted into an appropriate out-
let that is properly installed and grounded in accordance
with all local codes and ordinances.
WARNING! Improper connection of the equipment-
grounding conductor can result in a risk of electric
shock. Check with a qualified electrician or service
person if you are in doubt as to whether the outlets
are properly grounded. Do not modify the plugs pro-
vided with the appliance – if the plugs do not fit the
outlets, have proper outlets installed by a qualified
electrician.
This equipment is for use on circuits with a nominal rat-
ing of no more than 230V.
Handle the unit carefully
Always operate the unit on a stable, level surface. Do
not drop, throw, or place where it could fall. Rough treat-
ment can damage the unit, and may create a hazardous
condition or void the warranty.
This unit intended for household and commercial use.