Drobo5N2 User Guide 40
4.
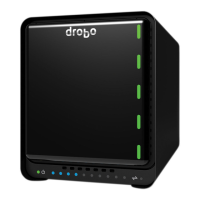
Slide the drive into the data bay, release the drive lock and push the drive into place until you
feel it connect.
5.
The drive lock snaps behind the drive, securing it into place.
Note:
If you are inserting an SSD, ensure that it is compatible by visiting our web page on
compatible drive options: http://www.drobo.com/storage-products/choose-drive/
6. Insert additional drives in the same manner, following steps 2 through 4.
7.
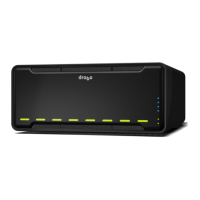
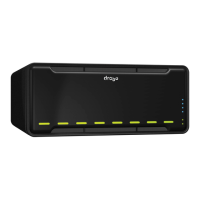
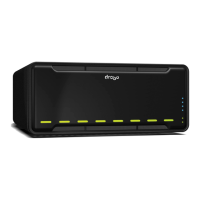
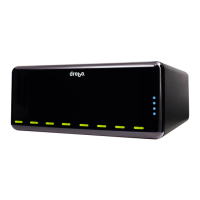
When finished, replace the bezel right side up, so that when your Drobo device is turned on, you
will be able to see the indicator lights.
You are now ready to connect cables and power on your Drobo device.
Next in the Setup for Your Drobo 5N2
Connecting the Cables and Turning on Your 5N2
Return to Setting Up Your Drobo 5N2
Related topic:
Selecting Drives