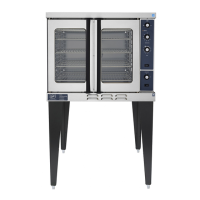
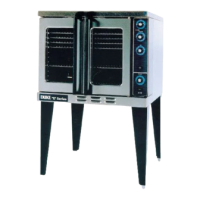
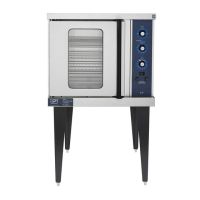
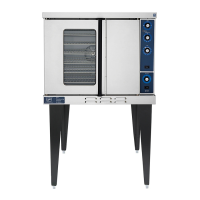
Maintenance Manual for DUKE TSC Proofer
Oven with Touch Screen Controls
24
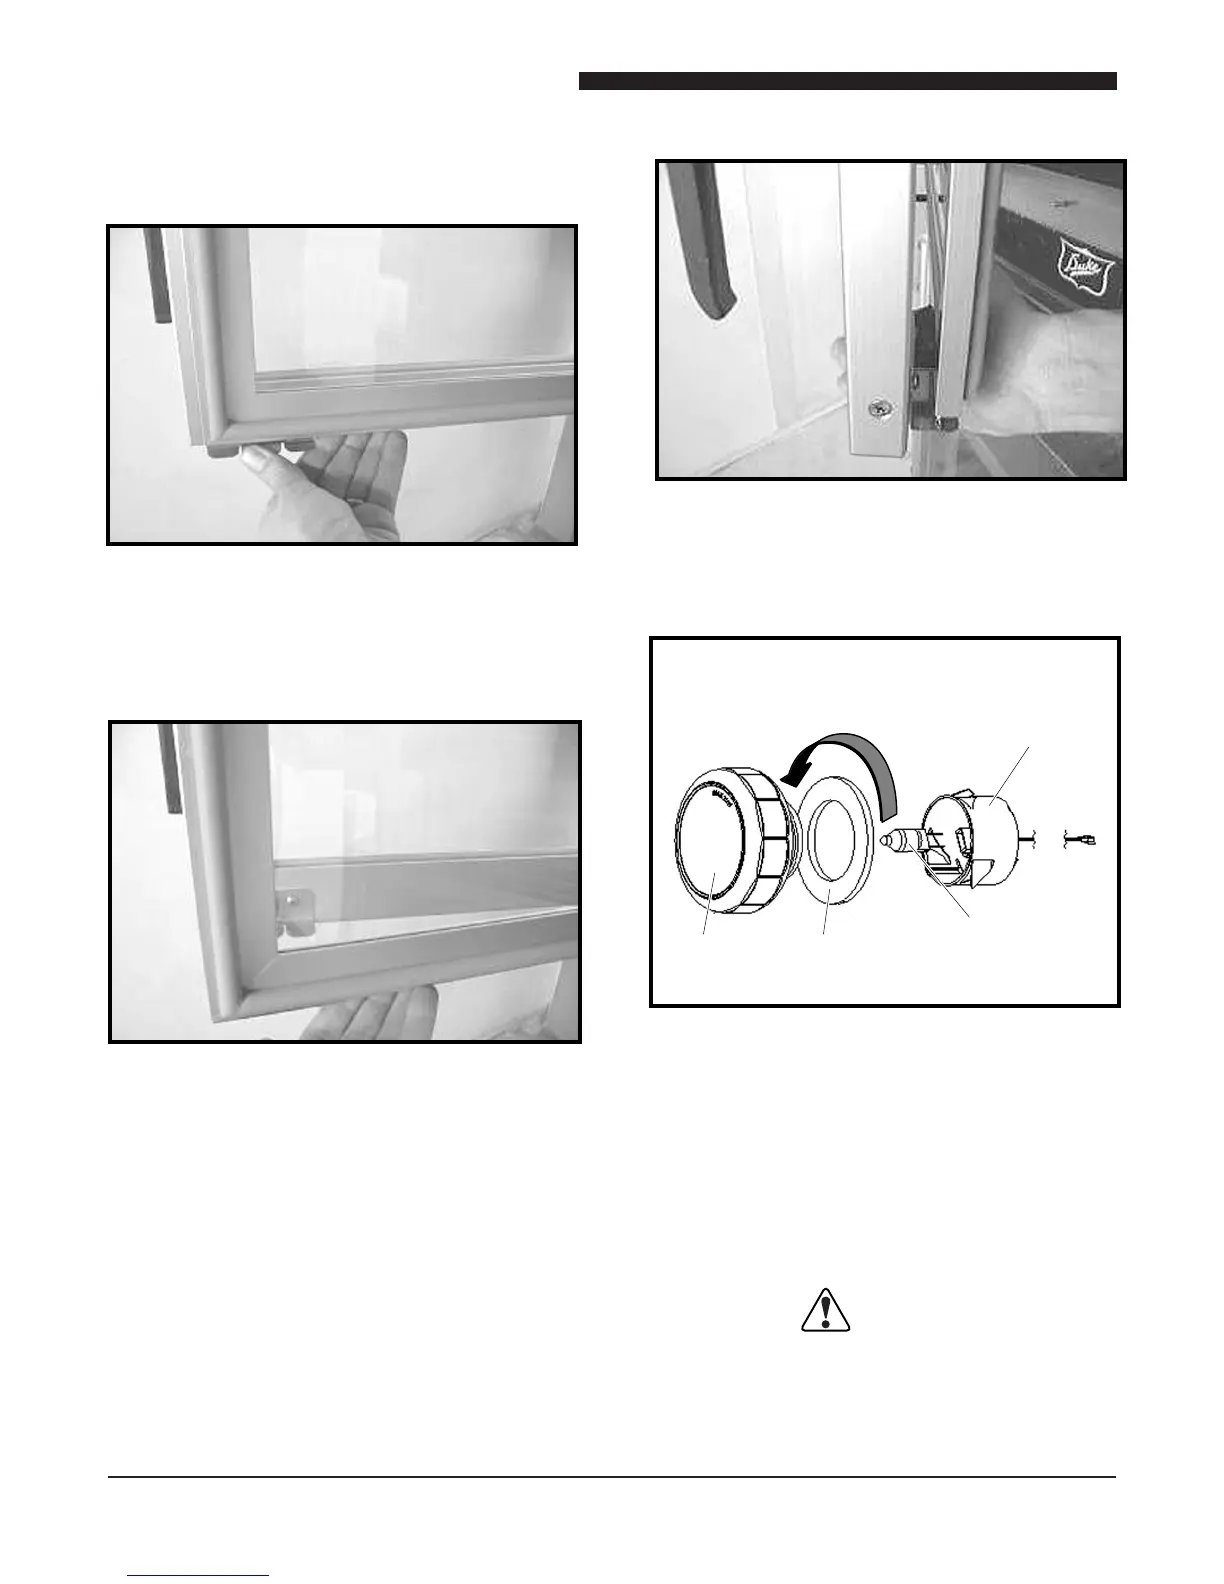
Figure 48: Door Clipped Together
After Cleaning
Figure 49: Halogen Lamp Assembly
1. The light lens can be removed by turning them
counter clockwise.
2. Make sure the gasket is in place when replacing
the covers.
3. Replace the light bulbs, with 10 Watt (Maximum)
Halogen Lamp G4 12 Volts.
Flat Lens
58mm
(502794)
Gasket Ð
Lens 58mm
(502795)
Turn counter-clockwise.
Remove bulb cover.
Lamp Holder
Assy.
G4 12V
10W (Max.) Lamp
12V Halogen
G4 (Bi-Pin)
(502796)
2. Unlatch the bottom clip.
Figure 46: Unlatch Bottom Clip
3. Air-Wash Door bottom easily swings open for
cleaning.
Figure 47: Door Swings Open for Cleaning
4. A i r - W a s h i n n e r d o o r i s e a s i l y
clipped to the outer door by squeezing
them together.
CAUTION
Do not touch light bulbs with bare hands
as oil/ngerprints will shorten the life of
the bulb. Use a clean glove or cloth to
handle bulbs.
BULB MOUNTING DETAILS