8
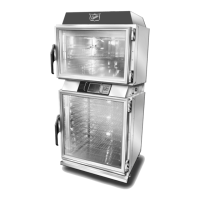
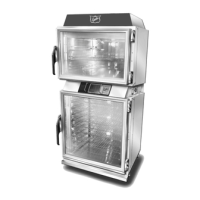
Installation and Operation of: TSC - TSCM Retrot
HUMIDITY PROBE REPLACEMENT
Step 1
Verify line power to the unit is disconnected and
arrange for access to the rear of the unit.
Step 2
Remove the three (3) screws holding the back
electrical panel, set panel and screws aside.
REMOVE
Step 3
Loosen the top center screw (with keyhole slot)
holding the back lower panel in place.
Step 4
Remove the other eighteen (18) screws holding the
back panel in place and set panel aside.
NOTICE:
LOOKING FROM THE BACK OF THE UNIT, IF YOUR
UNIT DOES NOT HAVE A HUMIDTY SENSOR ON
THE LEFT SIDE OF THE CAVITY CONTINUE ON.
NOTE: UNIT ABOVE DOES NOT HAVE SENSOR.
IF UNIT HAS A SENSOR THEN SKIP TO STEP 7 ON
NEXT PAGE .
SENSOR
LOCATION
PREPING UNIT FOR NEW SENSOR
LOOSEN
Step 5
Remove wire racks, false bottom panel, & right side
plenum duct assembly by removing screws on both,
front and rear, and at top of air duct if installed.
REMOVE
 Loading...