9
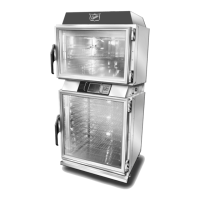
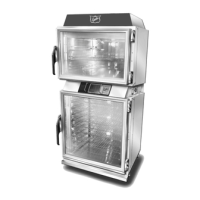
Installation and Operation of: TSC - TSCM Retrot
HUMIDITY PROBE REPLACEMENT continued
Step 6
Next align drill template 512018 to the upper
rear corner of the right hand side of the unit.
(See illustration below) Use the tape to secure the
template in place. Drill holes to appropriate size as
indicated on the template. Skip to Installing new
sensor.
Do not force bit through as this may damage outer
nished panel. Remove all shavings from unit
interior.
Step 7
Remove the old RH sensor assembly from the unit
by removing the two Keps nuts with a 11/32 socket.
Discard old sensor and bracket.
INSIDE OF
CABINET.
GASKET
Step 1
Install the new 120037 RH Assembly probe to
the new 512009 TSC Humidity Sensor Assembly
(included in kit) and install the probe onto the
bracket. Using screw driver to tighten screws enough
to maintain sensor position.
NOTE: Do not overtighten you may damage
sensor. See diagram to the right for sensor bracket
alignment location.
ALIGN EDGE OF BULB WITH
EDGE OF HEM ON BRACKET
WHEN INSTALLING BULB
INSTALLING NEW SENSOR
 Loading...