❯
Rinse handpiece through at least 3 times using
a 20-ml disposable syringe.
❯
Screw scaler instruments onto the rinsing
adapter one after another and rinse through
each of the instruments at least 3 times with
water using a 20-ml disposable pipette.
Drying
❯
If necessary, re-dry at a clean location using a
hygienic, lint-free cloth.
❯
Blow dry the components with compressed air
in a clean location.
13.7 Automatic cleaning, inter-
mediate rinsing, disinfection,
final rinse, drying
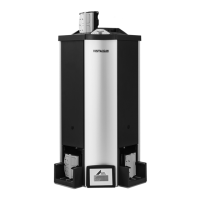
Selection of the washer-disinfector
Automatic cleaning and disinfection requires a
washer-disinfector with the following properties
and validated processes:
– Corresponds to and tested in accordance with
ISO 15883
– Certified program for thermal disinfection (A
0
value ³ 3000 or at least 5 minutes at 93°C)
– Programme is suitable for the components
and provides sufficient rinsing cycles.
For more information: "General information".
Selection of the machine cleaning agents and
disinfectants
The following properties are required:
– Material compatibility with the product
– Corresponds with the manufacturer's specifi-
cations of the CD
For further information, see: "General informa-
tion".
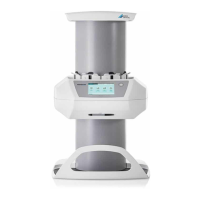
Automatic cleaning and disinfecting
When arranging the parts in the washer-
disinfector, make sure there are no areas
missed by rinsing.
❯
Attach the handpiece to the special mountings
for transmission instruments (e.g. Miele: ADS 2
(for AUF1 and AUF2), Æ approx. 16 mm, item
no. 68751401D or MELAG universal adapter
for MELAtherm 10, item no. 73904) in the
washer-disinfector.
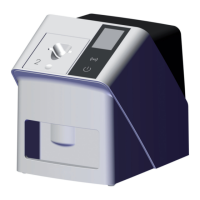
❯
Attach the scaler instruments to the special
mountings for instruments (e.g. Miele: A 814,
item no. 68681400D or MELAG tip adapter for
MELAtherm 10, item no. 80760) in the washer-
disinfector.
❯
Place Paro instruments in the instrument tray
and place in the basket for small parts.
❯
Fix removable parts of the handpiece (ring
cover, rotary adaptor, scaler cover, light con-
ductor), instrument holders of the tool kits
(without instruments) and torque wrench with a
suitable washer-disinfector holder.
Usage
40 9000-615-32/02 2012V003
EN