Printing Over a Network
52
The Printers and Faxes control panel is displayed.
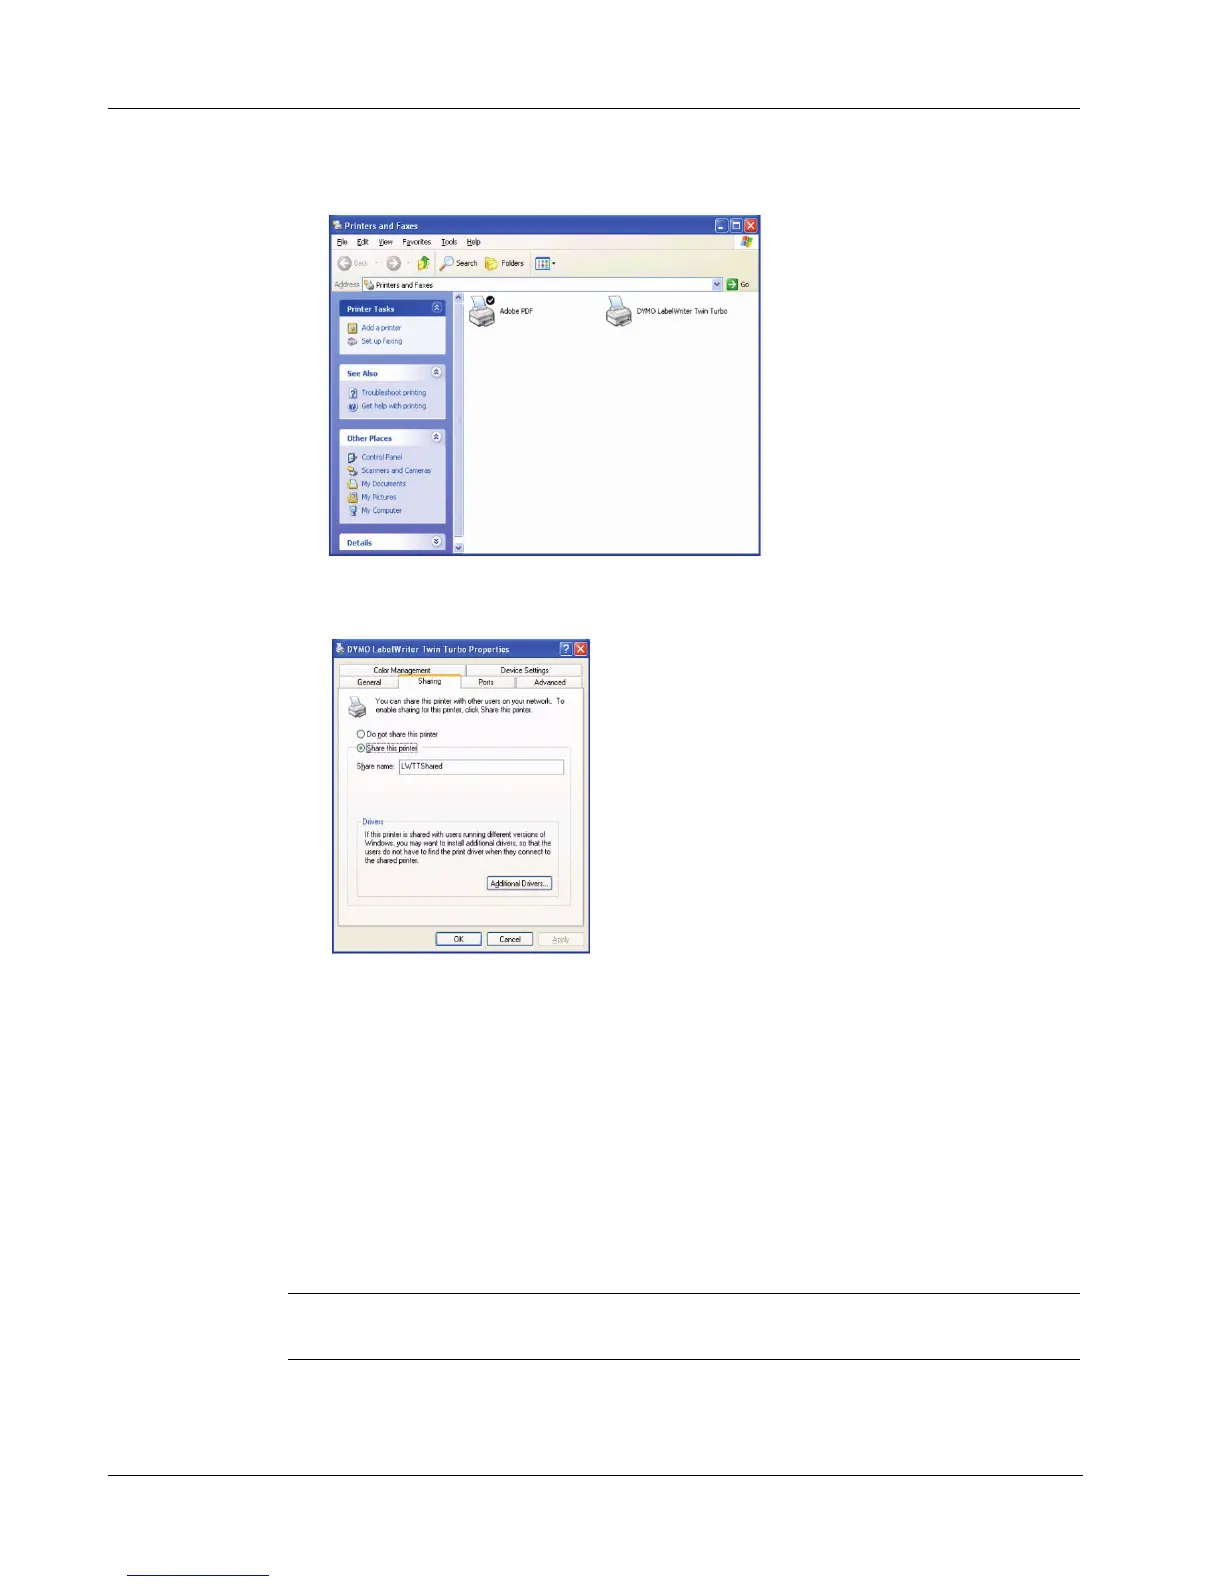
2 Right-click the printer you want to share and select Sharing.
The DYMO label printer Properties dialog box is displayed with the Sharing pane open.
3 Select Share this printer.
4 Optionally, enter a different name for the printer in the Share name field.
This is the printer name that appears to other users on the network.
5 Click OK. The share icon (hand) is displayed under the shared printer. This indicates that other
users in the workgroup can print to this printer.
Installing a Network Printer
Before you can print to a shared network printer, you need to install DYMO Label Software (DLS)
on your local computer. If you want to install more than one shared DYMO label printer, you must
either run the DLS installer for each printer or use the Windows Add Printer Wizard to add each
additional label printer.
NOTE The LabelWriter Duo printer is actually two printers (label and tape) so you must add the
second printer using the Add Printer Wizard after running the DLS installer.