Using the Tape Editor
30
Designing a Label
In this section, we will show you how to print a label for a file folder tab using the Tape Editor. You
can format the label text and then save the label for future use.
When designing a label, the first items to consider are the width of the label tape onto which you
will print and the length of the area where you will place the label. For this example, we will create
a label that will fit on a file folder tab. The total label length must be no more than 3 1/2” (8.5 cm)
and we will print on label tape with a width of 1/2” (12 mm).
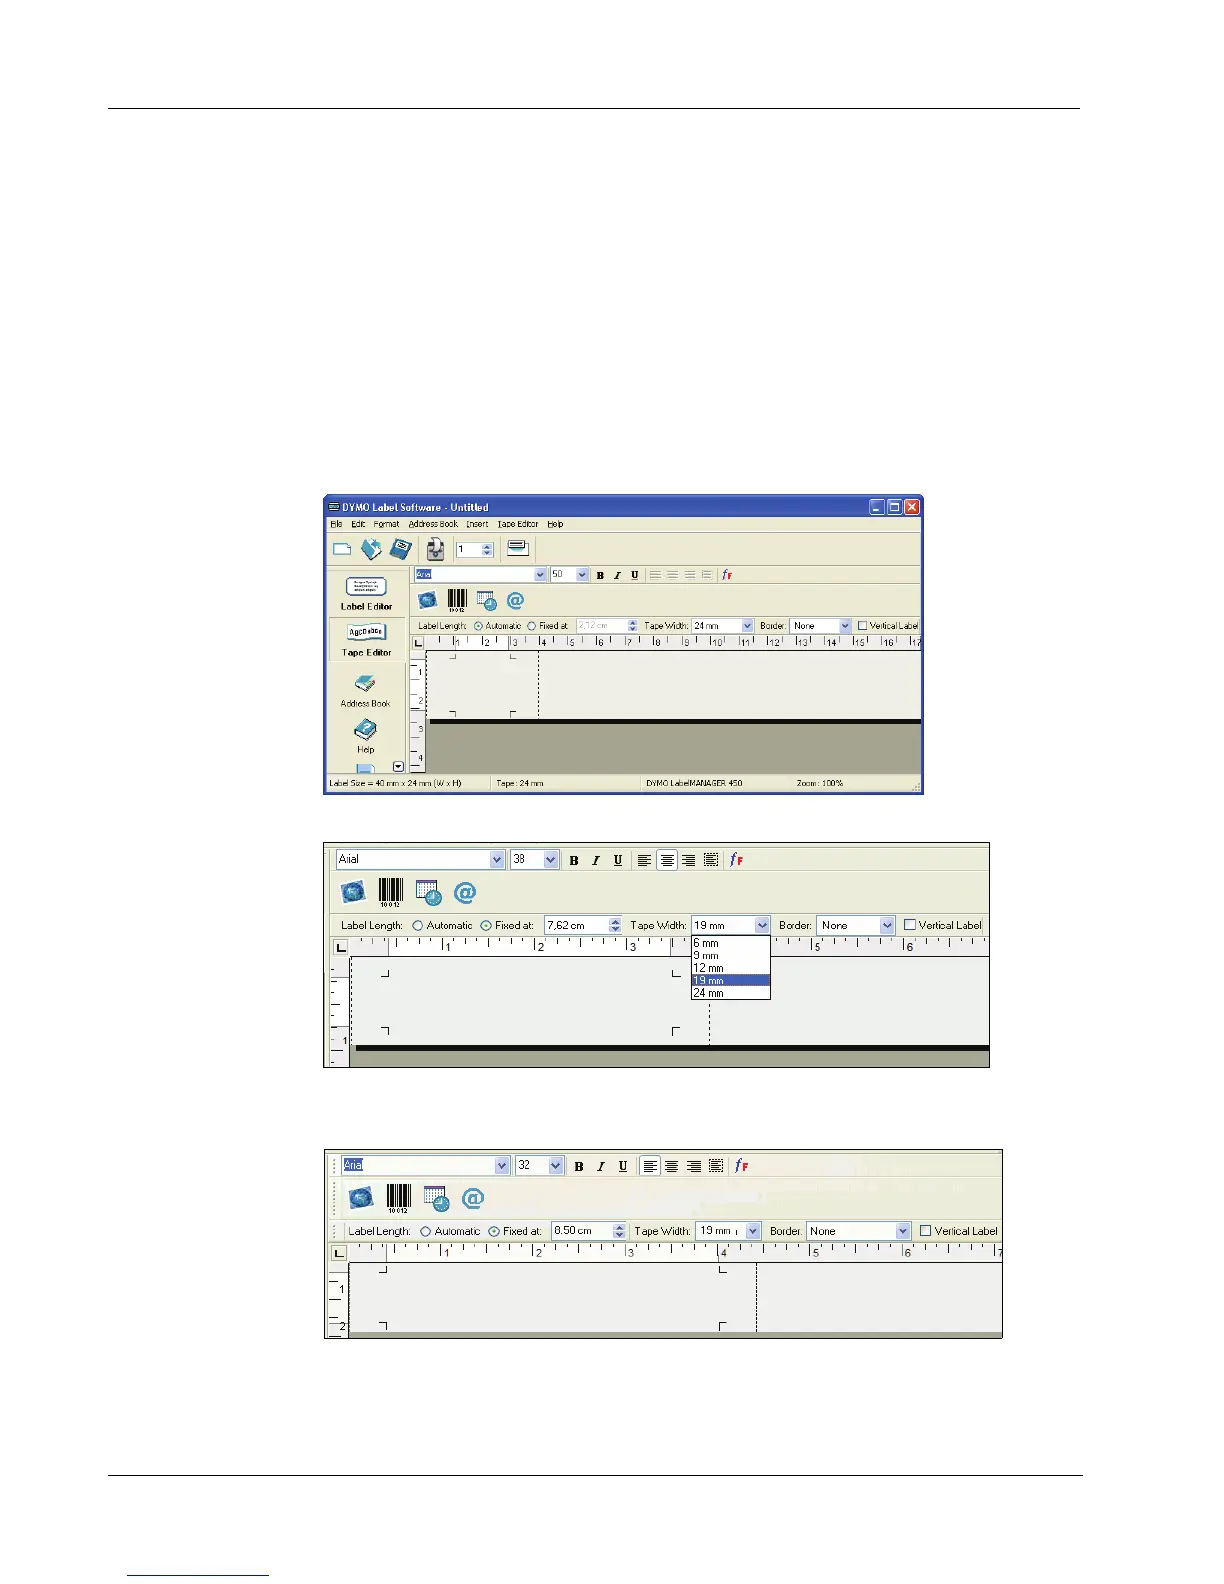
To create a label
1 Start DYMO Label Software.
The main window appears.
2 Select 19 mm from the Tape Width drop-down menu.
The text area of the main window changes in size based on the tape width you select.
3 Select Fixed At and enter 8.5 cm in the Label Length Fixed At text box.
Notice that the size of the input area changes on the ruler.