EasyManuals Logo

Dynaudio Sub 6 User Manual

Dynaudio Sub 6
35 pages
To Next Page IconTo Next Page
To Previous Page IconTo Previous Page
Page #16 background imageLoading...
Page #16 background image
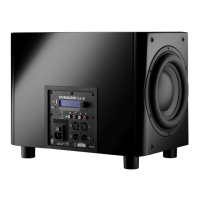
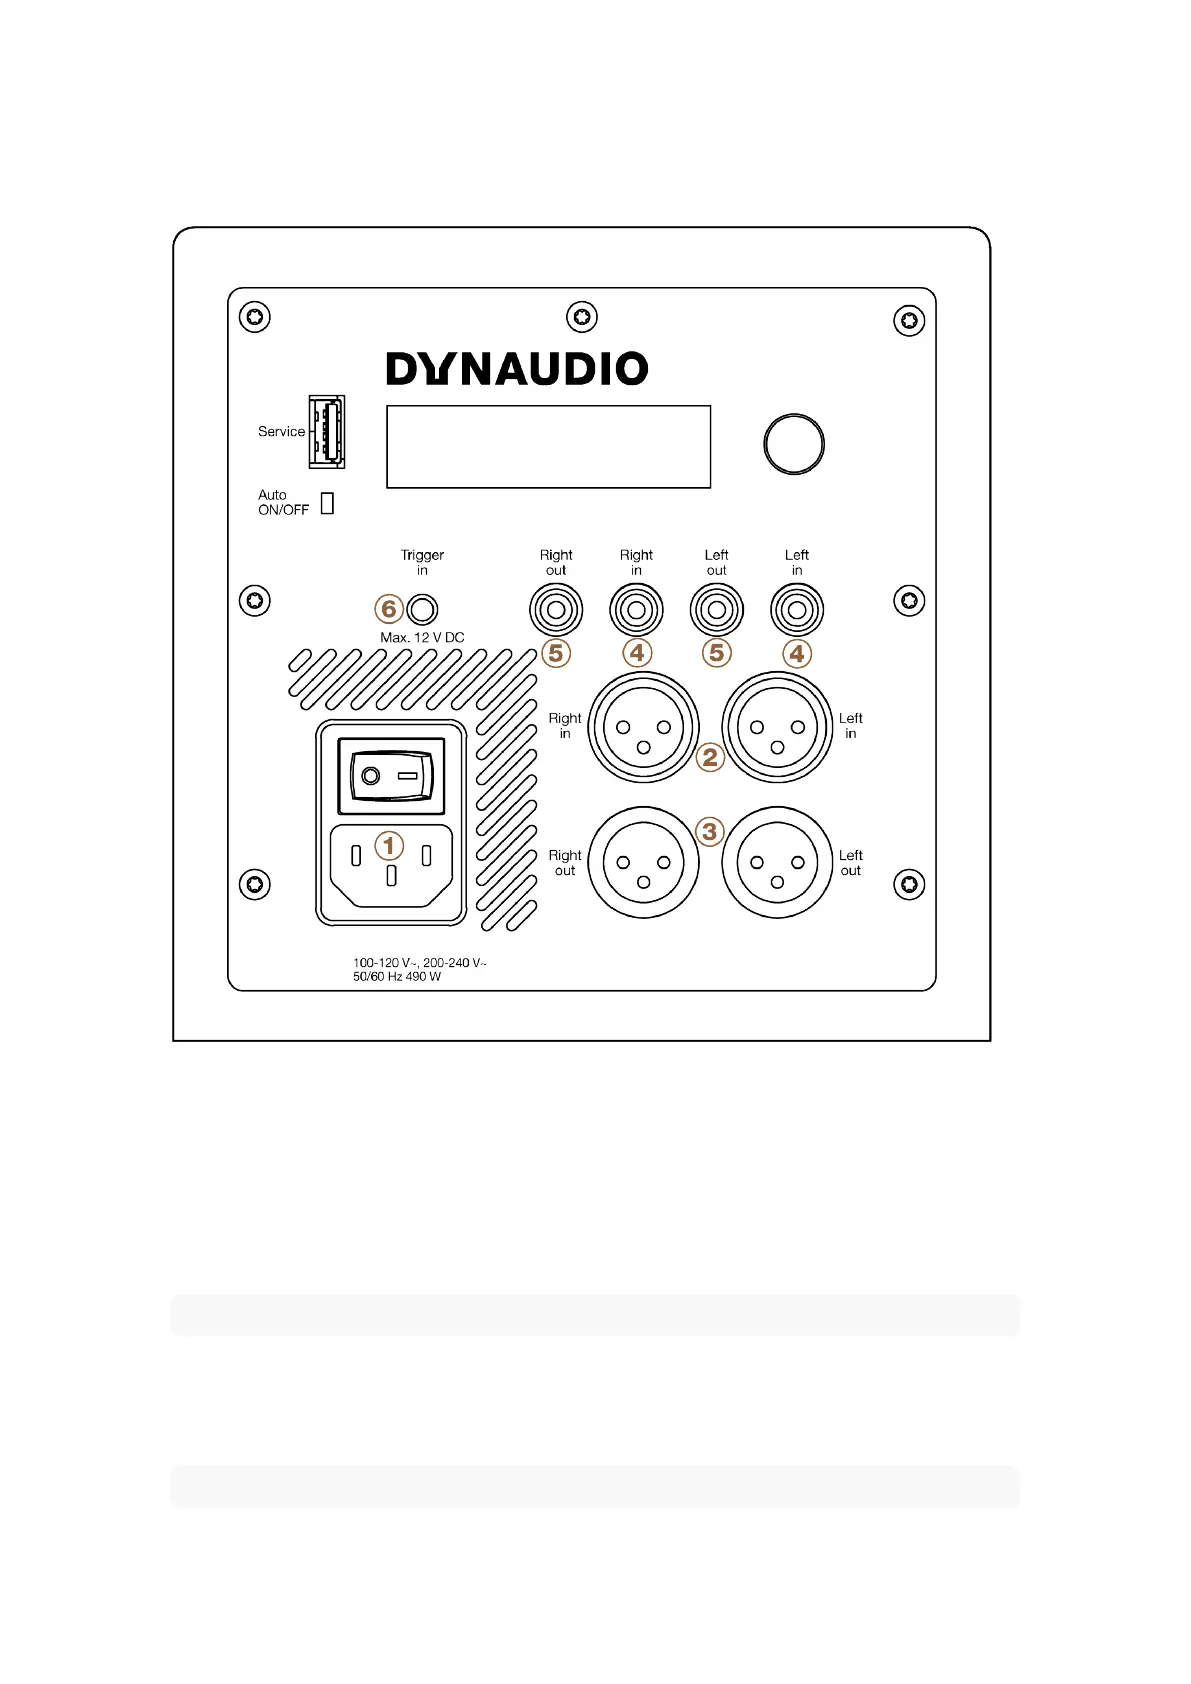
Sub 6 Mains and Signal Connections
The Sub 6 is fitted on its rear face with a connection and control panel carrying mains, signal and connection
sockets. The panel is illustrated in Diagram 3 and its connection facilities are described in the following
paragraphs. Diagrams illustration various signal connection schemes can also be found on the following pages.
1. Mains power socket
Connect the subwoofer to a mains power supply using the cable supplied. If multiple cables are supplied with
your subwoofer, use the one appropriate for your territory.
Note
Do not switch on your subwoofer until all other connections have been made.
2. Balanced XLR input sockets (left and right)
If your audio source provides balanced outputs connect them to these sockets using high quality balanced XLR
audio cables.
Note
Balanced signal connection is a feature of professional audio and of some high-end domestic audio
16 Sub 6 User manual

Other manuals for Dynaudio Sub 6

Questions and Answers:

Question and Answer IconNeed help?

Do you have a question about the Dynaudio Sub 6 and is the answer not in the manual?

Dynaudio Sub 6 Specifications

General IconGeneral
Subwoofer typeActive subwoofer
Number of subwoofers2
Subwoofer peak power500 W
Subwoofer driver diameter240 mm
Subwoofer frequency range16 - 230 Hz
On/off switchYes
Product colorBlack
Speaker enclosureClosed
AC input voltage100 - 240 V
Power source typeAC
AC input frequency50 - 60 Hz
Power consumption (standby)0.5 W
Weight and Dimensions IconWeight and Dimensions
Subwoofer depth268 mm
Subwoofer width447 mm
Subwoofer height300 mm
Subwoofer weight21500 g

Related product manuals