6
List of pictures
Fig. 1: Exemplary system design of a recreational vehicle ...................................................................................... 8
Fig. 2: Exemplary system design – Boat .................................................................................................................. 8
Fig. 3: Overview of PowerPlex® components .......................................................................................................... 9
Fig. 4: Two PowerPlex® modules connected via CAN bus cable ..........................................................................12
Fig. 5: Various PowerPlex® modules connected via serial CAN bus topology ......................................................12
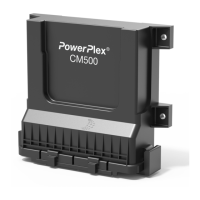
Fig. 6: PowerPlex® Compact Module CM500 ........................................................................................................13
Fig. 7: Pin assignment of the PowerPlex® Compact Module .................................................................................15
Fig. 8: Dimensions of the PowerPlex® Compact Module .......................................................................................19
Fig. 9: Installation dimensions of the PowerPlex® Compact Module .....................................................................19
Fig. 10: Connection of the PowerPlex® components in the CAN bus system .......................................................21
Fig. 11: CAN/USB converter (example: Peak) .......................................................................................................24
List of tables
Table 1: Symbols used 6
Table 2: Additional accessories 10
Table 3: Different PowerPlex® Modules 11
Table 4: Selection of technical data 14
Tabel 5: Inputs, outputs and interfaces of the PowerPlex® Compact Module 16
Table 6: Installation check list 17
Table 7: General requirement of the installation site 17
Table 8: General notes on wiring 18
Table 9: Mounting of the device 20
Table 10: Pin assignment on the 2-pole connector (X1) 20
Table 11: Pin assignment on the 10-pole connector (X2) 20
Tabel 12: Pin assignment on the 22-pole connector (X3) 20
Table 13: Major properties of the CAN bus cable to be used 22
Table 14: Requirements of the configuration PC 23
Table 15: Important information 24
Symbols
The following conventions and symbols will accompany you throughout the entire manual. They are defined as
follows: