22
USER MANUAL MAGIC 500 PLUS ULTRASOUND UNIT
T +49 7461 96 580 0 | F + 49 7461 96 580 90 | export@eickemeyer.com | www.eickemeyer.com
6.4.11 Focus Adjustment and Control
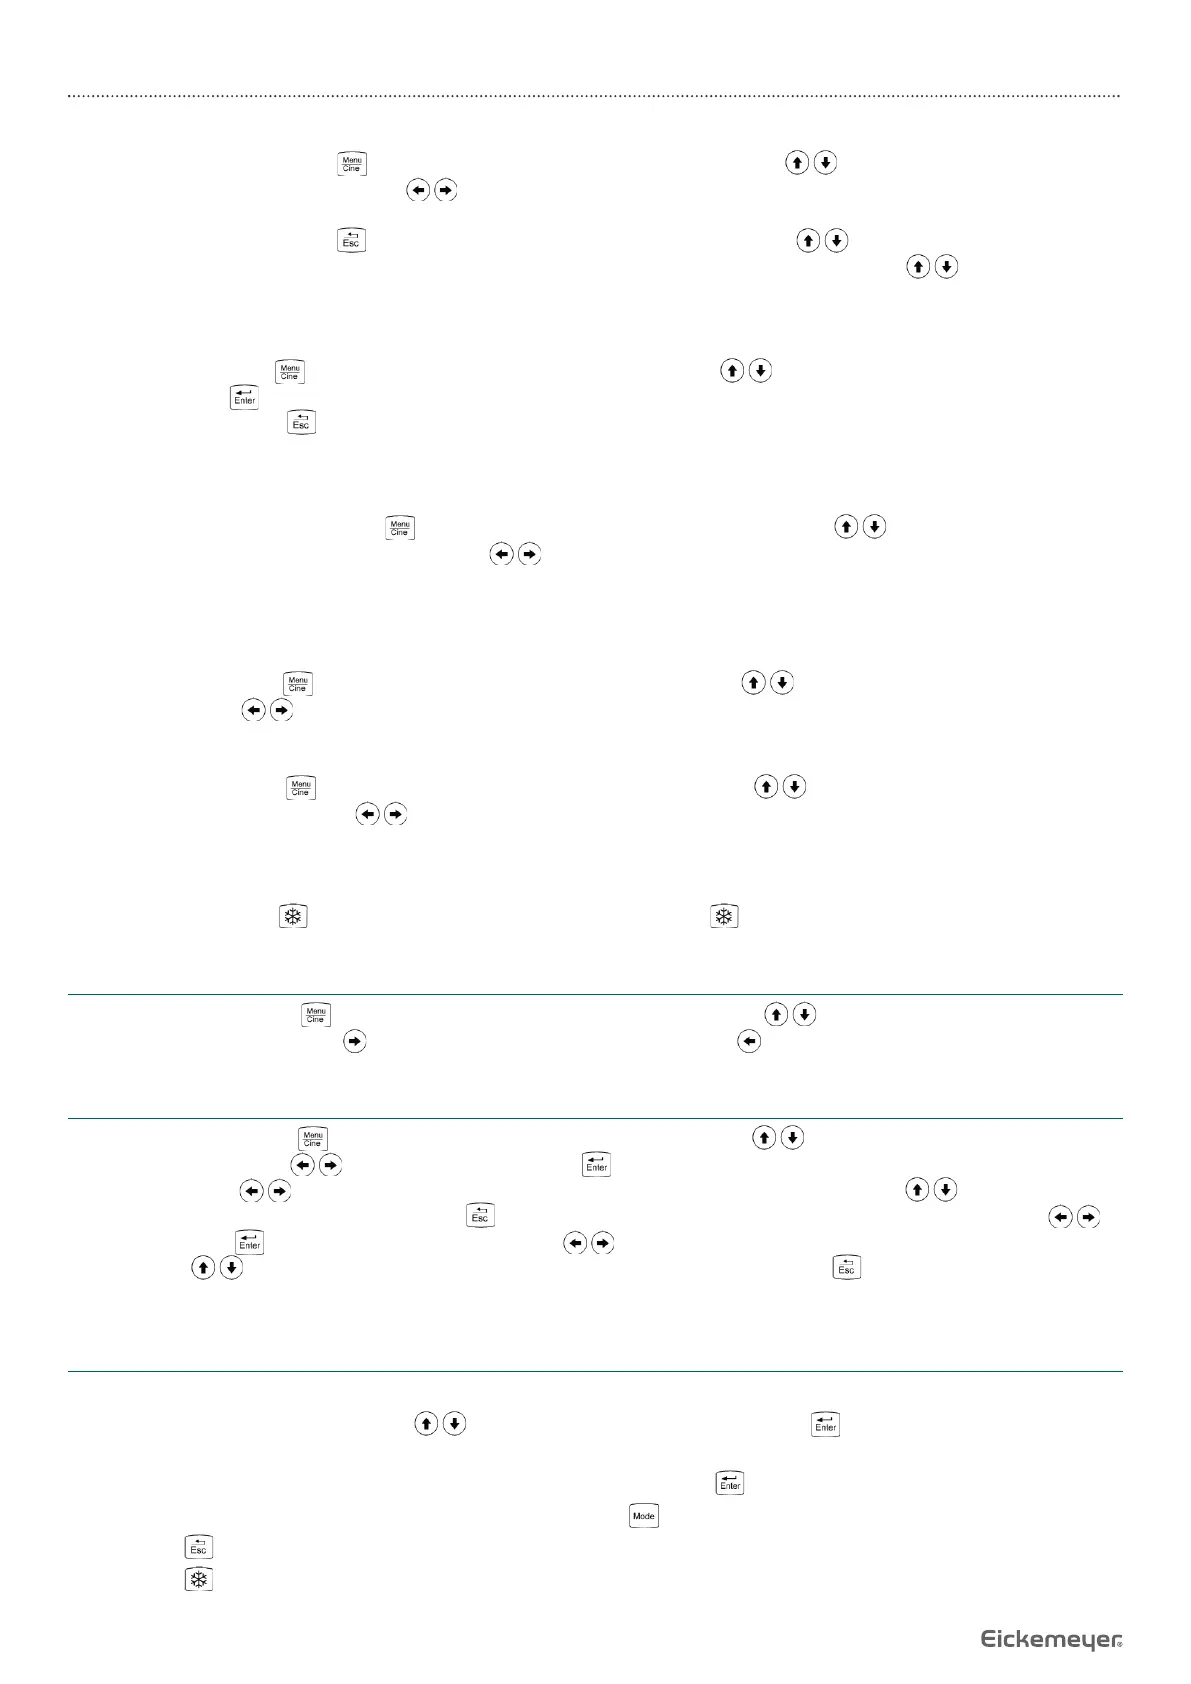
In real-time B, B / B mode, press key to enter the main menu, press direction keys to move the cursor to “Focus Qty”
in the display area. Press direction keys to choose four kinds of focus modes: stage 1 (Full process dynamic focus), 2, 3
and 4.
In real-time B, B / B mode, press key to quit menu mode, press direction keys again to move the focus up and down.
Note: In B / M or M mode, choosing only one single focus mode is allowed. Press direction keys to move the focus
position.
6.4.12 Local Zoom and Local Additive Color
In real time mode, press key to enter the main menu, press direction keys to move the cursor to “Local Zoom” in the
display area, press key, a box appears. Press direction keys to move the box to the position to be enlarged, the selected
image be enlarged; Press key to quit local zoom status.
In the color display, the image selected by above operation will be enlarged and added color.
6.4.13 Image Left / Right Reverse
In real-time B, B / B, B / M mode, press key to enter the main menu, press direction keys to move the cursor to “L / R”
in the display area, and then press direction keys to achieve image horizontal reverse. The image left / right reverse is
the change of probe scanning direction. The probe scanning direction is indicated by the arrow on the upper left area of the
image.
6.4.14 Image Up / Down Reverse
In real-time mode, press key to enter the main menu, press direction keys to move the cursor to “U / D” and then
press direction keys to achieve image vertical reverse.
6.4.15 Color Selection
In real-time mode, press key to enter the main menu, press direction keys to move the cursor to “Color” in the
display area. Press direction keys to achieve the conversion of eight kinds of colors (including one kind of black and
white).
6.4.16 Image Freeze / Unfreeze
In real-time mode, press key to freeze the image; in frozen status, press key to unfreeze the image.
6.5 Gain Adjustment in A Mode
In real-time A mode, press key to enter the main menu, press direction keys to move the cursor to “Gain” in the
display area. Press direction key to increase image gain, press direction key to reduce it.
6.6 Puncture Guide Line
In real-time B mode, press key to enter the main menu, press direction keys to move the cursor to “Puncture” and
then press direction keys to choose line 1, press key to confi rm, two puncture guide lines appear on the screen.
Press direction keys to change the angle of the fi rst puncture guide line, press direction keys to change the start
position of the fi rst puncture guide line. Press key, the cursor is located on the “Puncture”. Press direction keys to
choose line 2, press key to confi rm, press direction keys to change the angle of the second puncture guide line. Press
direction keys to change the start position of the second puncture guide line. Press key to quit the puncture guide
status.
6.7 Body Mark and Probe Mark
This product contains 27 body marks that are divided into two pages. The operation steps are as follows:
1. In frozen status, press direction keys to move the cursor to “BodyMark”, press key, body marks will be shown in
the image area, press direction keys to change pages.
2. Press direction keys to move to the position of desired body mark, press key to confi rm the selected body mark.
3. Press direction keys to change the probe mark position; press key to change probe mark direction.
4. Press key to quit body mark and probe mark status.
5. Press key to quit froze and body mark status.