Do you have a question about the EK Loop Vertical GPU Holder EVO Gen4 Riser and is the answer not in the manual?
Safety guidelines and warnings for product installation and handling.
EK assumes no liability for damages resulting from improper use or installation.
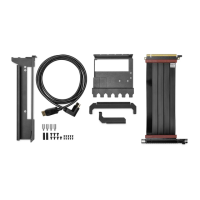
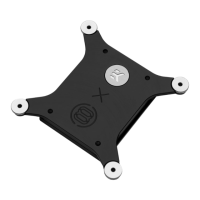
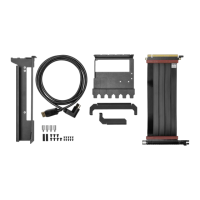
Lists and illustrates all included components with their EAN numbers.
Specifies the necessary tools for the installation process.
Provides detailed measurements and specifications of the GPU holder.
Assembling the steel brackets using M3x5 countersunk screws.
Planning and selecting the optimal position for the GPU holder.
Applying protective foam for enhanced GPU safety during installation.
Securing the PCIe Riser Cable 4.0 to the holder with screws.
Instructions for using older PCIe Riser Cable 3.0 versions.
Cautionary advice for mounting the holder to the motherboard.
Installing correct standoff spacers between motherboard and PC case.
Connecting the riser cable to the motherboard's PCIe slot.
Removing existing PCIE brackets from the computer case.
Securing the GPU holder assembly to the PC case using screws.
Ensuring the riser cable latch is properly positioned before GPU insertion.
Carefully attaching the graphics card to the installed holder.
Connecting power and data cables to the installed GPU.
Information on obtaining assistance and ordering replacement parts.
Links to the manufacturer's official social media channels.
| Material | Aluminum, Steel |
|---|---|
| Riser Cable Standard | PCIe 4.0 |
| Color | Black |
| Weight | 1.2 kg |
| GPU Support | Up to 3-slot GPUs |
| Mounting Options | Horizontal, Vertical |